How to Get Natural Looking Gel Nails: 5 Steps to Avoid the ‘Fake’ Look⚡ Quick Answer: How to get natural looking gel nails starts with impeccable cuticle prep and applying the product in multiple paper-thin layers rather than one heavy, thick coat. Using a sheer or milky pink color along with a refined building technique helps create a seamless transition at the cuticle, entirely preventing that bulky, artificial salon appearance.
How to get natural looking gel nails is the ultimate goal for anyone wanting a durable, long-lasting manicure without the bulky, artificial appearance. If you have ever left a salon feeling like your fingertips look heavy, oversized, or uncomfortably thick, you are certainly not alone. Achieving a seamless, elegant finish requires precision, the right product consistency, and a deep understanding of nail anatomy. The modern beauty standard has shifted aggressively away from the chunky, overly dramatic extensions of the past, favoring a sleek, healthy, and ultra-refined “clean girl” aesthetic.
A true natural aesthetic is all about meticulously mimicking the real thing. It involves managing the thickness of the product, creating the right structural curves, and keeping the transition at the base of the nail as flush as humanly possible. This is where advanced application techniques truly make a difference in transforming a basic, amateur manicure into a high-end luxury look that leaves people wondering if those are actually your real nails.
In this comprehensive guide, we will break down exactly how you can stop gel nails looking thick and chunky. Whether you are using traditional potted gels, modern bottled builders, or alternative enhancement methods, these five essential steps will guarantee a flawless, lightweight, and completely undetectable finish.
Contents of Article
- Why Do Gel Nails Often Look Thick and Fake?
- Step 1: Flawless Cuticle and Nail Plate Preparation
- Step 2: The ‘Less is More’ Thin Layer Application
- Step 3: Opt for Nail Forms Over Plastic Tips
- Step 4: Refine and Buff the Final Shape
- Step 5: Select Sheer, Jelly, or ‘Syrup’ Gel Colors
- Are Soft Gel Tips Better for a Natural Look?
- Frequently Asked Questions (FAQ)
Why Do Gel Nails Often Look Thick and Fake?
The most common reason for a bulky, artificial-looking manicure is the improper distribution of product. When a nail technician or a DIY enthusiast applies a massive blob of gel directly onto the center of the nail without properly feathering it out, the final result is a rigid, heavy dome. This instantly ruins the natural look. An authentic-looking nail needs a very subtle, graceful curve, not a massive mound of plastic-like material sitting heavily on top of the finger.
Another major culprit is skipping thorough preparation. If the cuticle area is not completely cleared of dead skin and debris, the gel will inevitably pool and flood around the edges. As the nail grows out over the coming weeks, this creates a harsh, elevated ridge or a “step-off” ledge that looks incredibly fake, catches on hair, and invites premature lifting. To avoid this entirely, the product must be applied incredibly thin near the proximal fold, blending invisibly into the natural nail surface.
Furthermore, relying on overly opaque, chalky colors can heavily emphasize the thickness of the enhancement. Real human nails possess a natural translucency, especially near the tips and around the half-moon (lunula) of the nail bed. Using heavily pigmented, flat polishes right off the bat completely blocks out this natural dimension, giving the manicure a flat, manufactured appearance. By understanding and avoiding these common pitfalls, you can dramatically improve the elegance and realism of your final result.
Step 1: Flawless Cuticle and Nail Plate Preparation
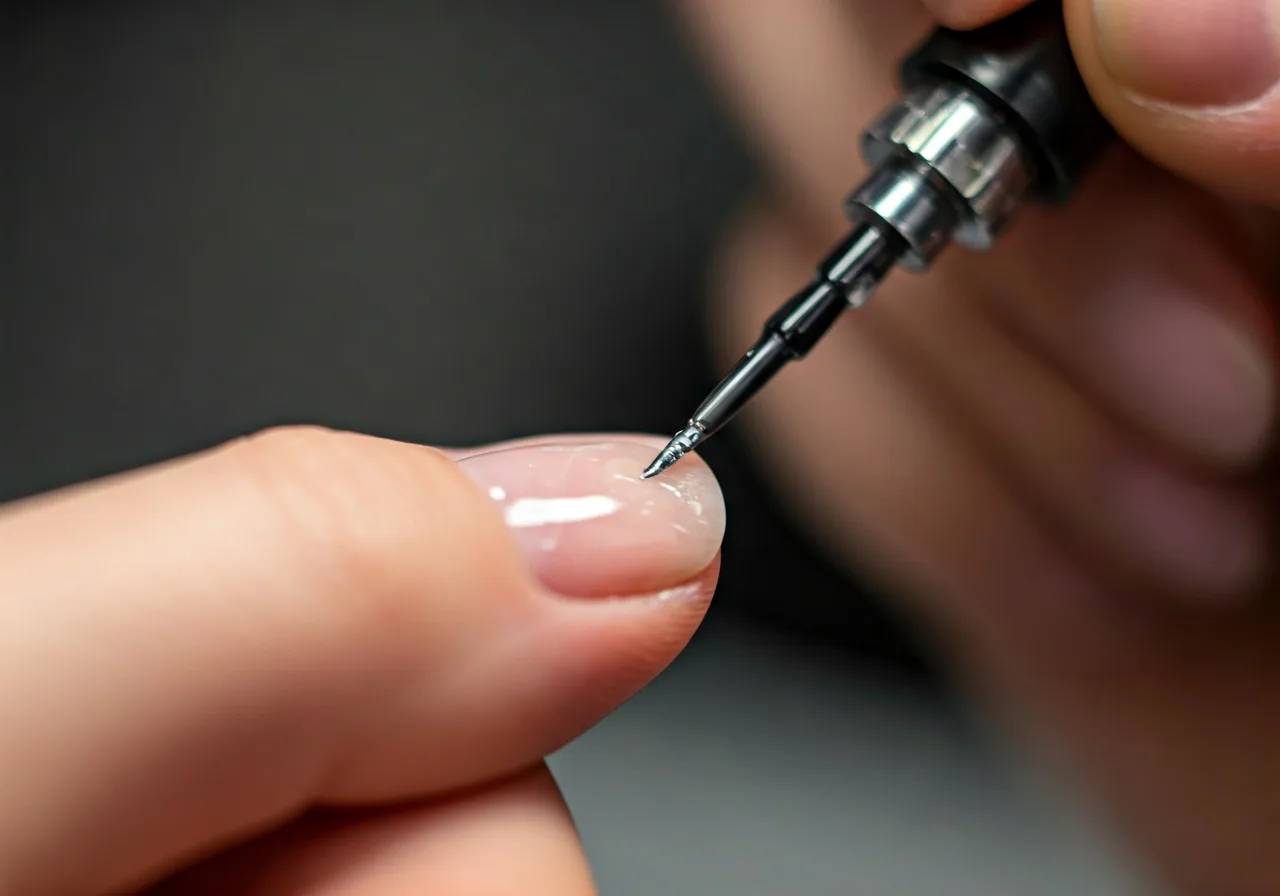
The core foundation of any elegant, long-lasting manicure lies in rigorous Cuticle care. Without a clean, thoroughly prepped canvas, even the most expensive luxury products will look messy and artificial. Cuticle prep for gel enhancements involves carefully and gently pushing back the proximal fold and utilizing specialized tools to remove all dead tissue from the surface. This crucial step creates a significantly larger, smoother area to work on and actively prevents the gel from catching on microscopic flakes of dry skin.
Next, strict attention must be turned to the Nail plate itself. A gentle but thorough buffing is required to remove the natural surface oils and shine, which ensures the base product adheres correctly and securely. However, it is absolutely critical not to over-file or damage the delicate natural keratin layers beneath. A smooth, healthy base allows the subsequent layers of gel to lay beautifully flat, which is the foundational first step toward achieving truly thin gel nails.
Proper preparation also heavily involves using high-quality chemical dehydrators and non-acid primers. These specialized solutions draw out excess moisture and create a tacky, porous surface that bonds tightly with the base gel. When the base is impeccably prepared—often using techniques similar to a dry Russian manicure—you can apply the product much closer to the skin fold without any fear of flooding. This results in a manicure that genuinely looks like it is naturally growing straight out of your fingertips.
Step 2: The ‘Less is More’ Thin Layer Application
When aiming for a delicate, hyper-realistic aesthetic, applying the product in incredibly thin, highly controlled layers is absolutely mandatory. This strict “less is more” approach is especially critical when using a clear gel on natural nails. Instead of rushing to build the entire nail structure in one massive go, professional technicians start with a microscopic slip layer. This wet base layer acts as a fluid guide, allowing the subsequent beads of gel to flow smoothly and evenly over the surface without pooling ungracefully in the side walls.
The true, heavily guarded secret to a natural appearance is correctly placing the builder gel apex. The apex is the highest structural point of the nail enhancement, providing necessary strength and shock absorption to prevent painful breakage. However, it should be a subtle, gentle slope rather than a pronounced, ugly bump. Using the “floating technique”—where you gently guide a small bead of gel over the wet slip layer with a fine detail brush—helps create a smooth, structurally sound apex that remains visually undetectable to the naked eye.
For those looking to achieve the massively popular BIAB nails natural look, mastering this specific floating technique is strictly non-negotiable. Builder in a Bottle (BIAB) has completely revolutionized the modern nail industry because it offers the incredible strength of hard acrylics with the comfortable flexibility of soft gel. By applying BIAB in sheer, self-leveling coats and occasionally turning the hand upside down to let gravity center the apex, you create a lightweight, bulletproof shield that protects the nail while maintaining a remarkably slender, elegant profile.
Step 3: Opt for Nail Forms Over Plastic Tips
If you need to add length to your natural nails, the specific extension method you choose will heavily dictate the final appearance. Traditional glued-on plastic tips instantly add unnecessary, difficult-to-hide bulk. The thick cyanoacrylate adhesive, combined with the rigid plastic edge, creates a stubborn foundation that requires heavy, damaging filing to disguise. This very often leads to wide, flared, duck-like tips that loudly scream “fake.”
Instead of relying on outdated plastic, using paper or foil forms allows you to sculpt the extension completely from scratch. This highly customized approach ensures the product perfectly hugs the delicate sides of your finger, keeping the Free edge beautifully narrow, sleek, and perfectly aligned with your natural, unique growth patterns.
Sculpting on forms allows the technician to gently pinch the product with a specialized tool while it is partially cured. This pinching motion is essential for creating a deep, structurally sound natural nail C-curve. The C-curve is the transverse arch of the nail when viewed straight down the barrel. A beautifully defined C-curve adds immense architectural strength to the extension, meaning you can apply the product much thinner overall while still effectively preventing snaps, cracks, and painful breaks.
Furthermore, sculpting guarantees a totally seamless transition at the Smile line—the critical area where the pink natural nail bed visually meets the white free edge. By fully customizing the shape and length from scratch, you easily avoid the heavy, blocky, generic look of pre-made plastic tips, resulting in an elegant extension that flows effortlessly from the cuticle to the very tip with absolutely zero added bulk.
Step 4: Refine and Buff the Final Shape
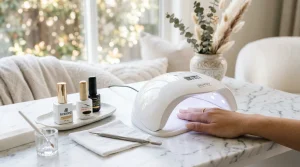
Even if you have completely mastered advanced self-leveling techniques, a dedicated manual refinement stage is absolutely necessary to perfect the optical illusion of a real, biological nail. Once your beautifully sculpted structure has gone through its final UV/LED curing process, you must meticulously remove the sticky, tacky Inhibition layer with high-percentage isopropyl alcohol before you even begin to think about filing. Skipping this crucial step will instantly gum up and ruin your files, making it completely impossible to see the true, final shape of your hard work.
The primary focus of your manual filing should be meticulously detailed work around the cuticle line and the lateral sidewalls. Use a fine-grit hand file (such as a 180 or 240 grit) to gently and carefully taper the cured product so it sits completely and perfectly flush against the natural nail. If you close your eyes and run your thumb over the surface, you should not be able to physically feel where the artificial enhancement begins. This meticulous, time-consuming tapering is the ultimate defense against the dreaded “step-off” ledge that inevitably appears as the manicure naturally grows out.
Additionally, pay incredibly close attention to the visual thickness of the free edge itself. You want it to look almost as thin as a standard credit card while strictly maintaining a strong, supportive C-curve underneath. Buffing the entire surface to a smooth, uniform, glass-like finish ensures that when you finally apply your glossy top coat, the light reflects in a continuous, unbroken line, further enhancing the incredibly realistic, ultra-thin aesthetic.
Step 5: Select Sheer, Jelly, or ‘Syrup’ Gel Colors
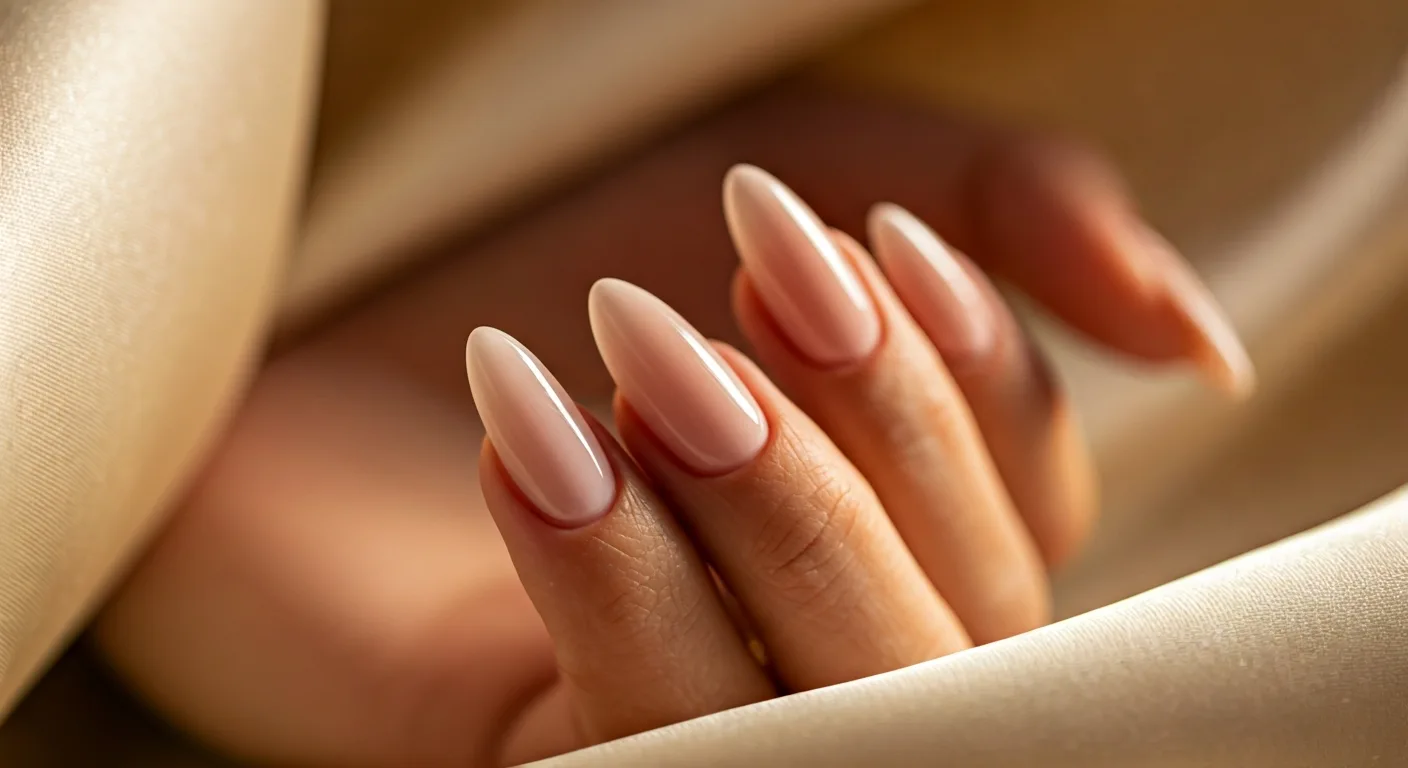
The specific polish color you choose can completely make or break the natural aesthetic you have worked so hard to build. While opaque, highly pigmented, and deeply saturated polishes are undeniably beautiful, they inherently tend to look much heavier and significantly more artificial because they block out all natural light transmission. To effectively mimic the beautiful vitality of a healthy, glowing nail bed, you should always opt for sheer gel colors that offer a translucent, highly glassy finish.
Using a jelly pink gel polish or a soft milky white shade allows the natural, biological variation of your own nail bed to subtly peek through. These translucent “syrup” formulas are currently incredibly popular in highly advanced Korean and Japanese nail art studios because they effortlessly create a soft, glowing, natural gradient effect. They cleverly blur the smile line and hide minor surface imperfections while strictly retaining that essential translucent depth that all real human nails naturally possess.
When applying these delicate sheer shades, always use light, sweeping, confident strokes to completely avoid unsightly streaks. Sometimes, a single, perfectly applied coat is all you truly need for a delicate, refined, and highly elegant wash of color. Layering too many thick coats of polish totally defeats the purpose of your painstakingly thin application, so always remember that maintaining a sleek, lightweight profile is vastly more important than achieving total color opacity.
Are Soft Gel Tips Better for a Natural Look?
For those who struggle endlessly with sculpting on tricky paper forms or building a manual apex by hand, soft gel nail tips are a truly fantastic, hyper-modern alternative. Unlike older, traditional plastic tips that are merely glued to the very end of the nail, soft gel tips completely cover the entire natural nail bed and are chemically adhered using a clear, flexible builder gel. This creates a much stronger, infinitely more integrated, and longer-lasting bond.
Because they are manufactured entirely of pure gel, these innovative tips are incredibly flexible and can be safely dissolved away with warm acetone, making them much safer and significantly less damaging for your natural nails. They are precision-manufactured to be ultra-thin at the cuticle area, which naturally and automatically prevents the bulky, elevated look that so often comes with standard salon extensions. When applied correctly and carefully blended at the base, soft gel tips offer an impeccably realistic, perfectly structured, and highly durable manicure in a mere fraction of the time it takes to sculpt.
However, the absolute key to success with soft gel tips securely remains in the preparation and the final blending stages. You must still perform meticulous, salon-grade cuticle work and gently file the base of the tip so it melts seamlessly into the natural nail plate without any visible seams. Whether you choose to sculpt entirely from scratch, use BIAB exclusively, or opt for full-cover tips, combining these advanced, professional-grade techniques will absolutely guarantee a stunning, natural-looking result every single time.
Frequently Asked Questions (FAQ)
How do I stop my gel nails from looking thick?
To prevent thick nails, rigorously apply the gel in multiple paper-thin layers rather than one heavy, flooded coat. Make absolutely sure to visually refine the edges with a hand file after curing to perfectly taper the product flush against the cuticle, and avoid using excessively thick, generic plastic tips.
Can clear gel on natural nails look real?
Yes, absolutely. Using a high-quality clear builder gel applied very thinly over the natural nail adds tremendous strength and durability while remaining completely transparent. When properly finished with a high-gloss top coat, it simply looks exactly like an exceptionally healthy, natural nail.
What is BIAB and does it look natural?
BIAB actively stands for Builder In A Bottle. It is a highly popular soak-off builder gel that easily provides extra structural strength. Because it is beautifully self-leveling and available in highly sheer, natural tones, it is currently one of the absolute best products for achieving a highly durable yet completely natural-looking overlay.
Are soft gel tips better than acrylic extensions?
For achieving a strictly natural look, soft gel nail tips are generally vastly superior to heavily sculpted acrylics. They are precisely pre-shaped with a natural, gorgeous arch and are exceptionally thin at the base, allowing for a totally seamless, invisible transition at the cuticle without the heavy, unnatural bulk of traditional acrylic powders.
Get our latest guides, news, and insights highlighted in your Google Search & AI Overviews.