✨ This article was AI edited. Editorial responsibility: Britany Marshall Beauty.
The best makeup tips for older women replace heavy matte powders with hydrating serum layers and upward placement angles that lift mature features naturally. After testing dozens of cream formulas and brush techniques on skin over 50, 60, and 70, we curated twenty methods that brighten hooded eyes, soften fine lines, and deliver an effortless satin glow.

| # | Technique & Formula Focus | Difficulty | Best For |
|---|---|---|---|
| 1 | Damp-Skin Hyaluronic Layering Before Primer | Beginner | Dehydrated mature skin & fine expression lines |
| 2 | Center-Outward Serum Foundation Stippling | Beginner | Uneven redness without masking natural texture |
| 3 | Inner-to-Outer Corner Upward Concealer Triangles | Beginner | Under-eye shadows & downturned outer corners |
| 4 | High-Cheekbone Cream Blush Swept to Temples | Beginner | Loss of mid-face volume & flat apples of cheeks |
| 5 | Above-the-Zygomatic Cream Contour Buffing | Intermediate | Softening jowl shadows & lifting cheekbones |
| 6 | Open-Eye Above-the-Crease Hooded Eye Shading | Intermediate | Hooded eyelids & folding upper lid skin |
| 7 | Upper Waterline Gel Tightlining | Beginner | Thinning lashes & textured upper lash lines |
| 8 | Feathery Micro-Stroke Brow Tail Elevation | Beginner | Sparse brow tails & cool silver or gray hair |
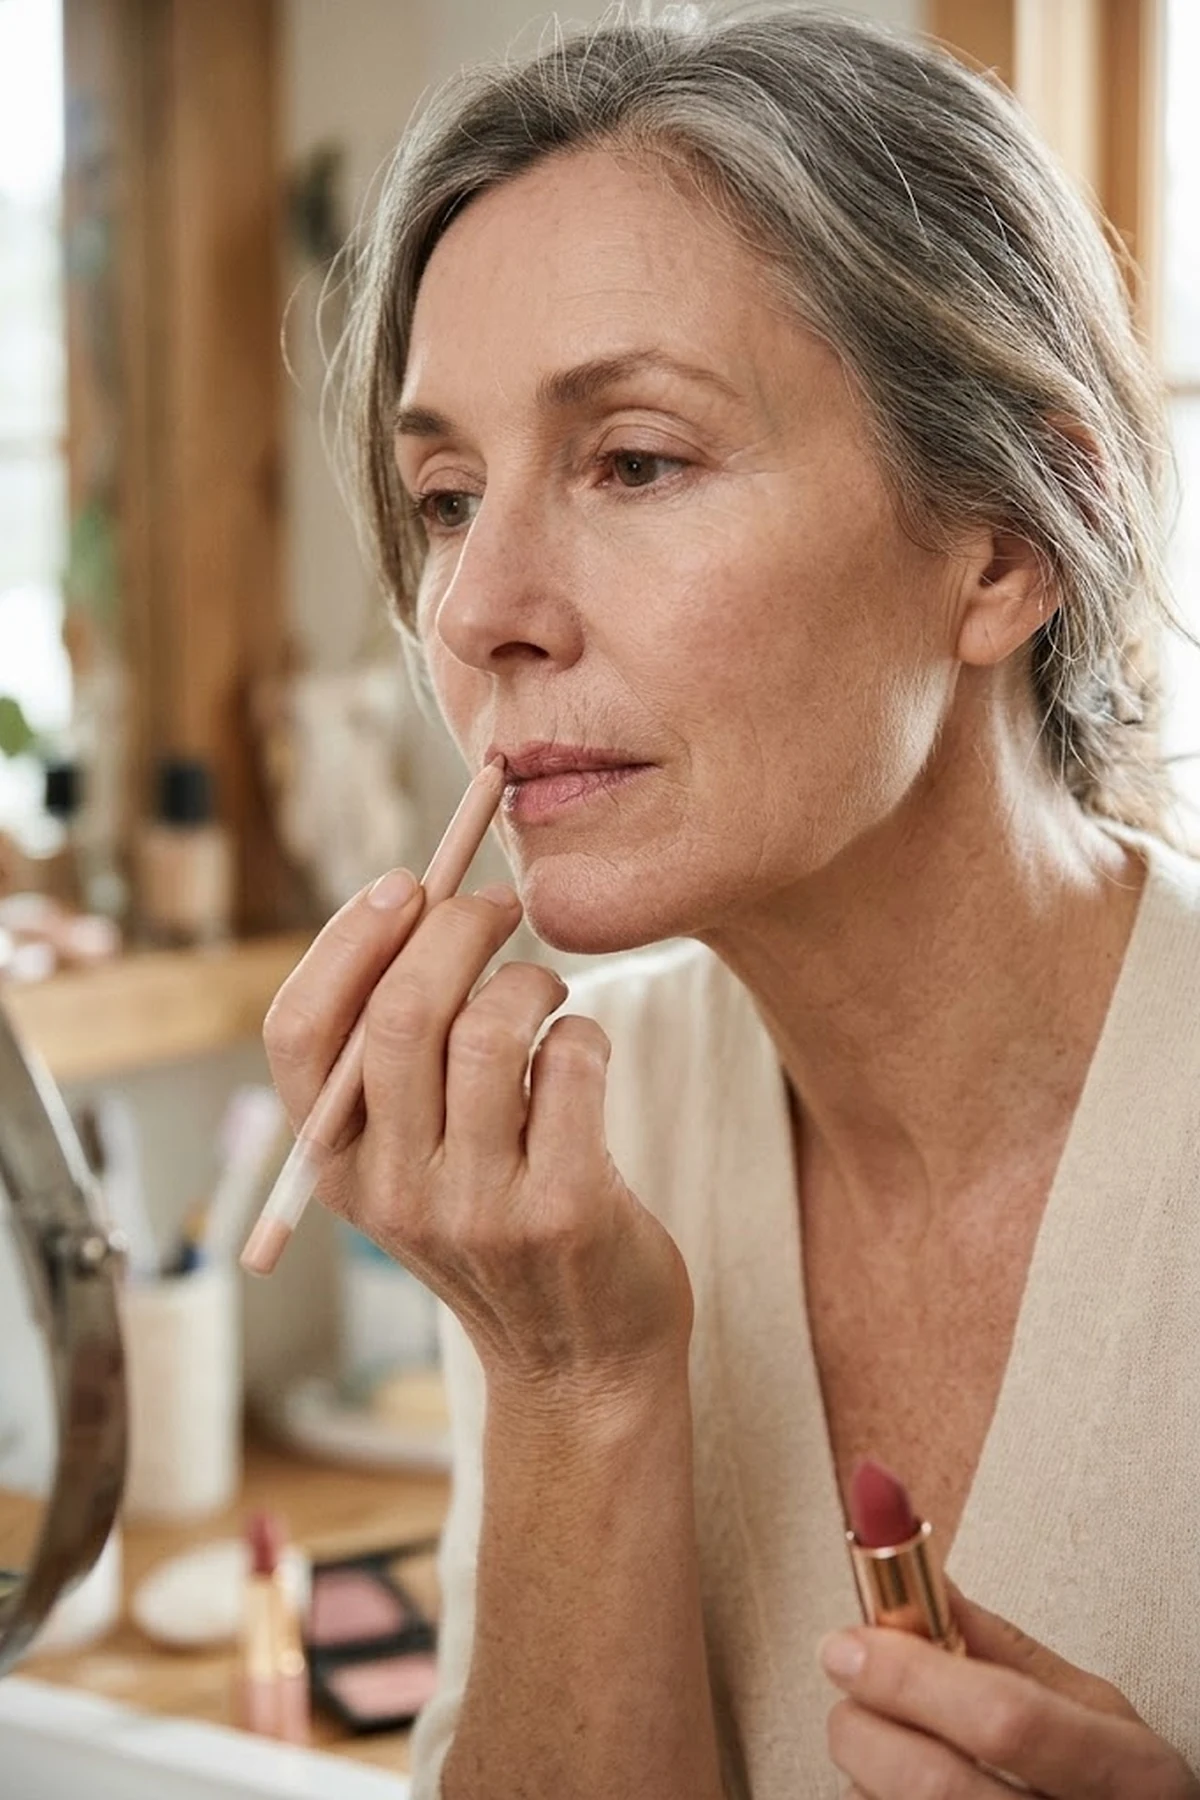
| 9 | Invisible Wax Lip Border Sealing | Beginner | Vertical perioral lines & creamy lipstick lovers |
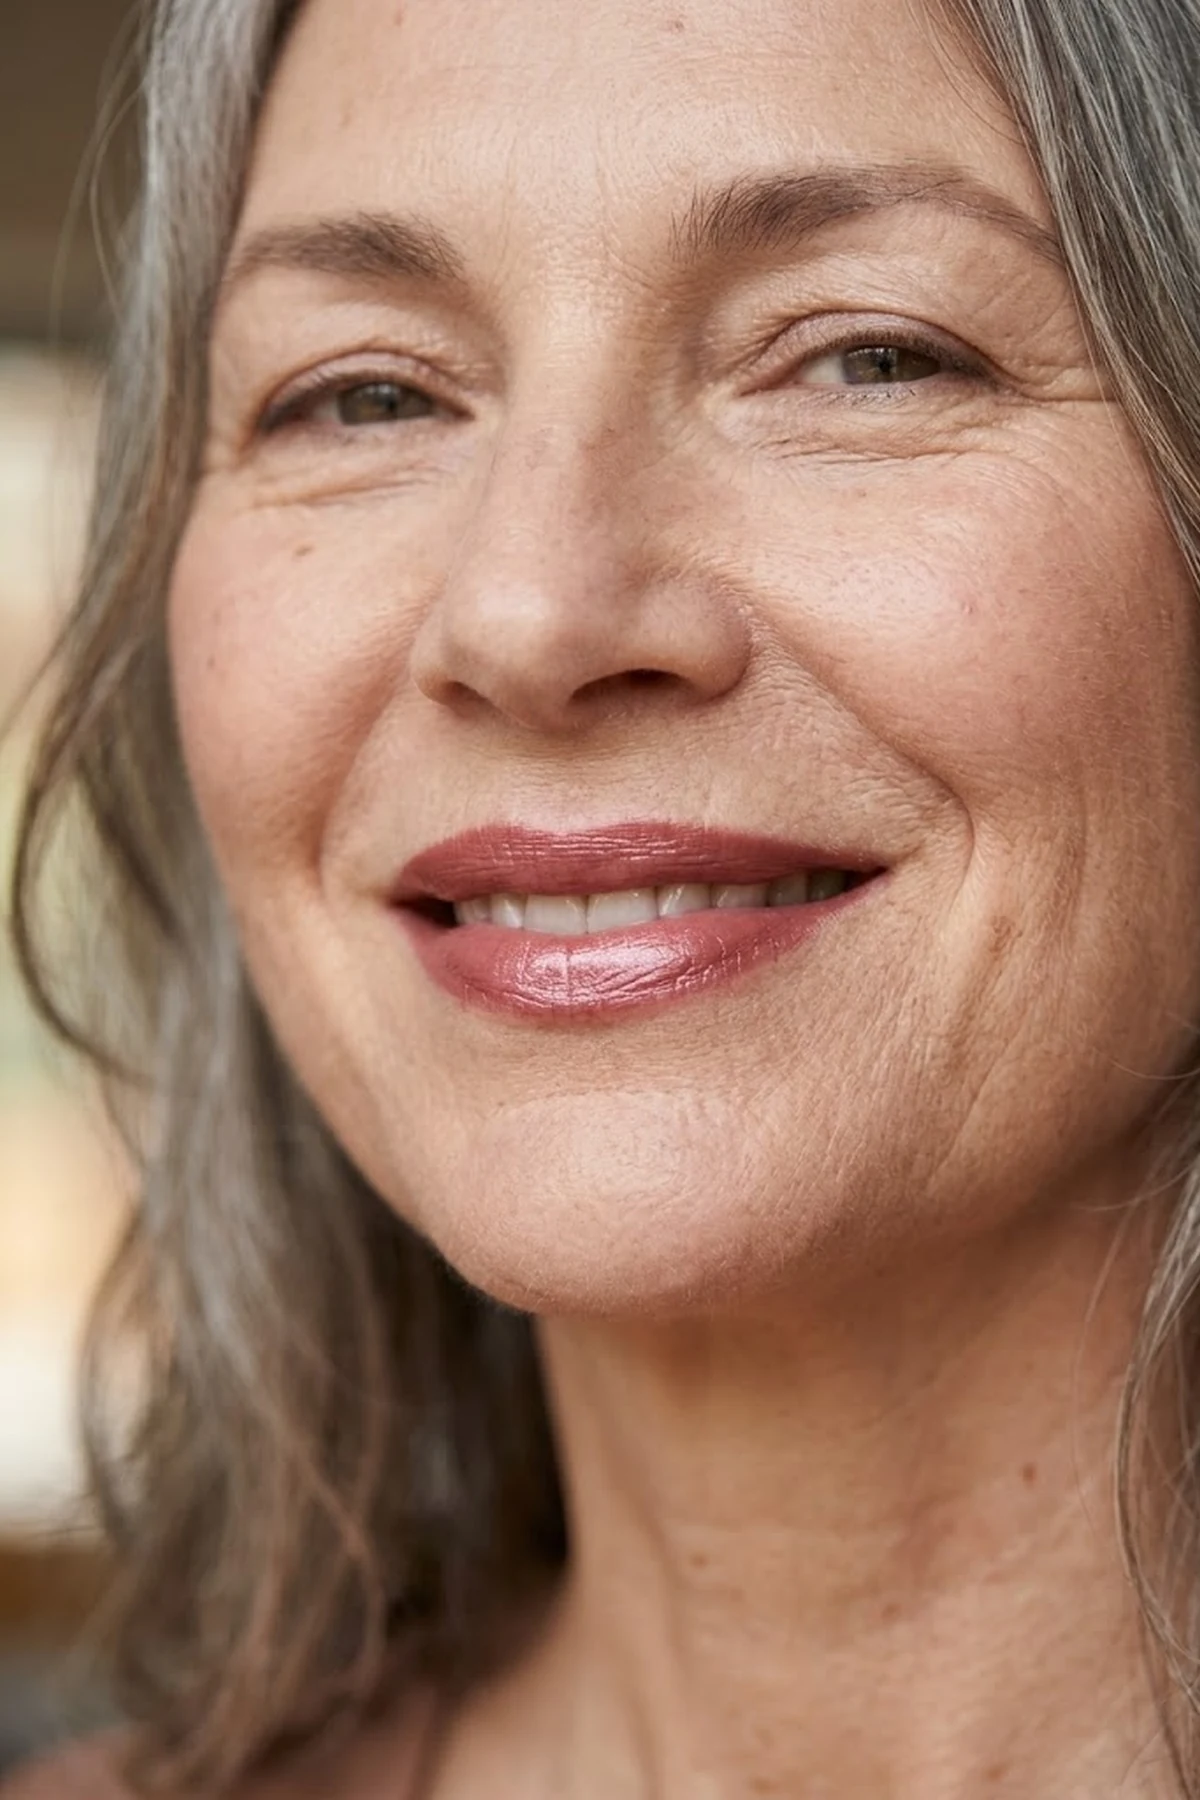
| 10 | Center-Cupid’s Bow Satin Rosewood Layering | Beginner | Thinning upper lips & loss of vermilion pigment |
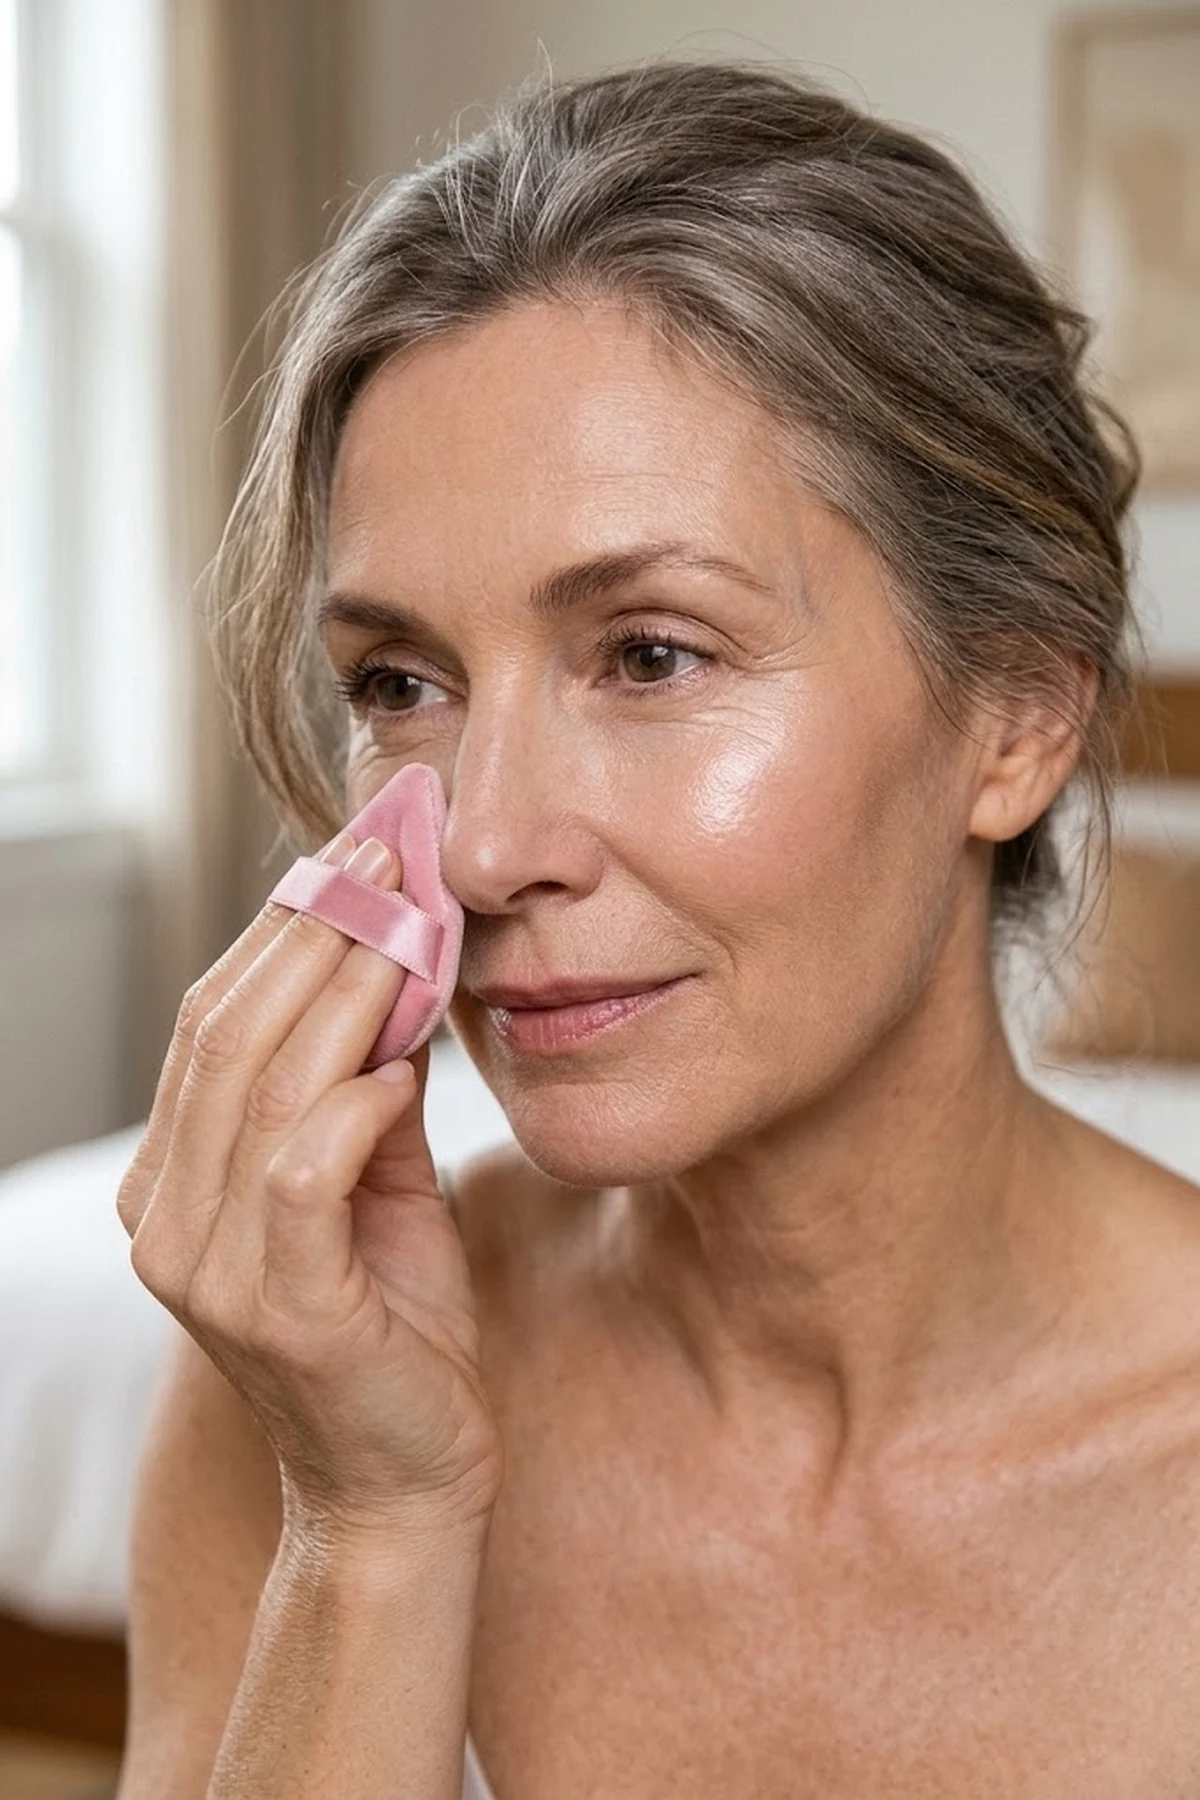
| 11 | Targeted T-Zone Velvet Puff Pressing | Beginner | Combination mature skin & nasolabial shine control |
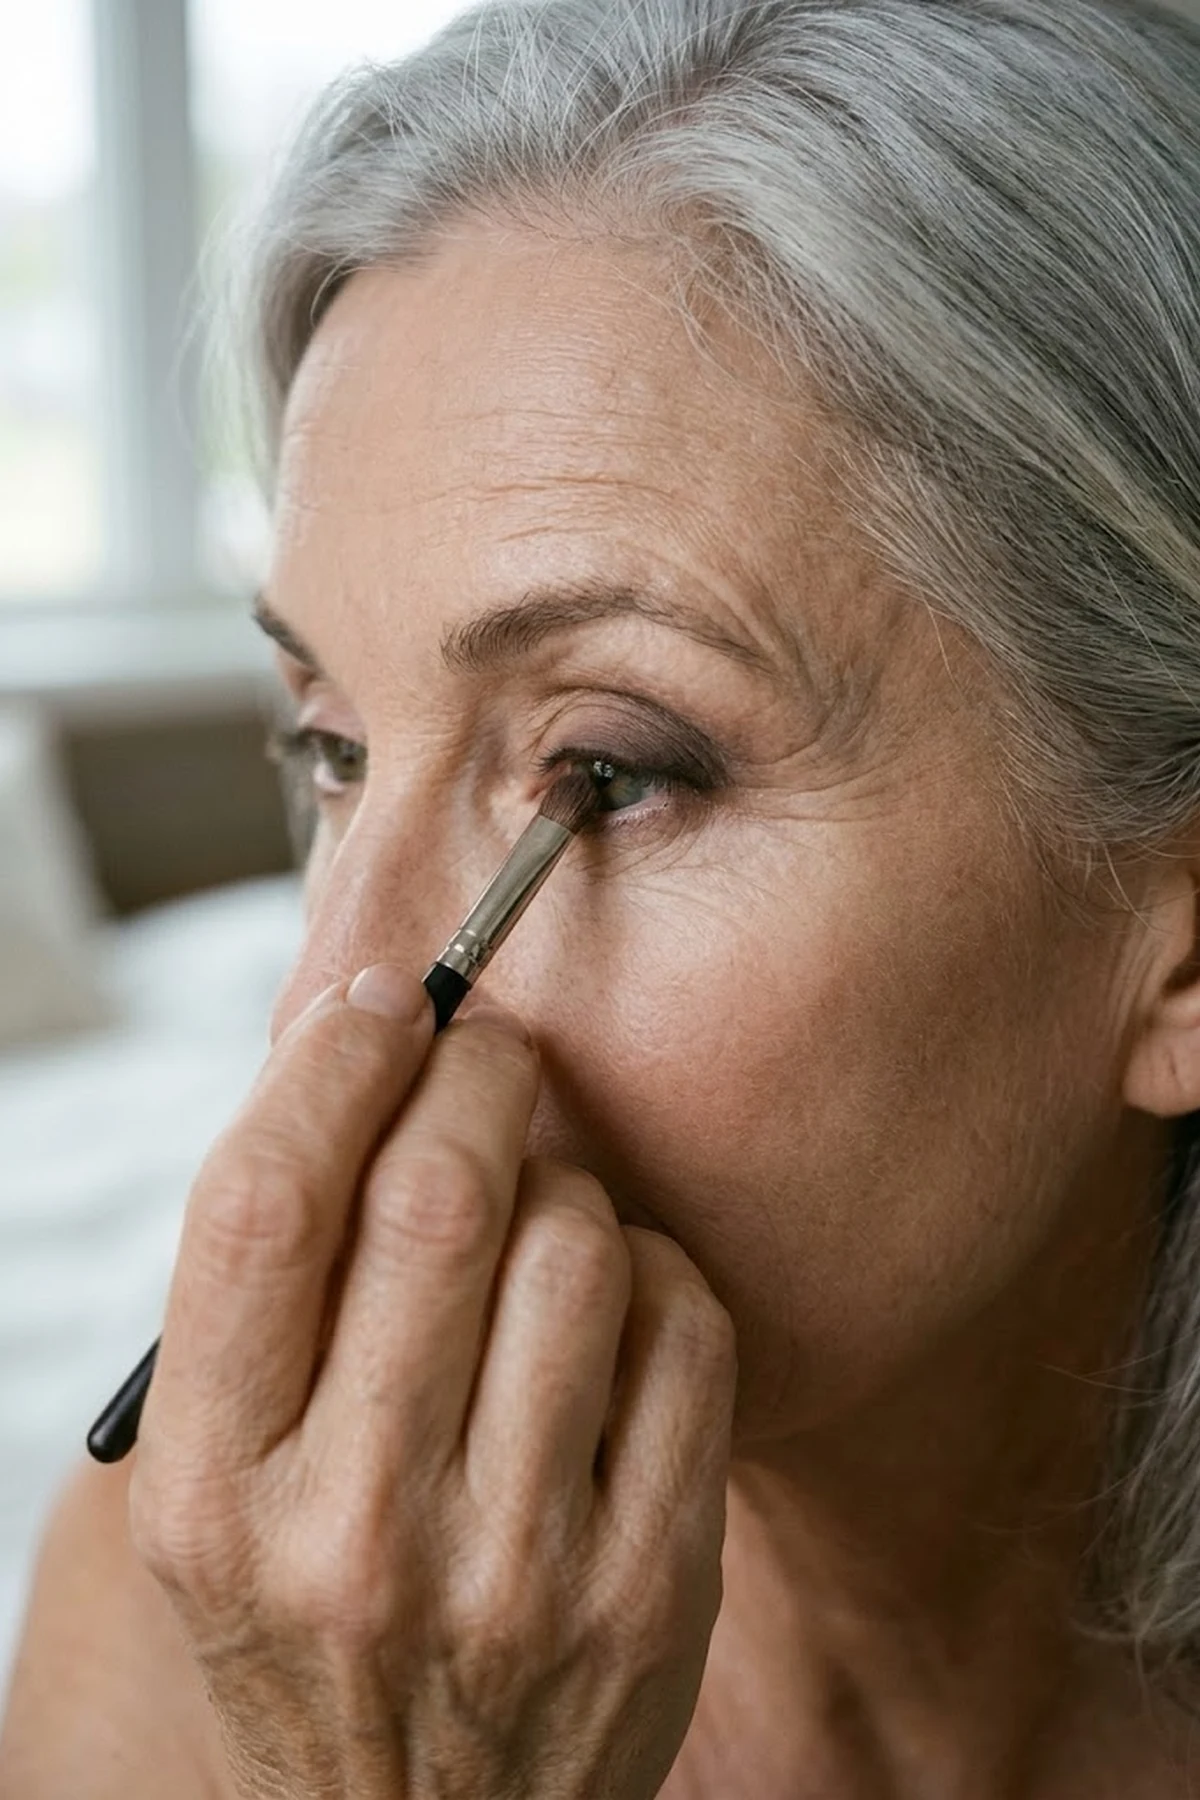
| 12 | Outer-Third Smudged Espresso Shadow Wing | Beginner | Textured eyelids where liquid eyeliner skips |
| 13 | Nude Waterline Rim Brightening Over 60 | Beginner | Smaller-looking eyes & reddish lower rims |
| 14 | Eyeglass-Smart Under-Eye Brightening | Beginner | Reading glasses, progressives & frame shadows |
| 15 | Warm Copper-Bronze & Satin Slate for Blue Eyes | Beginner | Blue, gray-blue, or hazel mature eyes |
| 16 | Micro-Mist Glycerine Setting Spray Melting | Beginner | Dry skin over 60 & afternoon makeup separation |
| 17 | Tubing Polymer Mascara Wiggled at Roots | Beginner | Hooded lids, watery eyes & fragile mature lashes |
| 18 | Pearl-Free Liquid Luminizer on Orbital Bone | Beginner | Dull skin tone with fine lateral eye lines |
| 19 | Monochromatic Rose-Taupe Multi-Stick Over 70 | Beginner | Delicate paper-thin skin over 70 & 5-min routines |
| 20 | Jawline-to-Clavicle Warmth Blending | Beginner | Sun-lightened neck vs. warmer facial tone |
Contents of Article
- 1. Damp-Skin Hyaluronic Layering Before Primer for Plump Over-50 Radiance
- 2. Center-Outward Serum Foundation Stippling for a Second-Skin Glow
- 3. Inner-to-Outer Corner Upward Concealer Triangles to Lift Tired Eyes
- 4. High-Cheekbone Cream Blush Placement Swept Toward the Temples
- 5. Above-the-Zygomatic Cream Contour Buffing for Soft Jaw & Cheek Definition
- 6. Open-Eye Above-the-Crease Transition Shading for Hooded Mature Eyes
- 7. Upper Waterline Gel Tightlining to Thicken Sparse Lashes Without Harsh Lines
- 8. Feathery Micro-Stroke Brow Tail Elevation to Frame Silver and Gray Hair
- 9. Invisible Wax Lip Border Sealing to Stop Vertical Feathering and Bleeding
- 10. Center-Cupid’s Bow Satin Rosewood Layering for Fuller-Looking Mature Lips
- 11. Targeted T-Zone Velvet Puff Pressing to Control Shine Without Caking Cheeks
- 12. Outer-Third Smudged Espresso Shadow Wing for Crepey or Textured Eyelids
- 13. Nude Waterline Rim Brightening to Counteract Redness and Tired Eyes Over 60
- 14. Eyeglass-Smart Under-Eye Brightening and Curl-First Lash Framing
- 15. Warm Copper-Bronze and Satin Slate Contrasts to Make Mature Blue Eyes Pop
- 16. Micro-Mist Glycerine Setting Spray Between Cream Layers for All-Day Melting
- 17. Tubing Polymer Mascara Wiggled at the Roots for Smudge-Proof Lash Lift
- 18. Pearl-Free Liquid Luminizer Tapped on the Orbital Bone (Avoiding Crow’s Feet)
- 19. Monochromatic Rose-Taupe Multi-Stick Routine for Featherlight Over-70 Radiance
- 20. Jawline-to-Clavicle Warmth Blending with a Dense Brush to Erase Neck Contrast
- Frequently Asked Questions
- How do you apply eye makeup on hooded mature eyes without dragging the skin?
- Why does my concealer crease under my eyes after 50 and how do I stop it?
- Should older women use silicone primers or water-based gripping primers under cream makeup?
- How can I stop hydrating lipstick from bleeding into vertical lip lines over 60?
- How should I adjust my eye makeup when wearing reading glasses or progressive lenses?
- Why is tubing mascara better than waterproof mascara for mature eyelashes?
1. Damp-Skin Hyaluronic Layering Before Primer for Plump Over-50 Radiance
🎯 Best For: Dehydrated mature skin & fine expression lines
✨ Lifting & Finish Effect: Plump, Cushion-Soft Dewy Canvas
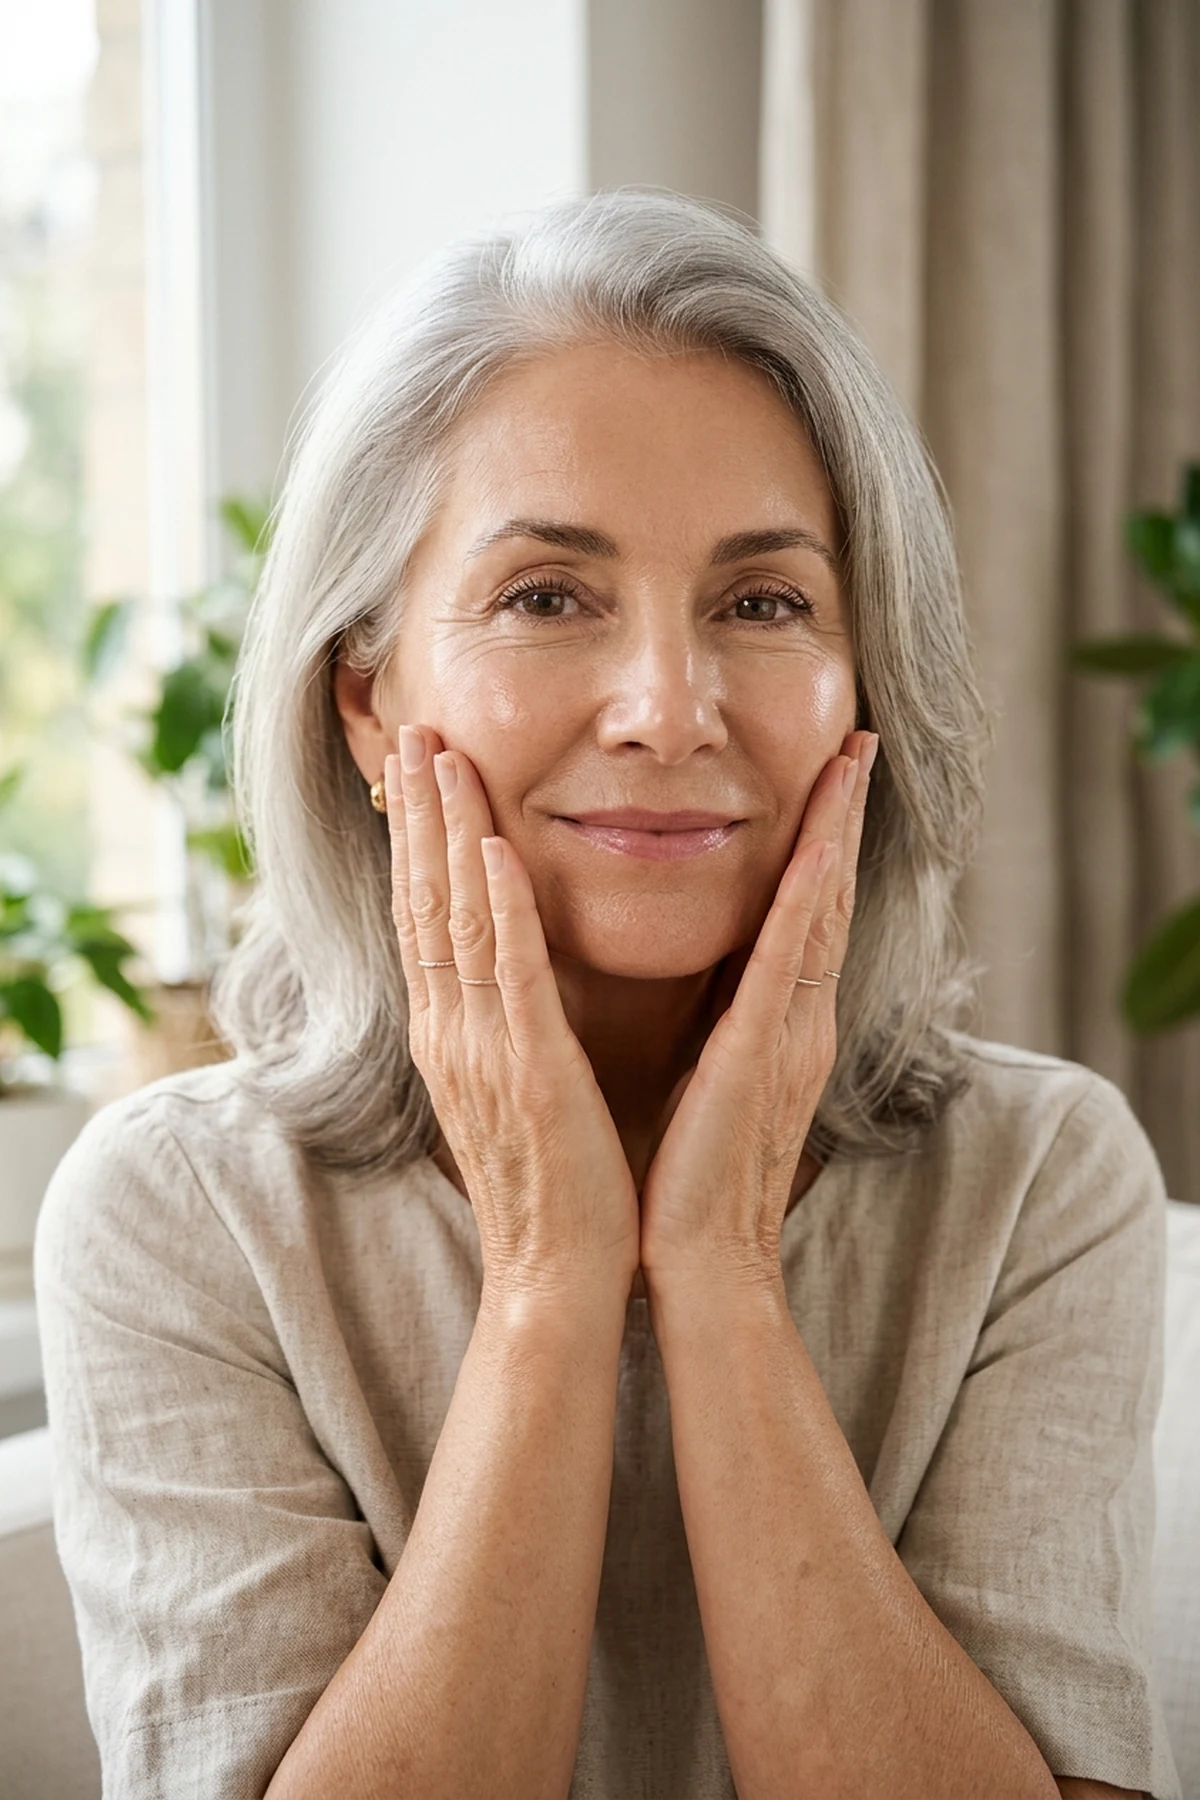
This expert pick starts before any pigment touches your face by pairing damp-skin hyaluronic layering with a multi-molecular hyaluronic acid serum pressed directly onto misted skin. As estrogen levels shift after fifty, the stratum corneum loses surface water rapidly, causing liquid makeup to drink up moisture from your foundation and leave dry patches behind. Pressing humectants into slightly wet skin traps surface hydration and visibly plumps fine crow’s feet within ninety seconds.
Wait two full minutes for the serum and a lightweight ceramide moisturizer to absorb completely before smoothing a pea-sized drop of illuminating grip primer across your cheekbones and forehead. Avoid silicone-heavy pore-filling primers over the entire face, as heavy dimethicone polymers often pill when layered underneath emollient cream blush or serum tints. Instead, focus gripping polymers where makeup tends to fade around the chin and upper lip.
In a professional editorial kit, skin prep accounts for seventy percent of how smooth a base looks four hours later in natural daylight. Press the palms of your hands gently against your cheeks to warm the primer into a seamless, tacky veil before reaching for your foundation brush. Your complexion immediately takes on a bouncy, light-reflective clarity that needs half as much coverage.
2. Center-Outward Serum Foundation Stippling for a Second-Skin Glow
🎯 Best For: Uneven redness without masking natural texture
✨ Lifting & Finish Effect: Weightless Luminous Satin Skin Finish
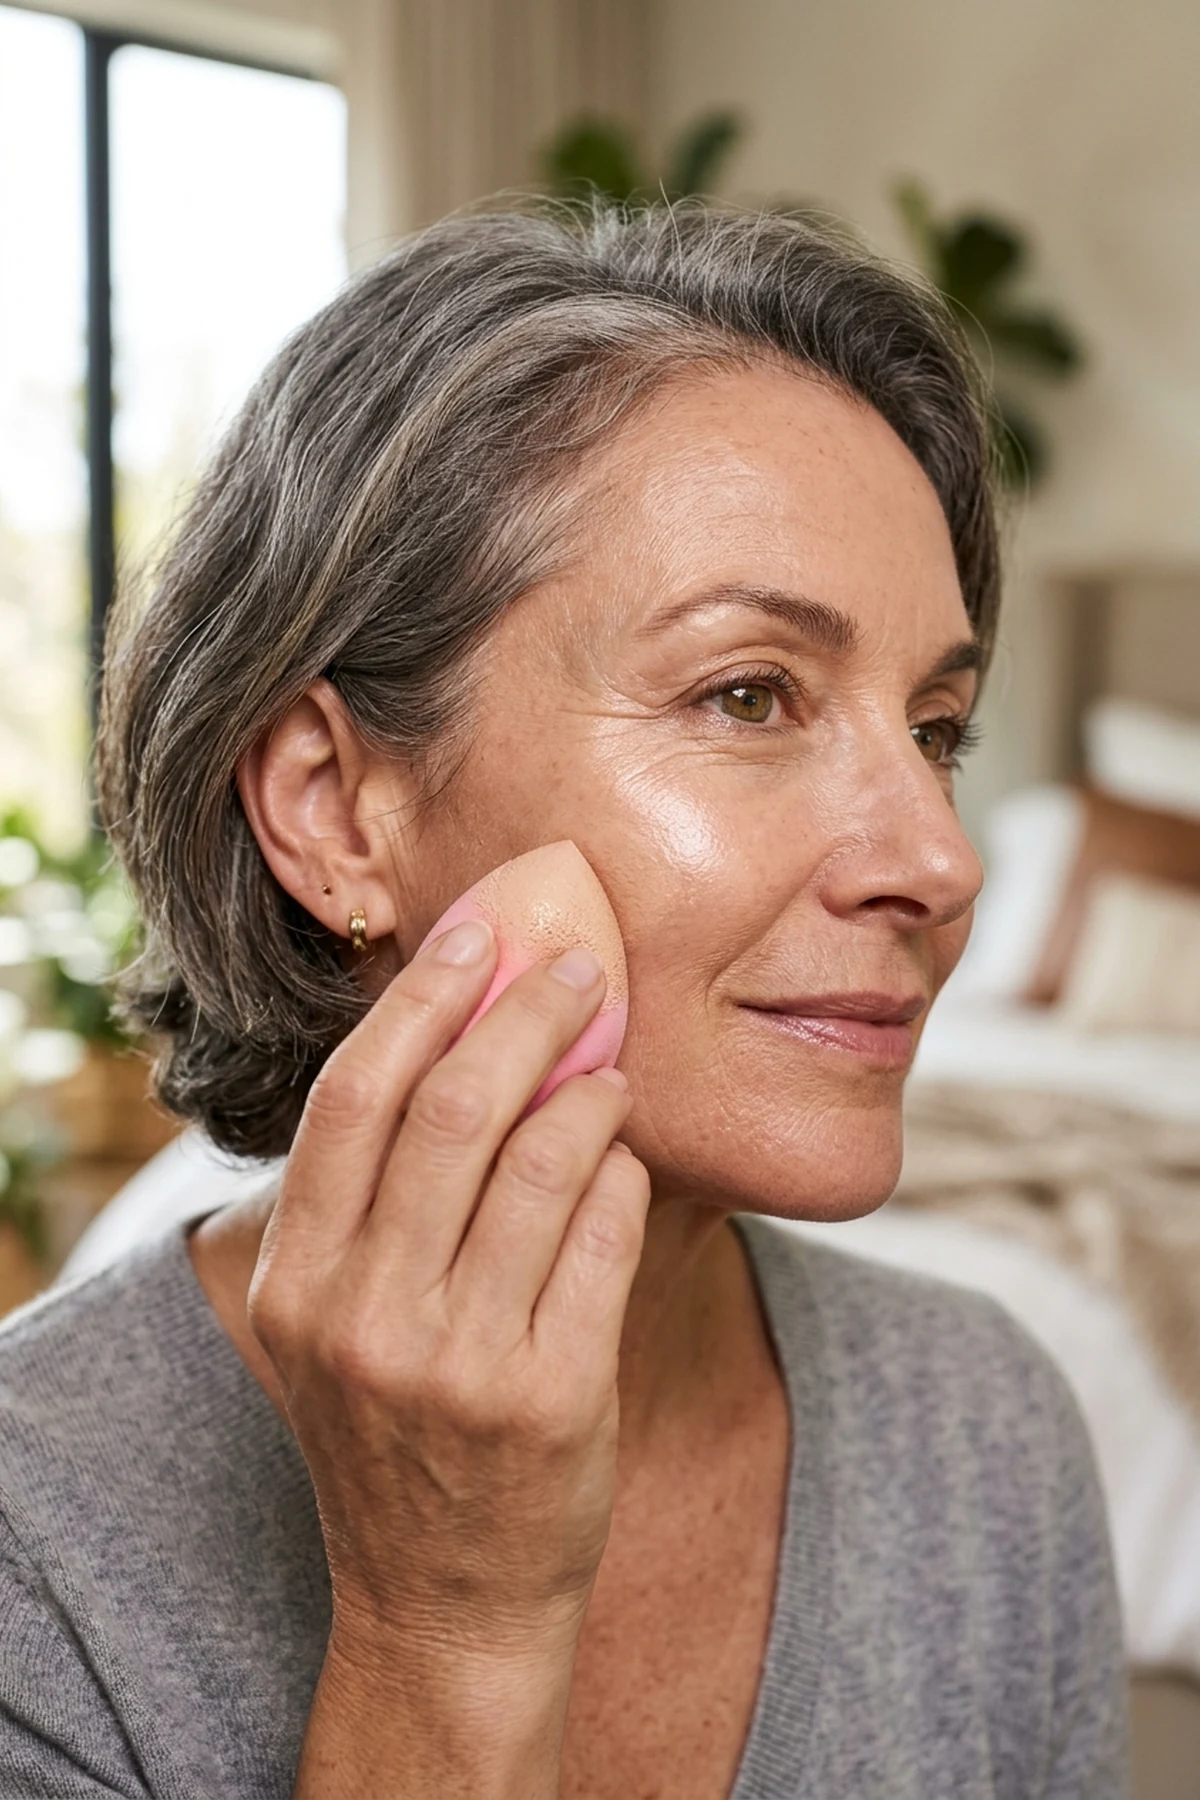
A beginner friendly change that transforms heavy base routines is switching to center-outward serum foundation stippling using a peptides-infused serum foundation. Most redness and broken capillaries cluster around the nostrils, chin, and inner cheeks, whereas the outer perimeter of the face remains relatively even in tone. Placing a full pump of pigment along the jawline or temples only adds unnecessary weight that settles into expression lines.
Dispense a single drop onto the back of your hand, pick it up incrementally, and use dampened micro-sponge stippling to tap coverage over the center of your face first. Rather than dragging or swiping the sponge across delicate skin, bounce the rounded base straight up and down to press micro-pigments into pores without disturbing underlying hydration. Feather whatever trace residue remains outward toward the hairline for an undetectable transition.
This minimalist approach delivers a luminous satin skin finish that mimics healthy skin rather than opaque foundation. When comparing hydrating foundations for mature skin, look for flexible elastomers paired with squalane or glycerin so the formula moves dynamically when you smile. You will use half the product while keeping your skin fresh from morning coffee through dinner.
3. Inner-to-Outer Corner Upward Concealer Triangles to Lift Tired Eyes
🎯 Best For: Under-eye shadows & downturned outer corners
✨ Lifting & Finish Effect: Instant Optical Outer-Corner Eye Lift
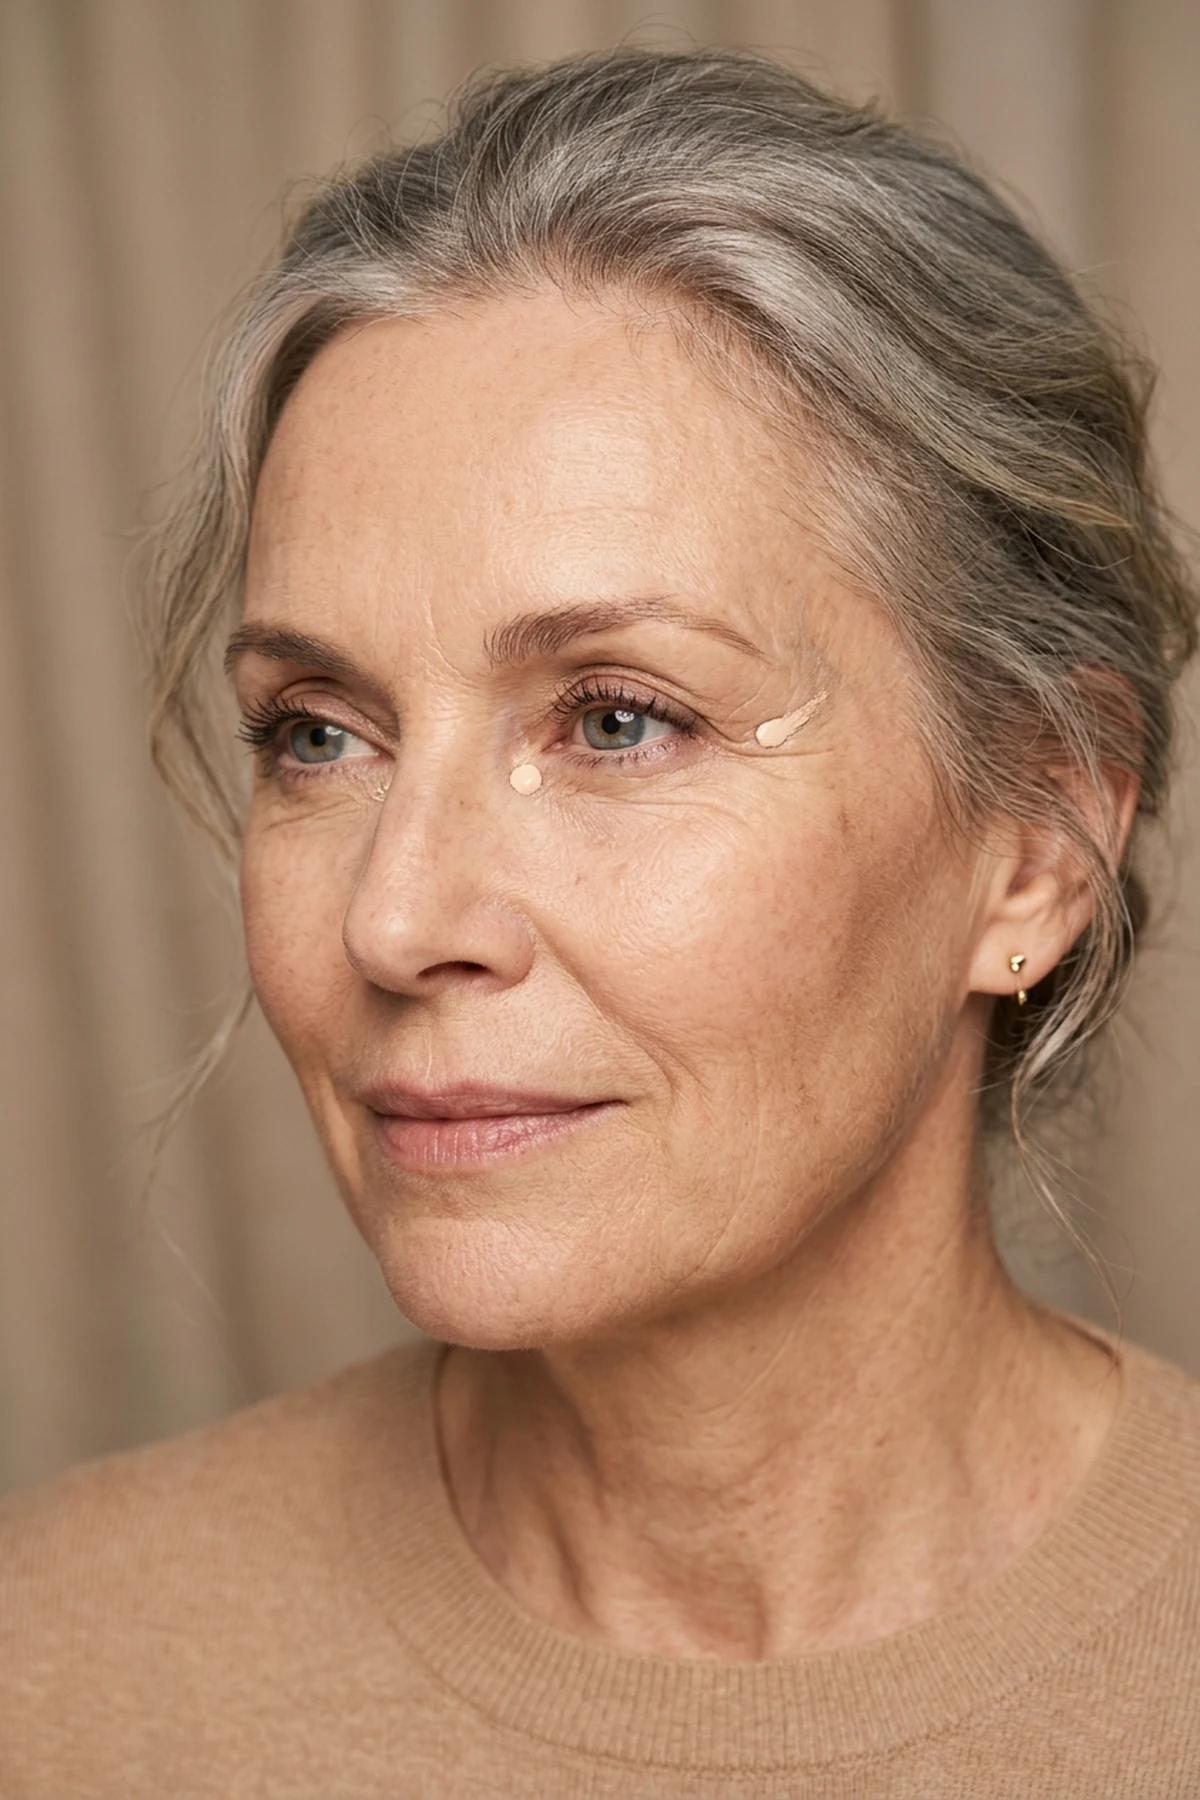
As a two-minute time-saver, replacing heavy inverted concealer cones with micro-targeted inner-to-outer corner concealer triangles prevents midday creasing beneath the lower lashes. The skin under the eyes is the thinnest on the human face, and coating that entire crescent in thick full-coverage concealer guarantees caking inside dynamic smile folds. Instead, neutralize bluish or purple tear-trough darkness first by tapping a thin layer of peach-toned under-eye color corrector strictly into the deepest inner hollow.
Once the corrector neutralizes the shadow, place just two tiny pinpoint dots of hydrating serum concealer: one at the inner tear trough near the bridge of the nose, and a second angled sharply upward from the outer corner toward the temple. Use your ring finger or a small domed concealer brush to tap the outer dot along a forty-five-degree diagonal vector. Leave the mobile center directly beneath the pupil virtually bare so the skin can crinkle naturally when you laugh.
This easy DIY placement shift creates an optical brightener that pulls the entire eye contour upward without a single drop of extra product. Choose a concealer shade only half a tone lighter than your neck rather than stark ivory, which can turn ashy over mature skin. Set only the innermost corner with a whisper of finely milled silica powder if your eyes tend to water.
4. High-Cheekbone Cream Blush Placement Swept Toward the Temples
🎯 Best For: Loss of mid-face volume & flat apples of cheeks
✨ Lifting & Finish Effect: Sculpted Cheekbone Elevation & Dewy Flush
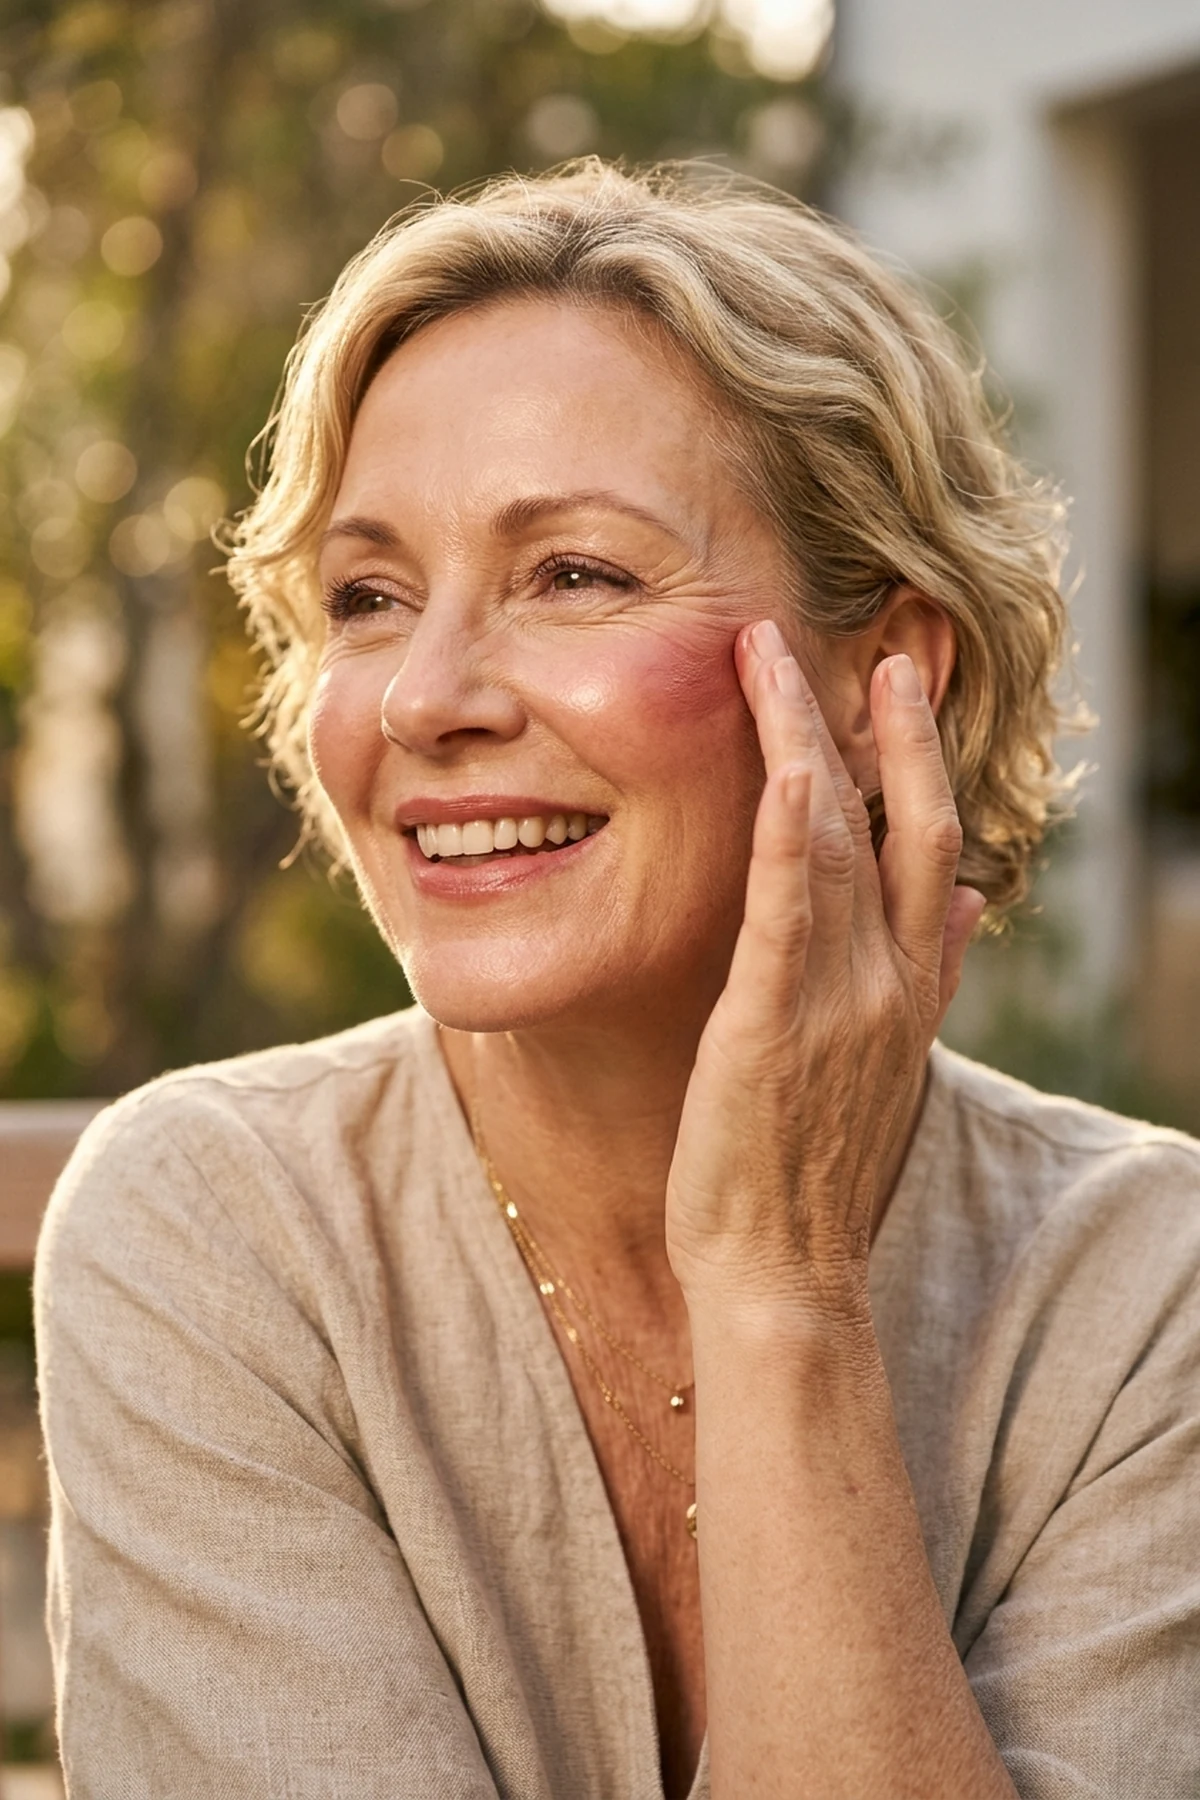
One of the most impactful trend alert upgrades in modern age-positive beauty is trading apple-of-the-cheek powder rouge for a dewy liquid blush balm. When you smile and apply blush directly onto the rounded apples of the cheeks, those fat pads drop downward the moment your face relaxes, visually pulling the mid-face toward the nasolabial folds. Keeping your expression neutral in the mirror ensures your color stays elevated where it flatters your bone structure.
Anchor your upward temple-lifting blush placement by starting two finger-widths away from the side of the nose and tapping three small dots along the upper ridge of the zygomatic bone. Blend the emollient pigment upward and outward toward the tail of your eyebrow using a stippling brush or clean fingertips. Diffuse the top edge slightly onto the lower temple so the flush wraps seamlessly around the eye area.
Professional makeup artists rely on warm apricot, soft rosewood, and muted coral cream formulas because their translucent base lets natural skin luminosity shine through. Unlike dry pressed powders that sit chalkily atop fine peach fuzz, a balm-textured blush melts into your serum foundation for a unified, lit-from-within vibrancy. If the intensity feels too bold, bounce your foundation sponge lightly around the edges to soften the transition.
5. Above-the-Zygomatic Cream Contour Buffing for Soft Jaw & Cheek Definition
🎯 Best For: Softening jowl shadows & lifting cheekbone structure
✨ Lifting & Finish Effect: Shadow-Free Structural Facial Contour
This hidden gem technique rethinks traditional sculpting by using above-the-zygomatic cream contour buffing with a sheer cool-toned cream contour stick. Mature faces naturally develop subtle hollows beneath the cheekbones as subcutaneous collagen diminishes, so placing dark contour directly inside the cheek hollow only makes the lower face appear gaunt and tired. Shifting your placement five millimeters higher—directly onto the lower curve of the cheekbone itself—creates lift without hollowness.
Instead of swiping a heavy stripe directly from the stick onto your skin, warm the cream formula on the back of your hand and load the bristles of an angled dense synthetic buffing brush. Press and roll the bristles upward from the tragus of the ear toward the outer corner of the eye, stopping strictly in line with the outer iris. Always blend in upward arcs rather than dragging pigment downward toward the mouth.
To refine the jawline in a professional manner, sweep the residual taupe cream lightly beneath the jawbone and directly over any soft jowl fullness to recede the shadow optically. Avoid orangey shimmer bronzers along the lower face, as warm metallic particles draw attention to skin laxity rather than mimicking natural structural shadow. The result is crisp, camera-ready architecture that looks entirely effortless in person.
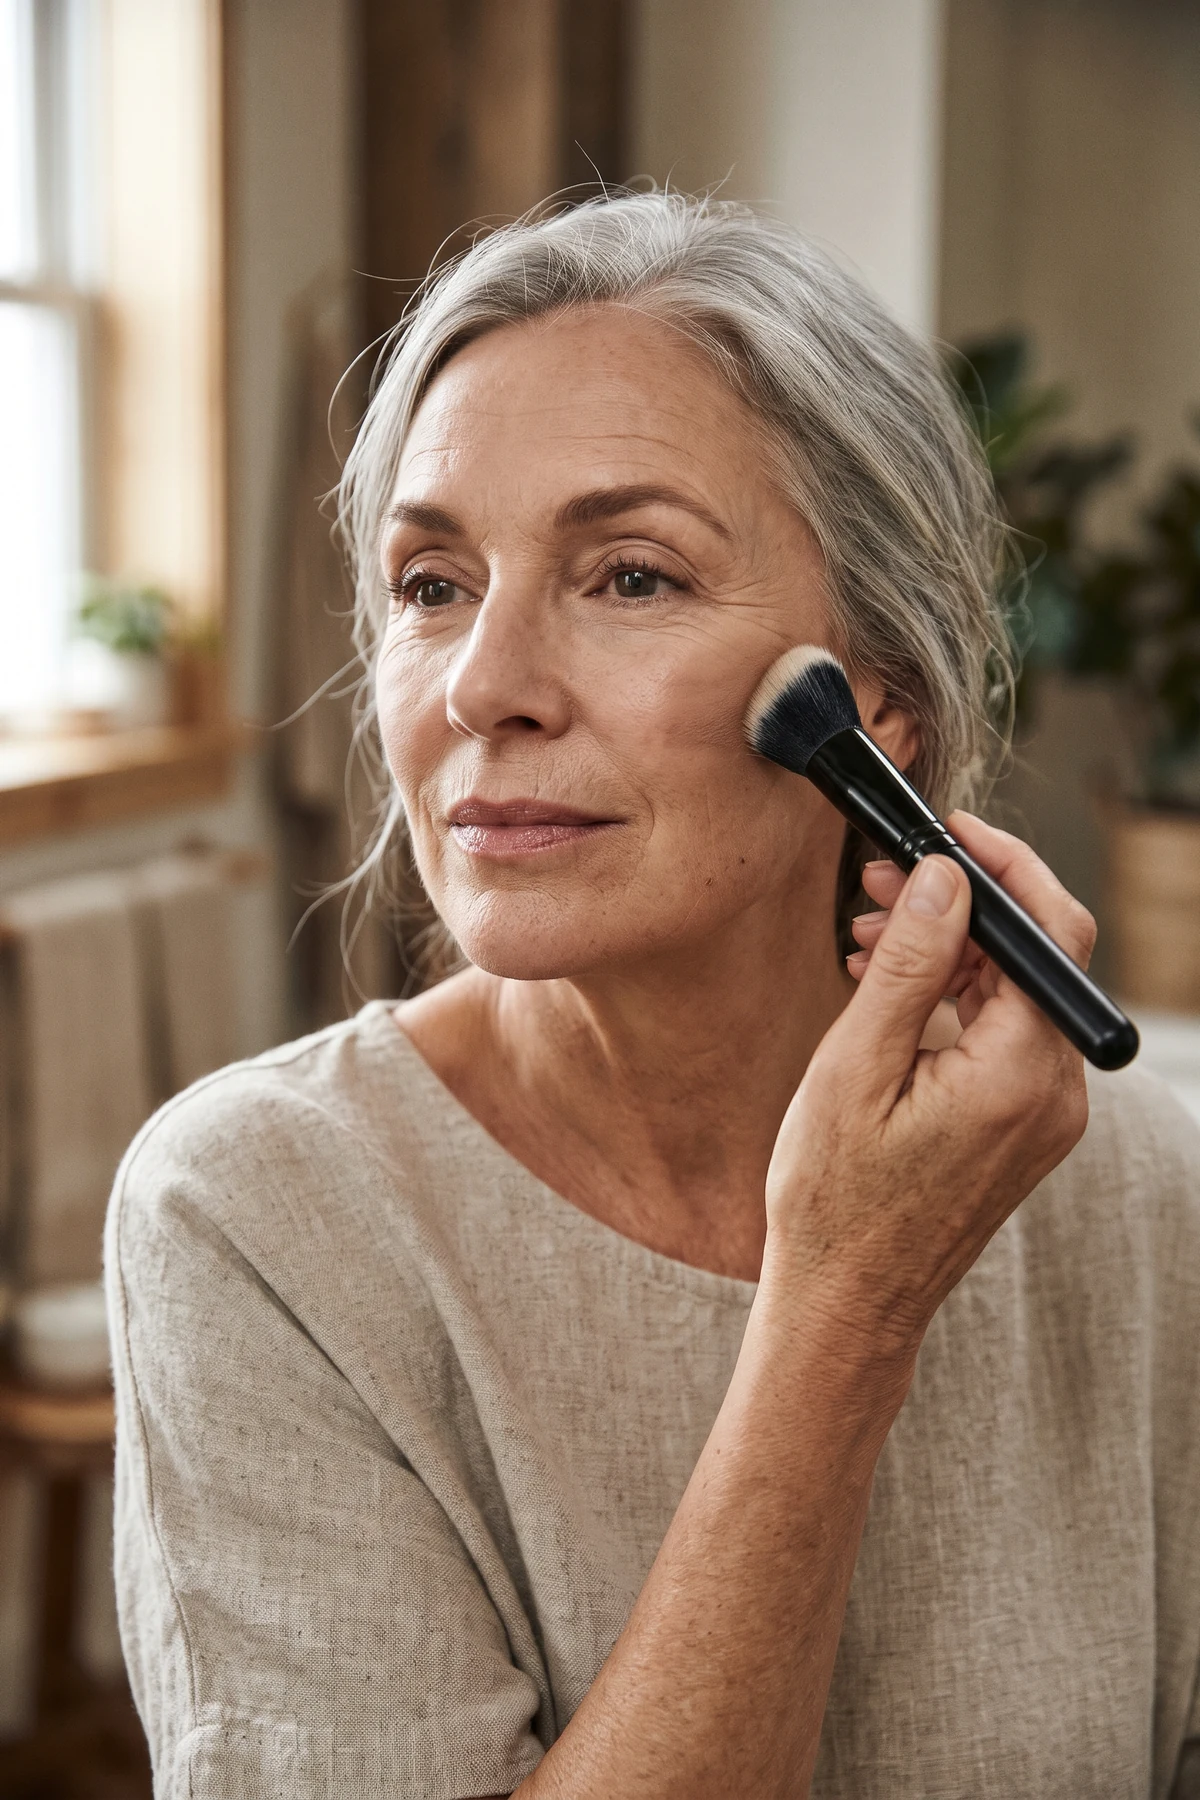
6. Open-Eye Above-the-Crease Transition Shading for Hooded Mature Eyes
🎯 Best For: Hooded eyelids & folding upper lid skin
✨ Lifting & Finish Effect: Recessed Hood & Wide-Awake Socket Depth
Our top expert pick for hooded eyelids is mapping an above-the-crease hooded eye transition while looking straight ahead into the mirror with your eyes completely open. When you tilt your chin back or close your eye to sweep pigment into your anatomical socket line, the overhanging fold swallows the shadow the instant you relax your gaze. Keeping your eyes level and relaxed lets you place depth exactly where it remains visible.
Dip a small, tapered crease brush into a soft-focus neutral taupe eyeshadow and tap off any loose kickback before touching your skin. Lightly windshield-wiper the shadow three millimeters above your natural fold right onto the prominent part of the hood, pressing gently so the skin does not drag or bunch. Sweep the outer edge upward toward the tail of your brow rather than following the downward curve of the outer eye corner.
This DIY contouring illusion visually pushes the heavy fold backward while making the mobile eyelid beneath look twice as tall and bright. Pair your matte taupe socket contour with a smooth satin ivory or pale bisque shade tapped strictly across the inner two-thirds of the mobile lid. Avoid chunky metallic glitters on the upper hood, which catch overhead light and bring the fold forward.
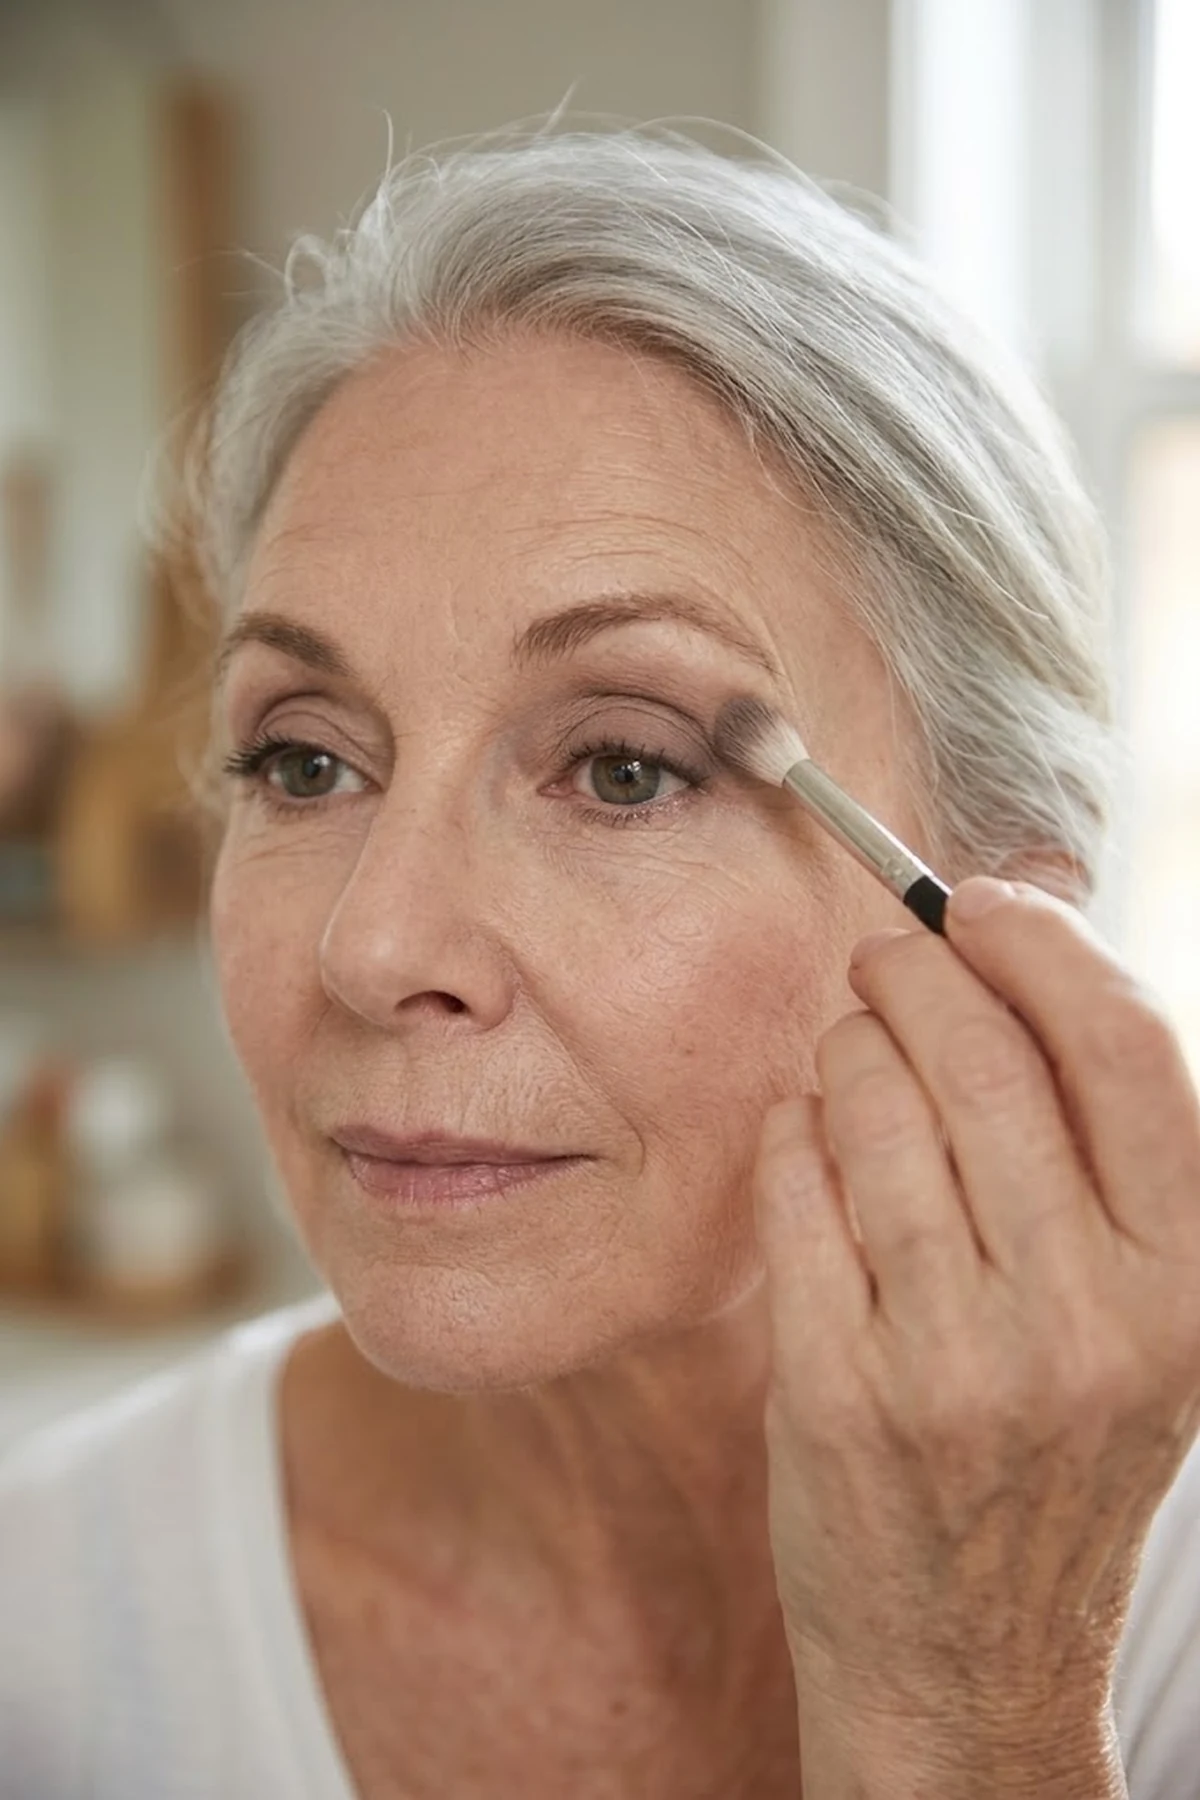
7. Upper Waterline Gel Tightlining to Thicken Sparse Lashes Without Harsh Lines
🎯 Best For: Thinning lashes & textured upper lash lines
✨ Lifting & Finish Effect: Full Lash Base Without Losing Lid Space
A beginner friendly secret for defining mature eyes without sacrificing precious lid real estate is mastering the upper waterline tightlining technique. Traditional liquid or felt-tip eyeliners drawn across the top of the eyelid often skip over delicate folds and leave a jagged stripe that makes hooded eyes appear smaller. By shifting pigment underneath the lash roots and directly between individual hairs, you create the optical illusion of a dense lash line with zero visible liner stripe.
Lift your upper eyelid gently by placing a clean index finger on your brow bone and press a waterproof gel tightlining pencil in rich espresso or charcoal into the base of the upper lashes. Wiggle the creamy tip horizontally from the outer corner to the center of the pupil, filling in the pale flesh-colored gaps that show through when eyelashes thin with age. Espresso and deep plum-brown shades deliver far softer contrast against mature skin than stark carbon black.
This minimalist method keeps the entire mobile lid bright and uncluttered while giving your gaze instant frame and intensity. If you have sensitive eyes or wear contact lenses, follow our guide to safe upper waterline tightlining so you never block the meibomian oil glands along the inner rim. Allow the gel polymer thirty seconds to set before blinking hard so nothing transfers to your lower waterline.
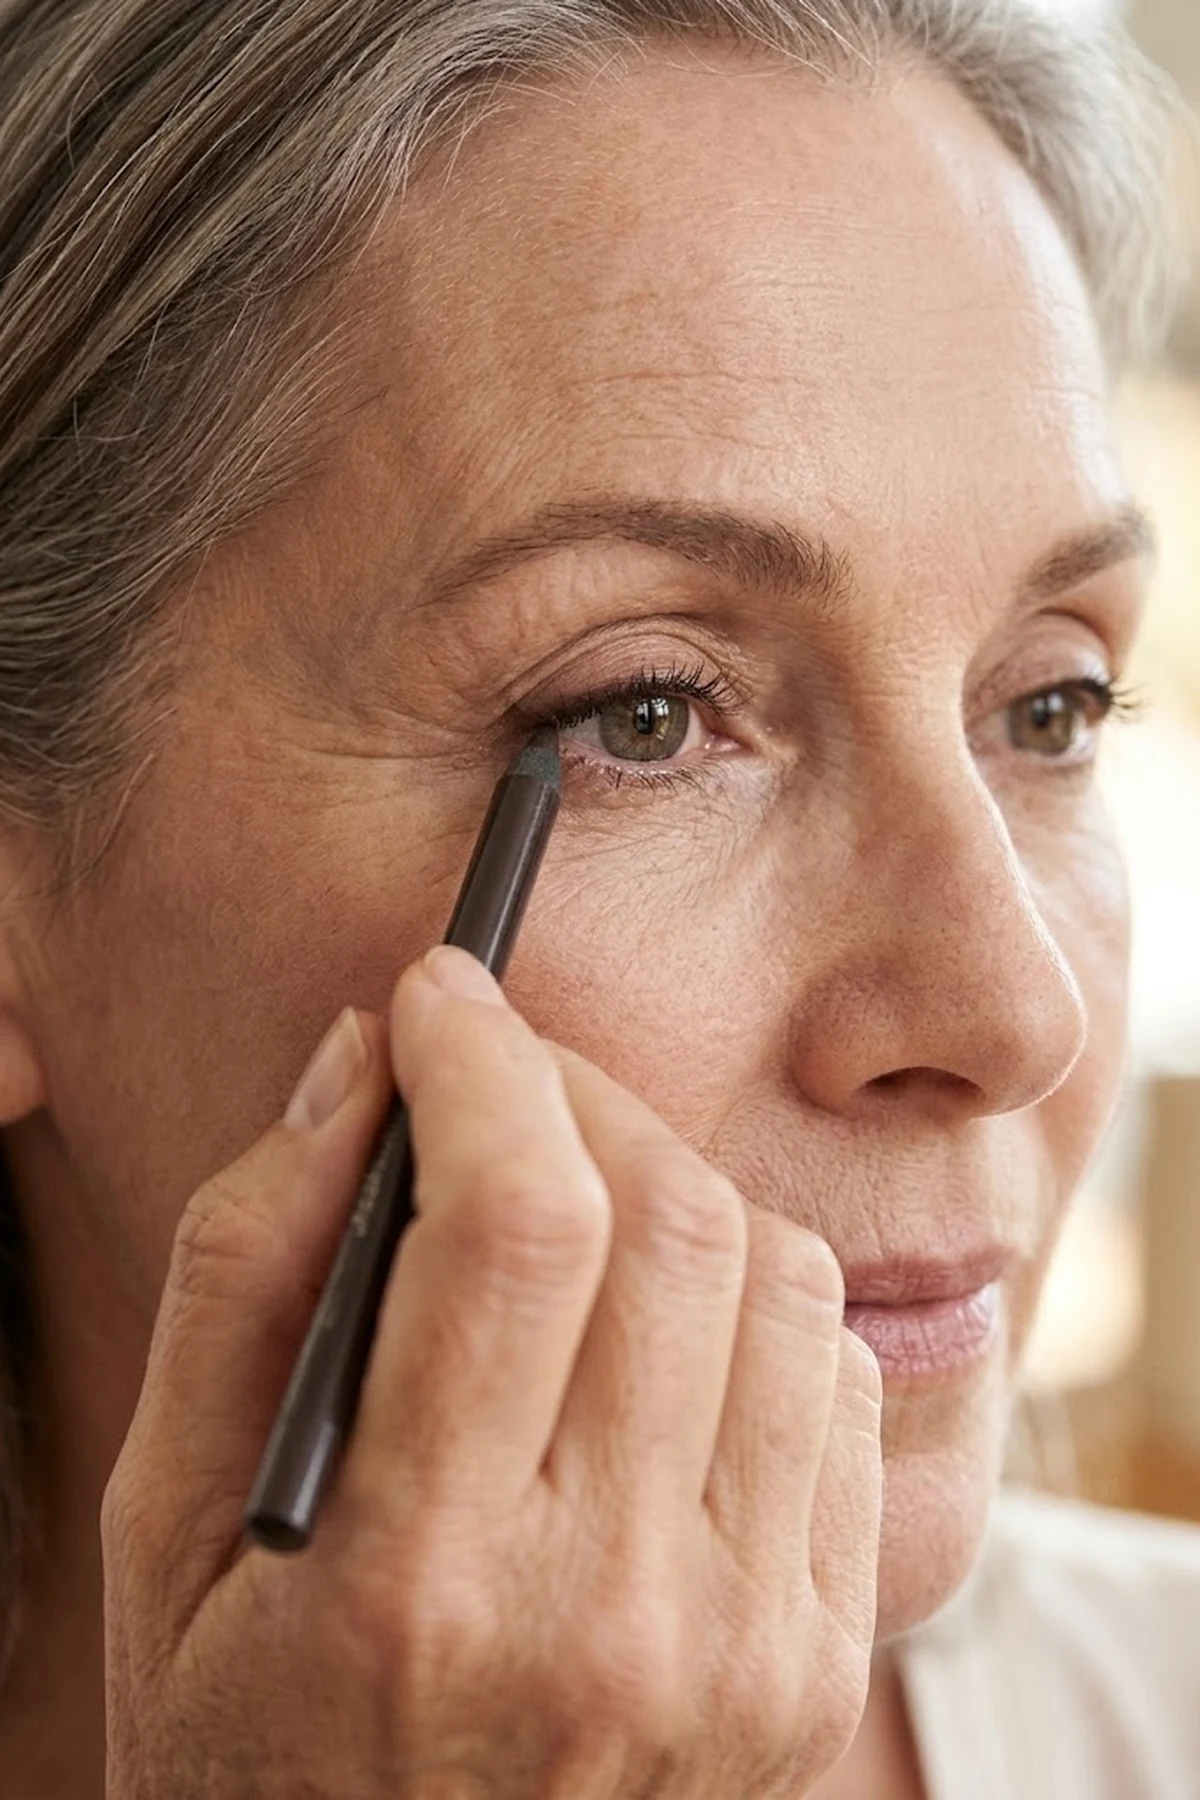
8. Feathery Micro-Stroke Brow Tail Elevation to Frame Silver and Gray Hair
🎯 Best For: Sparse brow tails & cool silver or blonde hair
✨ Lifting & Finish Effect: Soft Temple Frame & Arch Lift
As a daily time-saver, swapping heavy pomade blocks for feathery micro-stroke brow mapping takes years off the upper face in under sixty seconds. Over time, the outer third of the eyebrow naturally thins out, while the remaining tail hairs often droop below the horizontal plane of the inner brow head. Extending a brow pencil downward along that drooping trajectory visually drags the temple and outer eye corner down with it.
Brush your brow hairs straight up with a clean spoolie first, then select a twist-up micro-pencil in cool ash-taupe or soft pewter that harmonizes with silver, gray, or salt-and-pepper hair. Flick short, hair-thin strokes along the upper border of the arch and angle the tail slightly higher than the natural growth line to build lifted outer-corner eye definition. Avoid warm reddish-brown brow pencils, which clash against cool mature skin undertones and look artificial in daylight.
In a professional grooming routine, leaving the inner front quarter of the brow soft and slightly sheer keeps the expression approachable rather than stern. Lock the feathery strokes in place by combing a clear or tinted fiber brow wax upward at a forty-five-degree angle. That subtle elevation opens the space between the lashes and brow bone like an instant non-surgical brow lift.
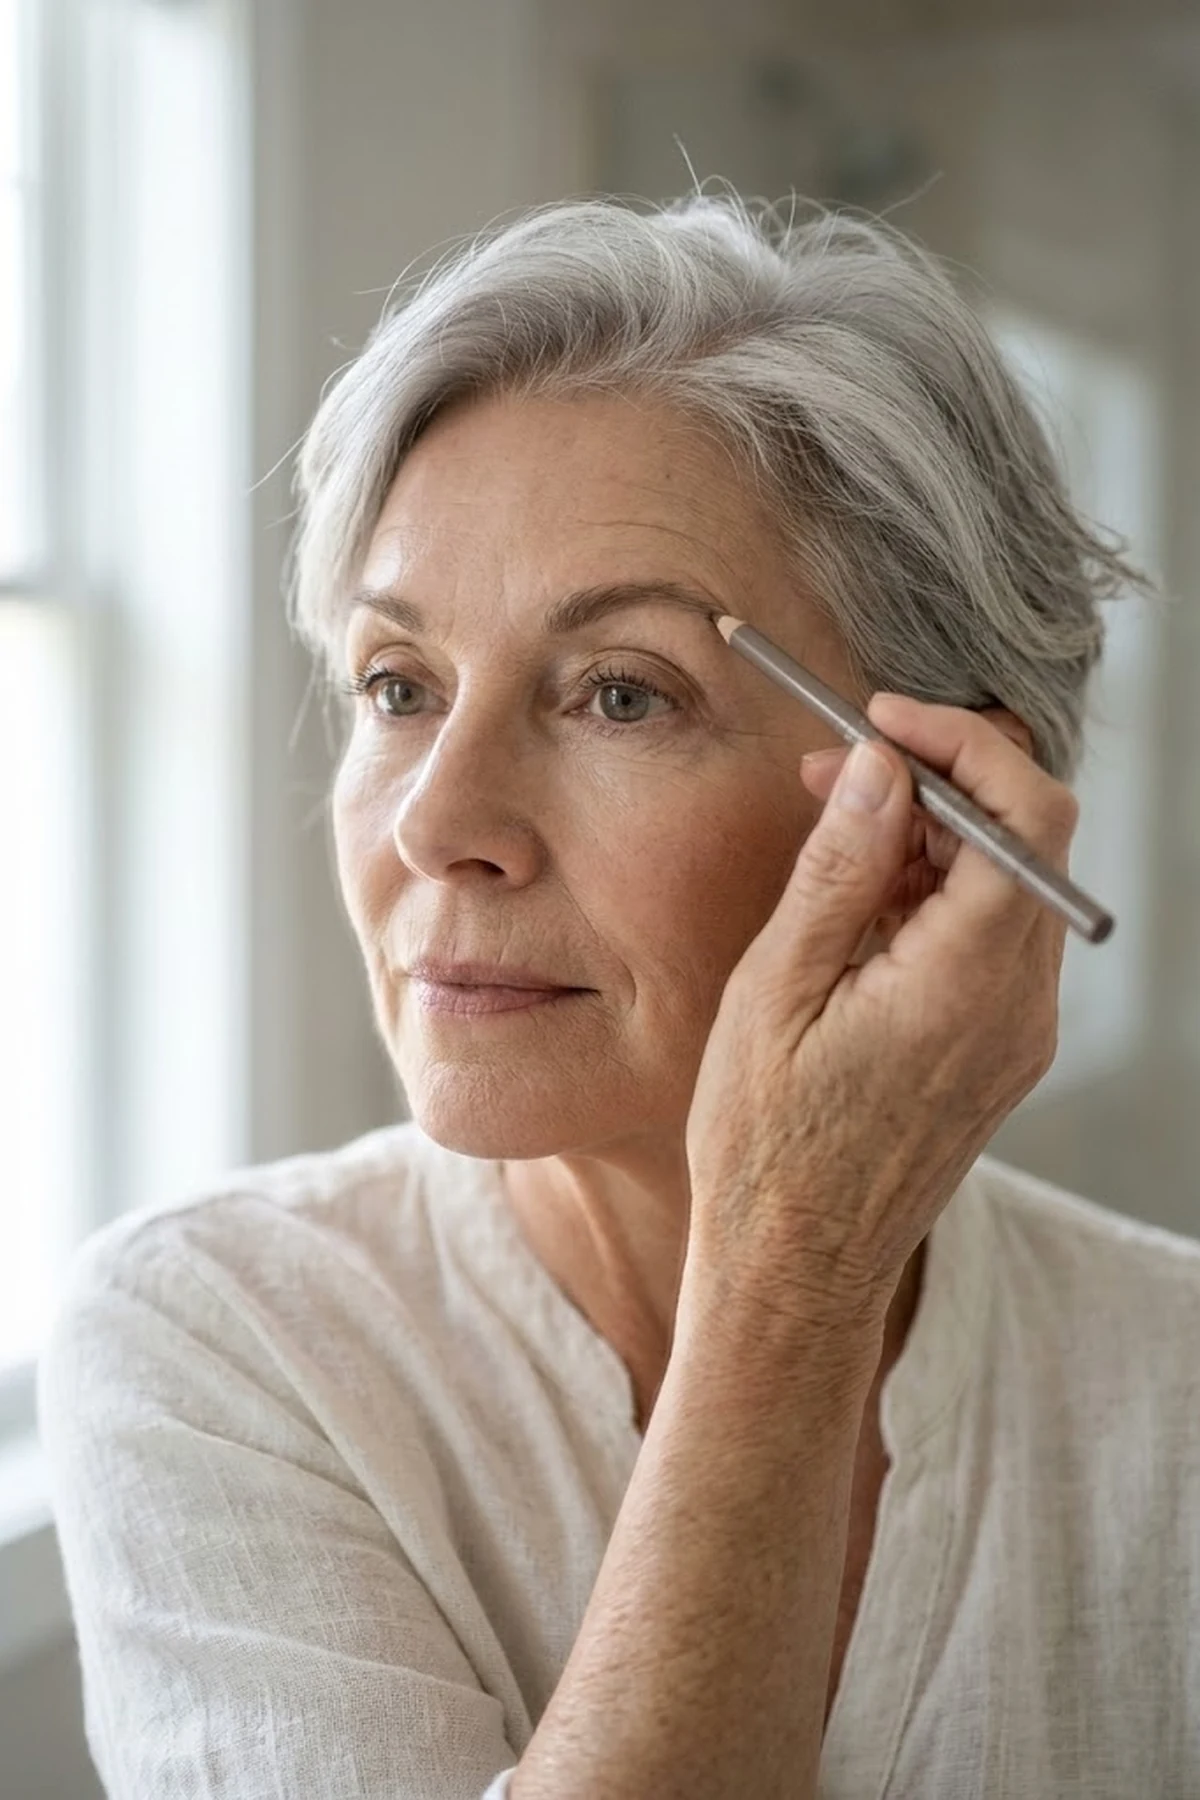
9. Invisible Wax Lip Border Sealing to Stop Vertical Feathering and Bleeding
🎯 Best For: Vertical perioral lines & creamy lipstick lovers
✨ Lifting & Finish Effect: Crisp, Bleed-Proof Cupid’s Bow
This clever budget swap lets you wear rich, moisturizing lipsticks again by using a clear wax lip barrier liner around the outer perimeter of the mouth. While emollient cream and satin lipsticks keep mature lips supple, their nourishing oils naturally wick into fine vertical smoker’s or laugh lines via capillary action within an hour of application. Switching to ultra-dry liquid matte lipsticks stops the bleeding but shrivels the lip surface into parched creases.
For reliable perioral lip line feathering prevention, glide a translucent silica-and-beeswax barrier pencil one millimeter outside your natural vermilion border before applying any colored product. Press the invisible wax gently into the vertical micro-grooves above the Cupid’s bow and below the outer corners of the lower lip where pigment typically escapes. Follow immediately with a creamy neutral rose or berry lip liner traced right along the natural lip edge to restore lost symmetry.
This simple DIY boundary acts like an invisible dam that keeps hydrating lip colors locked inside the lip line through coffee and conversation. Because the wax pencil is completely colorless, it works universally across nude, coral, rosewood, and classic red lipsticks without requiring a drawer full of matching liners. Blot once with a single ply of tissue after applying your lipstick to remove excess surface oil while preserving the luminous stain.
10. Center-Cupid’s Bow Satin Rosewood Layering for Fuller-Looking Mature Lips
🎯 Best For: Thinning upper lips & loss of natural vermilion pigment
✨ Lifting & Finish Effect: 3D Cushion Fullness Without Sticky Gloss
A flattering trend alert for thinning lips is creating a dimensional gradient with a plump satin rosewood lip sheen concentrated at the center of the mouth. As collagen volume gradually recedes in the vermilion border after fifty, dark vampy plums, cool browns, and flat matte textures absorb light and make the lips appear narrower than they are. Mid-tone rosewood, warm fig, and dusty peach shades mimic healthy micro-circulation while reflecting soft light outward.
After sealing the outer edge with your clear wax lip barrier liner, softly overline the two peaks of the Cupid’s bow and the center curve of the bottom lip using a neutral rosy-taupe pencil. Keep the outer corners of the mouth strictly on your natural lip line—never overline the corners, which creates a heavy, clownish contour. Swipe your satin rosewood lipstick across the lips, then tap a brighter peptide lip balm strictly onto the center cushion where the upper and lower lips meet.
This minimalist three-dimensional highlight tricks the eye into perceiving immediate central fullness without stinging cinnamon or menthol irritants. Peptide-rich satin formulas smooth out vertical lip texture while staying comfortable and non-sticky against wind or stray hair. Reapply just the central balm dot after meals to revive the plumping optical sheen in seconds.
11. Targeted T-Zone Velvet Puff Pressing to Control Shine Without Caking Cheeks
🎯 Best For: Combination mature skin & nasolabial shine control
✨ Lifting & Finish Effect: Blurred Center Face With Radiant Cheekbones
This expert pick replaces all-over powder dusting with velvet triangle powder puff pressing restricted to the narrow center strip of the face. Sweeping a large kabuki brush loaded with loose talc powder across your cheekbones and under-eyes strips away the dewy luminosity you just built with cream formulas. Worse yet, dry starch or talc particles absorb skin lipids and form a crusty layer inside lateral crow’s feet within an hour.
For precision fine-line powder settling control, tap the pointed tip of a velour triangle puff into an ultra-finely milled hyaluronic or silica setting powder, then rub the puff firmly against the back of your clean hand. Working the powder into the velour fibers first ensures you never stamp a stark white patch onto your skin. Press and roll the pointed corner strictly along the sides of the nostrils, the center of the chin, and right between the eyebrows.
In professional photography and daylight alike, removing shine from the deep crease beside the nostrils visually flattens out the shadow of the nasolabial fold. Meanwhile, leaving your high cheekbones, temples, and outer orbital bones completely unpowdered preserves a youthful, three-dimensional sheen. Carry the primed velour puff in your handbag for midday blotting without adding extra layers of pigment.
12. Outer-Third Smudged Espresso Shadow Wing for Crepey or Textured Eyelids
🎯 Best For: Textured eyelids where liquid eyeliner skips
✨ Lifting & Finish Effect: Soft-Focus 45-Degree Eye Corner Lift
A beginner friendly alternative to rigid liquid cat-eyes is stamping an outer-third smudged espresso shadow wing using finely milled matte powder. On mature eyelids with natural micro-pleats or elasticity loss, dragging a felt-tip liquid liner across the skin causes the nib to skip and leave a bumpy, saw-toothed line. Powder shadow pressed with a flat angled brush glides smoothly over texture and diffuses light around fine folds.
First sweep a base wash of soft-focus neutral taupe eyeshadow across the lid so the surface feels silky and uniform. Next, mist a firm angled eyeliner brush lightly with hydrating setting spray, dip the edge into rich espresso or dark bronze matte shadow, and stamp the bristles strictly along the outer third of the upper lash line. Flick the very tip upward toward the end of your eyebrow at a forty-five-degree angle.
Before the damp shadow sets completely, soften the top edge with a clean cotton swab or micro-pencil brush to achieve lifted outer-corner eye definition with zero harsh borders. Exploring more soft glam eyeshadow ideas shows how warm espresso and cocoa gradients open up the eye far more gracefully than jet-black ink. Leaving the inner two-thirds of the upper lash line free of dark liner keeps the eyes looking wide and rested.
13. Nude Waterline Rim Brightening to Counteract Redness and Tired Eyes Over 60
🎯 Best For: Smaller-looking eyes & reddish lower rims
✨ Lifting & Finish Effect: Brighter Sclera Contrast & Open Lower Eye
This hidden gem technique instantly refreshes tired eyes over sixty by using nude waterline rim brightening along the lower inner rim. As eyes mature, the delicate mucosal rim of the lower eyelid frequently shows pinkish or red capillaries caused by dry air, allergies, or screen fatigue. Tracing black or dark brown eyeliner along that lower rim closes off the eye aperture and draws attention directly to under-eye puffiness.
While you reserve your dark waterproof gel tightlining pencil exclusively for the upper lash roots, pick up a creamy champagne-bisque or warm peachy-nude waterproof liner for the bottom waterline. Gently glide the flesh-toned pencil across the inner lower rim from the tear duct to the outer corner, neutralizing redness on contact. Never use stark chalky white eyeliner on the waterline, which looks theatrical and contrasts harshly against natural skin tones.
This minimalist swap visually extends the whites of your eyes downward and pairs seamlessly with lifted outer-corner eye definition on the upper lid. Because a flesh-toned bisque rim blends organically into the sclera, your eyes appear noticeably larger, clearer, and more awake in seconds. Finish by sweeping a whisper of warm taupe shadow just underneath the outer lower lashes to anchor the gaze softly.
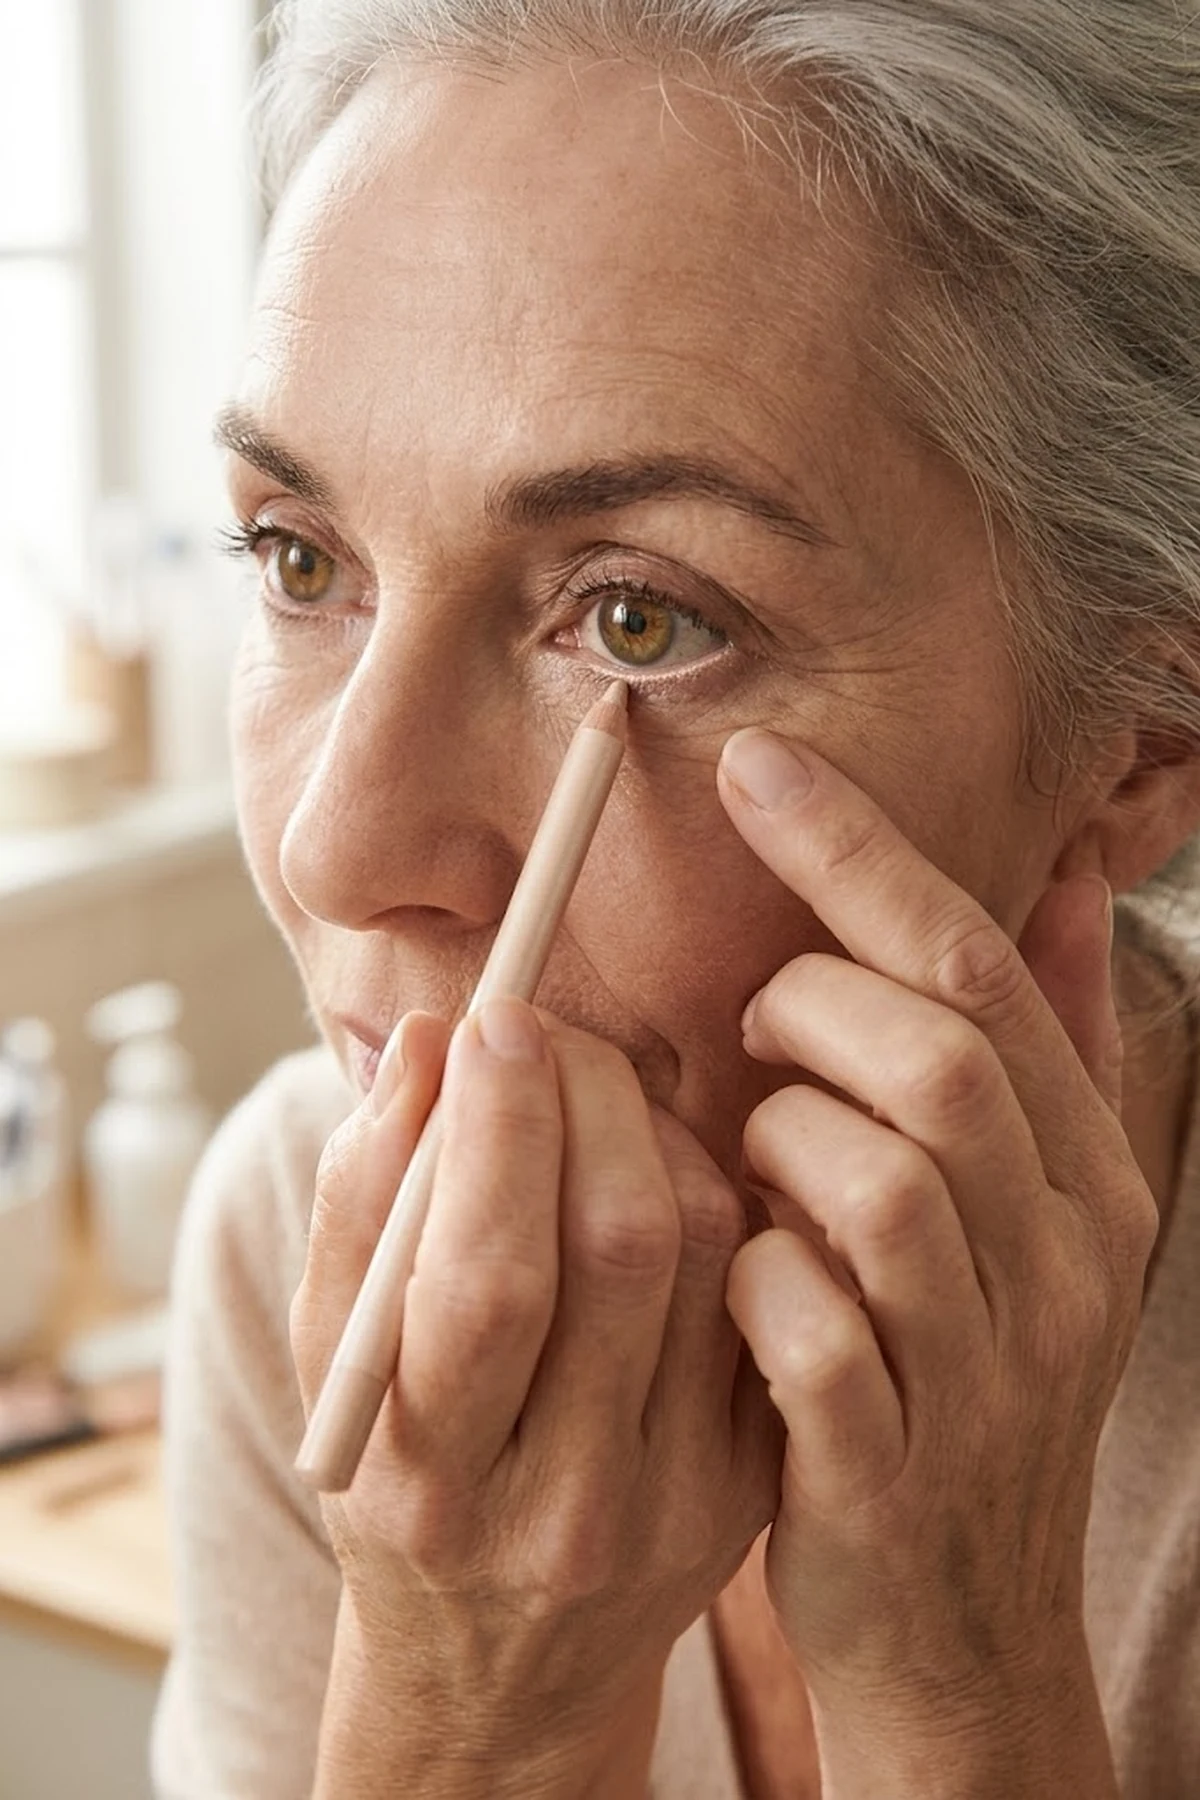
14. Eyeglass-Smart Under-Eye Brightening and Curl-First Lash Framing
🎯 Best For: Reading glasses, progressives & frame-cast shadows
✨ Lifting & Finish Effect: Shadow-Free Frame Balance & No Lens Smudges
A daily time-saver for anyone wearing reading glasses or progressive lenses is building an eyeglass-flattering bright under-eye canvas before putting on your frames. Heavy acetate or metal rims cast a permanent downward shadow across the tear troughs and upper cheeks, making even well-rested eyes appear hollow or dark. At the same time, magnifying plus-lenses for farsightedness amplify any caked powder or clumpy mascara two-fold.
Neutralize the frame shadow first by tapping a thin veil of peach-toned under-eye color corrector along the inner orbital hollow and blending a light-reflecting serum concealer right where the bottom rim of your glasses sits. Next, clamp a cushioned eyelash curler at the very base of your upper lashes and pulse upward three times before applying a single combed-through coat of defining mascara. Curling at the root lifts the lashes vertically toward the brow bone instead of projecting them straight forward into your lenses.
In cultural and editorial eyewear styling, your eyebrows act as the natural upper partner to your frame top bar, so groom them upward with a tinted gel for clean separation. If you wear nearsighted minus-lenses that make eyes look slightly smaller behind the glass, step up your satin champagne lid wash and upper tightline to bring your eyes forward. Check your bridge pads at the end of your routine and blot away excess foundation where the nose pads rest.

15. Warm Copper-Bronze and Satin Slate Contrasts to Make Mature Blue Eyes Pop
🎯 Best For: Blue, gray-blue, or hazel mature eyes
✨ Lifting & Finish Effect: High-Contrast Iris Brilliance Without Frostiness
This seasonal and year-round trend alert retires dated pastel blue eyeshadows in favor of warm copper-bronze and satin slate contrasts that ignite blue or gray-blue irises. When you wear baby blue or icy silver shadow over mature blue eyes, the competing cool pigment drains color from your iris and highlights crepey eyelid texture. On the artist’s color wheel, warm amber, burnished copper, and terracotta-taupe sit directly opposite blue, creating instant optical vibrancy.
Begin by buffing a soft-focus neutral taupe eyeshadow through the upper crease to build a smooth, non-reflective shadow structure. Tap a finely milled satin copper-bronze or warm champagne-rose cream shadow strictly onto the center of the mobile lid right over the pupil, where it catches light every time you blink. Deepen the outer lash root with a soft slate-gray or espresso smudge to frame the iris without harsh black lines.
Keep the surrounding complexion balanced with a luminous satin skin finish and a warm peach-rose lip so the bronze tones harmonize across your entire face. Choose satin or demi-matte cream-to-powder formulas rather than loose metallic foils, which can migrate into fine folds by mid-afternoon. The subtle warmth makes silver hair gleam while turning pale blue eyes vividly sapphire.
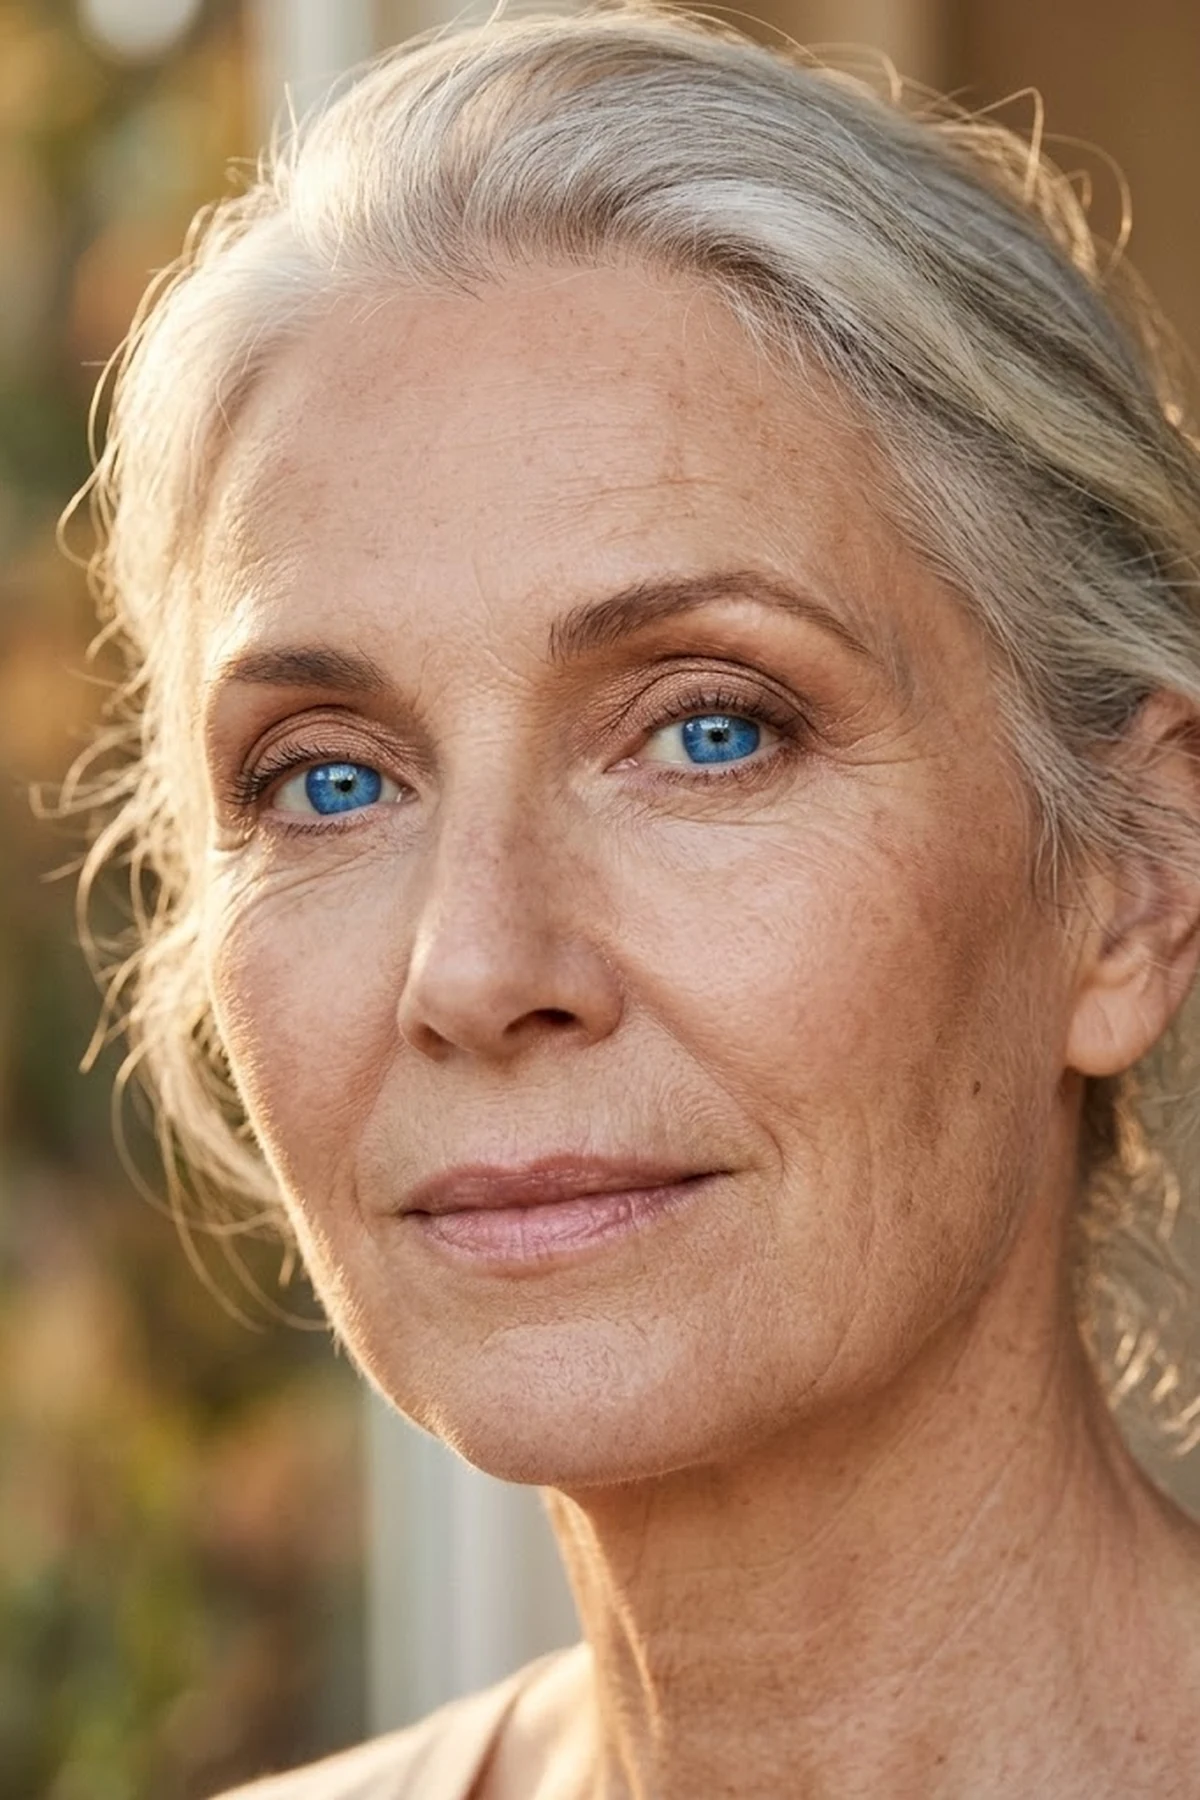
16. Micro-Mist Glycerine Setting Spray Between Cream Layers for All-Day Melting
🎯 Best For: Dry skin over 60 & preventing afternoon makeup separation
✨ Lifting & Finish Effect: Seamless Melted-In Skin Texture
An expert pick borrowed directly from celebrity red-carpet artists is micro-mist glycerine setting spray melting applied between cream layers rather than only at the end. Many long-wear setting sprays rely on high concentrations of denatured alcohol to lock pigment down, which rapidly dehydrates skin over sixty and makes foundation crack around the mouth. Switching to an alcohol-free mist rich in vegetable glycerine, rosewater, and panthenol binds emollient layers together without tightness.
After placing your serum foundation, cream contour, and liquid blush, hold the nozzle ten inches away and mist your face in a slow X-and-T motion before doing your final blend. While the micro-droplets are still dewy on the surface, press a damp sponge lightly over your cheeks and jawline to fuse every border into a single luminous satin skin finish. This intermediate hydration sandwich prevents products from sitting as separate, detectable layers on top of mature skin.
In a professional routine, misting one more time after your T-zone powder step provides superior fine-line powder settling control by melting away any residual dry starch particles. If your skin feels parched under indoor heating or air conditioning at three o’clock, two quick spritzes over your makeup instantly revive the morning bounce. Keep your eyes gently closed for five seconds after misting so your mascara stays undisturbed.
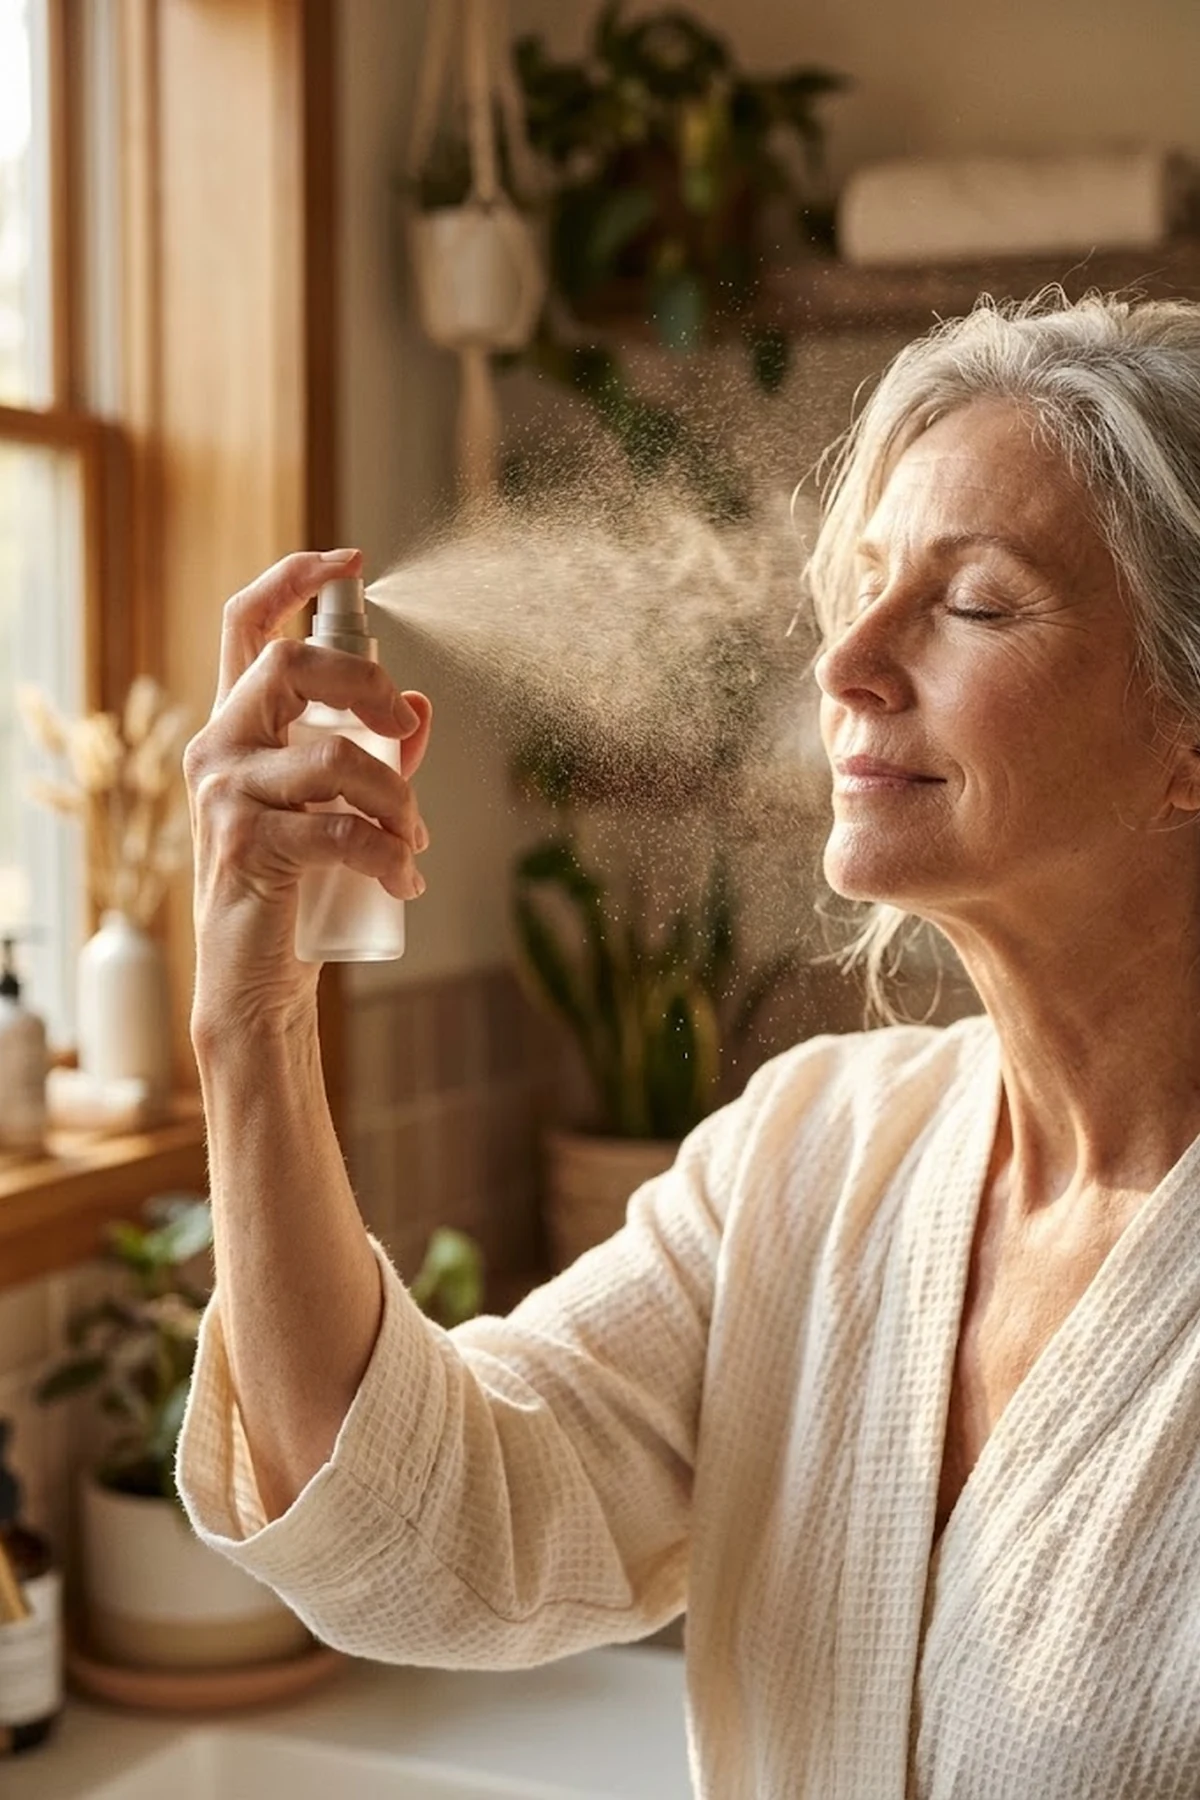
17. Tubing Polymer Mascara Wiggled at the Roots for Smudge-Proof Lash Lift
🎯 Best For: Hooded lids, watery eyes & fragile mature lashes
✨ Lifting & Finish Effect: Zero Under-Eye Raccoon Transfer & Gentle Removal
This smart budget swap solves the most common frustration for women over fifty: mascara smudging onto the brow bone and under-eye concealer by midday. Because mature skin thrives on rich peptides eye creams and hydrating concealers, those surface oils quickly break down traditional wax-and-oil mascaras whenever your lashes touch your skin. Switching to a tubing polymer lengthening mascara wraps each individual eyelash in a flexible, oil-proof polymer sleeve that refuses to smear.
Wipe excess product off the tip of the wand first, then press the bristles horizontally into the very base of your curled upper lashes and wiggle side to side before sweeping upward. Concentrating eighty percent of the polymer weight at the root builds structural lift, whereas loading heavy coats onto the lash tips weighs them down and makes hooded eyes look sleepy. Comb through with a clean metal lash separator immediately if two lashes cling together.
At bedtime, this DIY switch protects fragile mature lashes thanks to effortless warm-water tubing mascara removal that requires zero harsh rubbing or oily biphasic removers. Simply press a washcloth soaked in warm thirty-eight-degree water against your lashes for twenty seconds, and the tiny polymer tubes slide right off intact. If your eyes water easily in wind or sunlight, browse our tested picks for mascara for sensitive mature eyes to keep your lash line comfortable all day.
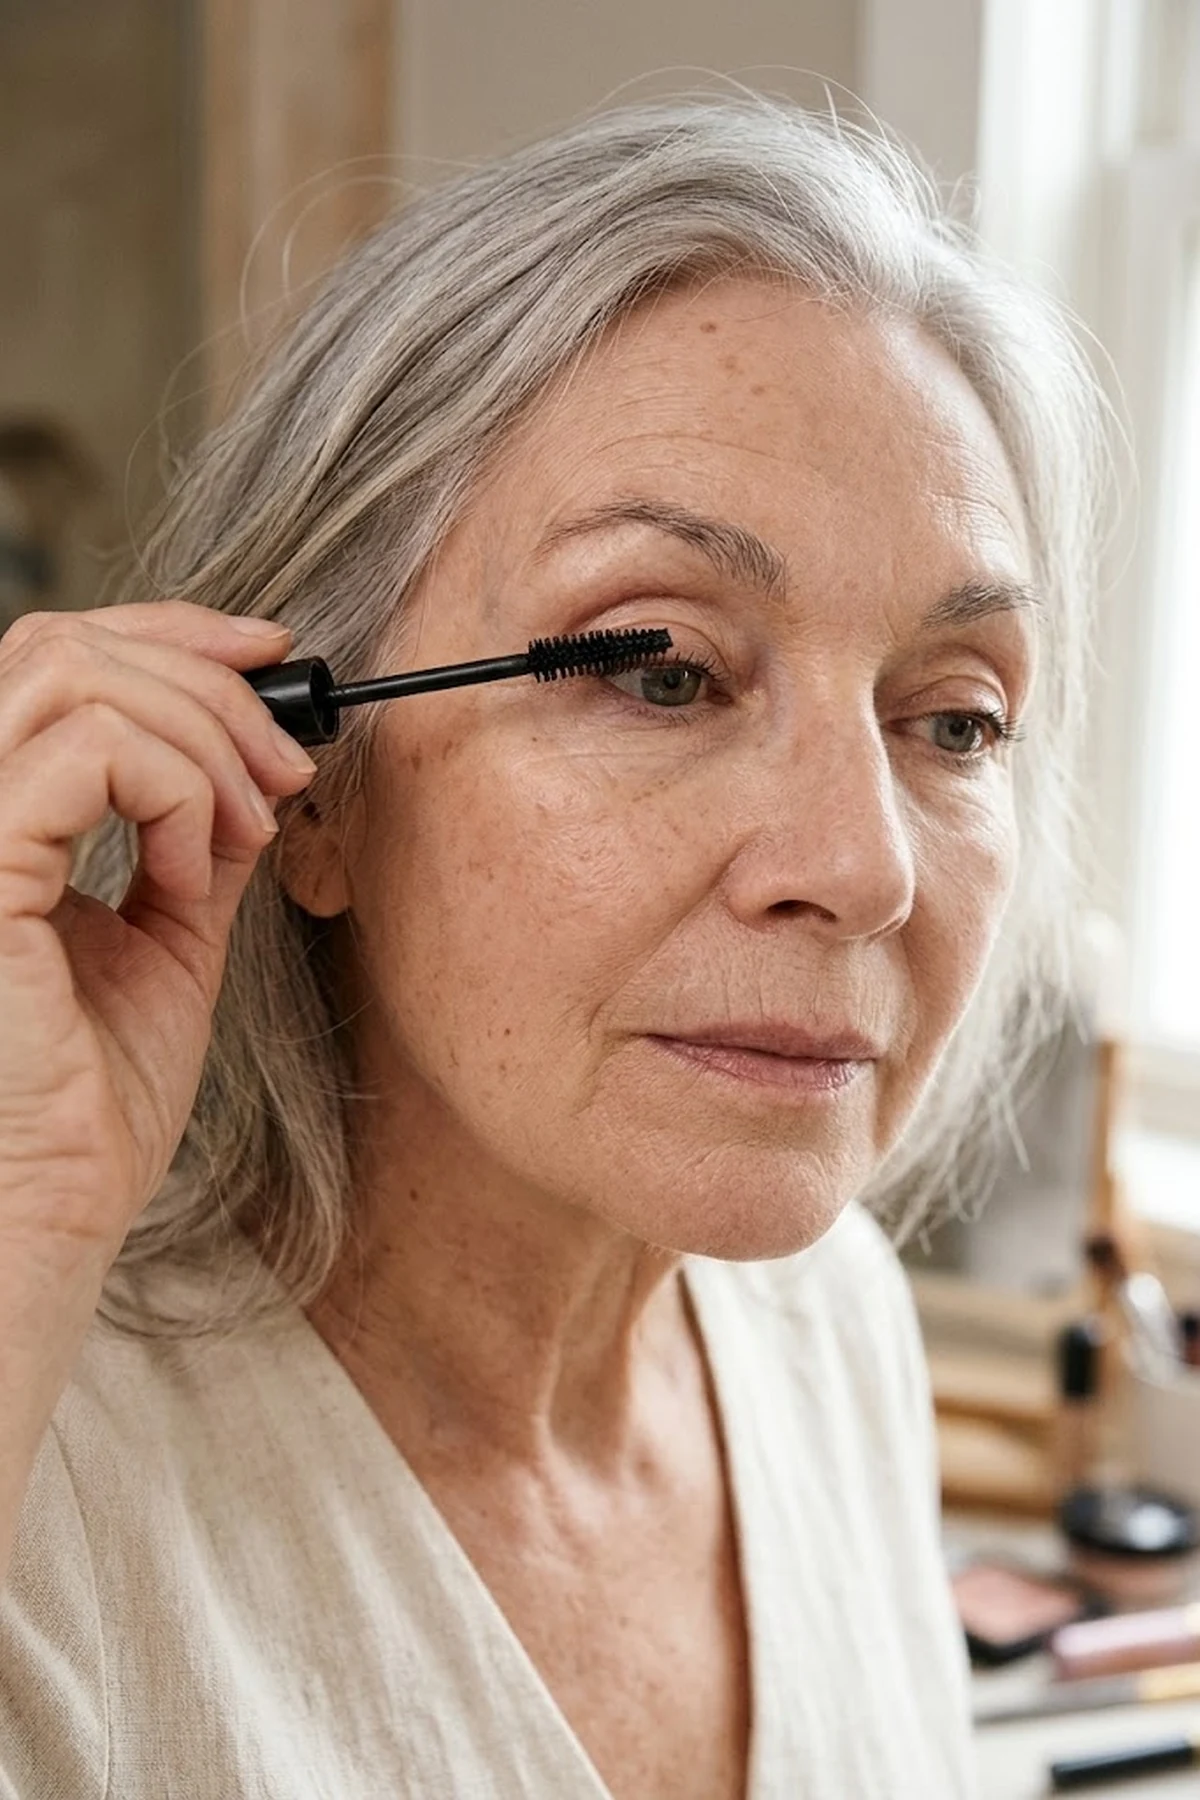
18. Pearl-Free Liquid Luminizer Tapped on the Orbital Bone (Avoiding Crow’s Feet)
🎯 Best For: Dull skin tone with fine lateral eye lines
✨ Lifting & Finish Effect: Lit-From-Within Candlelight Cheek Sheen
A hidden gem for restoring youthful radiance without magnifying skin texture is trading shimmery powder highlighters for a pearl-free liquid luminizer or translucent glow balm. Conventional pressed highlighters are packed with crushed mica and metallic glitter flakes that lodge inside lateral crow’s feet and enlarged cheek pores, acting like a magnifying glass in sunlight. Mature skin looks infinitely smoother when light reflects off a wet-look emollient sheen rather than dry sparkle particles.
After prepping your skin with an illuminating grip primer and blending your dewy liquid blush balm along the upper cheekbone, warm a tiny rice-sized drop of pearl-free champagne or rose-gold luminizer between your ring fingers. Feel for the firm C-shaped ridge of your lower orbital bone just below the outer half of the eye, stopping a full centimeter below your crow’s feet lines. Tap the balm gently onto that bone peak where light naturally strikes a youthful cheek.
This minimalist placement catches ambient light when you turn your head while keeping the mobile smiling zone around the outer eye completely smooth and matte-satin. You can also tap the leftover sheen from your fingertip onto the bridge of the nose and just above the arch of each eyebrow for a lifted three-point glow. Skip highlighting the textured center of the forehead or chin, where extra shine can mimic perspiration.
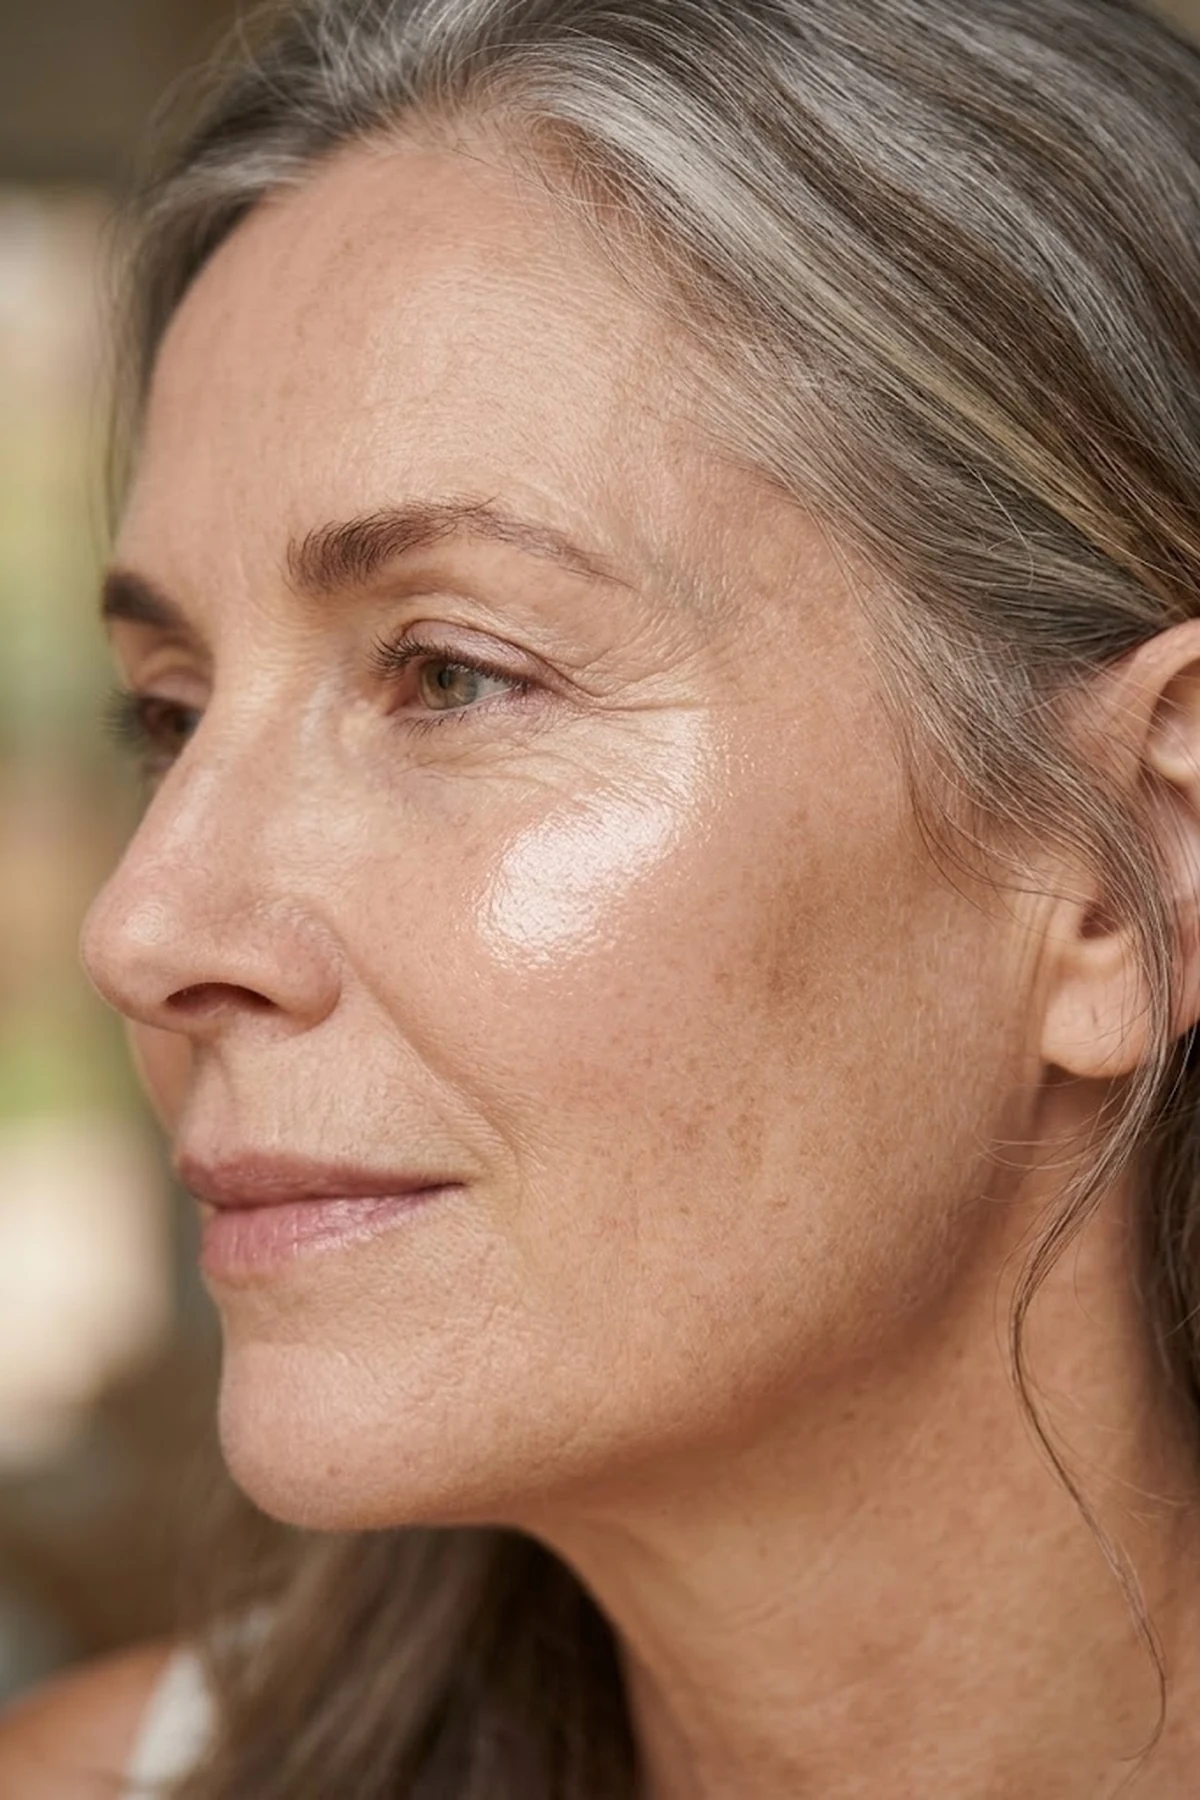
19. Monochromatic Rose-Taupe Multi-Stick Routine for Featherlight Over-70 Radiance
🎯 Best For: Delicate paper-thin skin over 70 & 5-minute routines
✨ Lifting & Finish Effect: Harmonious Warmth Across Cheeks, Lids & Lips
This five-minute time-saver is specially tailored for delicate, paper-thin skin in your seventies and beyond using a monochromatic rose-taupe multi-stick routine. As skin becomes increasingly fragile and translucent after seventy, tugging with multiple stiff brushes or layering competing color families across eyes, cheeks, and lips can overwhelm natural features. Using a single conditioning cream tint in warm rosewood, soft apricot, or dusty mauve creates instant color harmony with almost zero friction.
Warm the multi-stick or dewy liquid blush balm on the pads of your fingers first rather than dragging the bullet directly across your face. Press the rosy warmth high onto your cheekbones, tap a sheer whisper of the exact same shade across the mobile eyelids for a healthy wash of color, and press the remainder onto your lips for a plump satin rosewood lip sheen. Your natural body heat melts the plant waxes and squalane oils into a weightless, skin-hugging stain.
This minimalist three-in-one ritual pairs beautifully with silver or white hair by bringing cohesive, healthy circulation back to the complexion in under three minutes. Because cream multi-sticks contain zero dry talc, they never flake or catch on dry patches throughout the day. Finish with a quick brush of clear brow gel and one coat of brown tubing mascara for polished, effortless elegance.
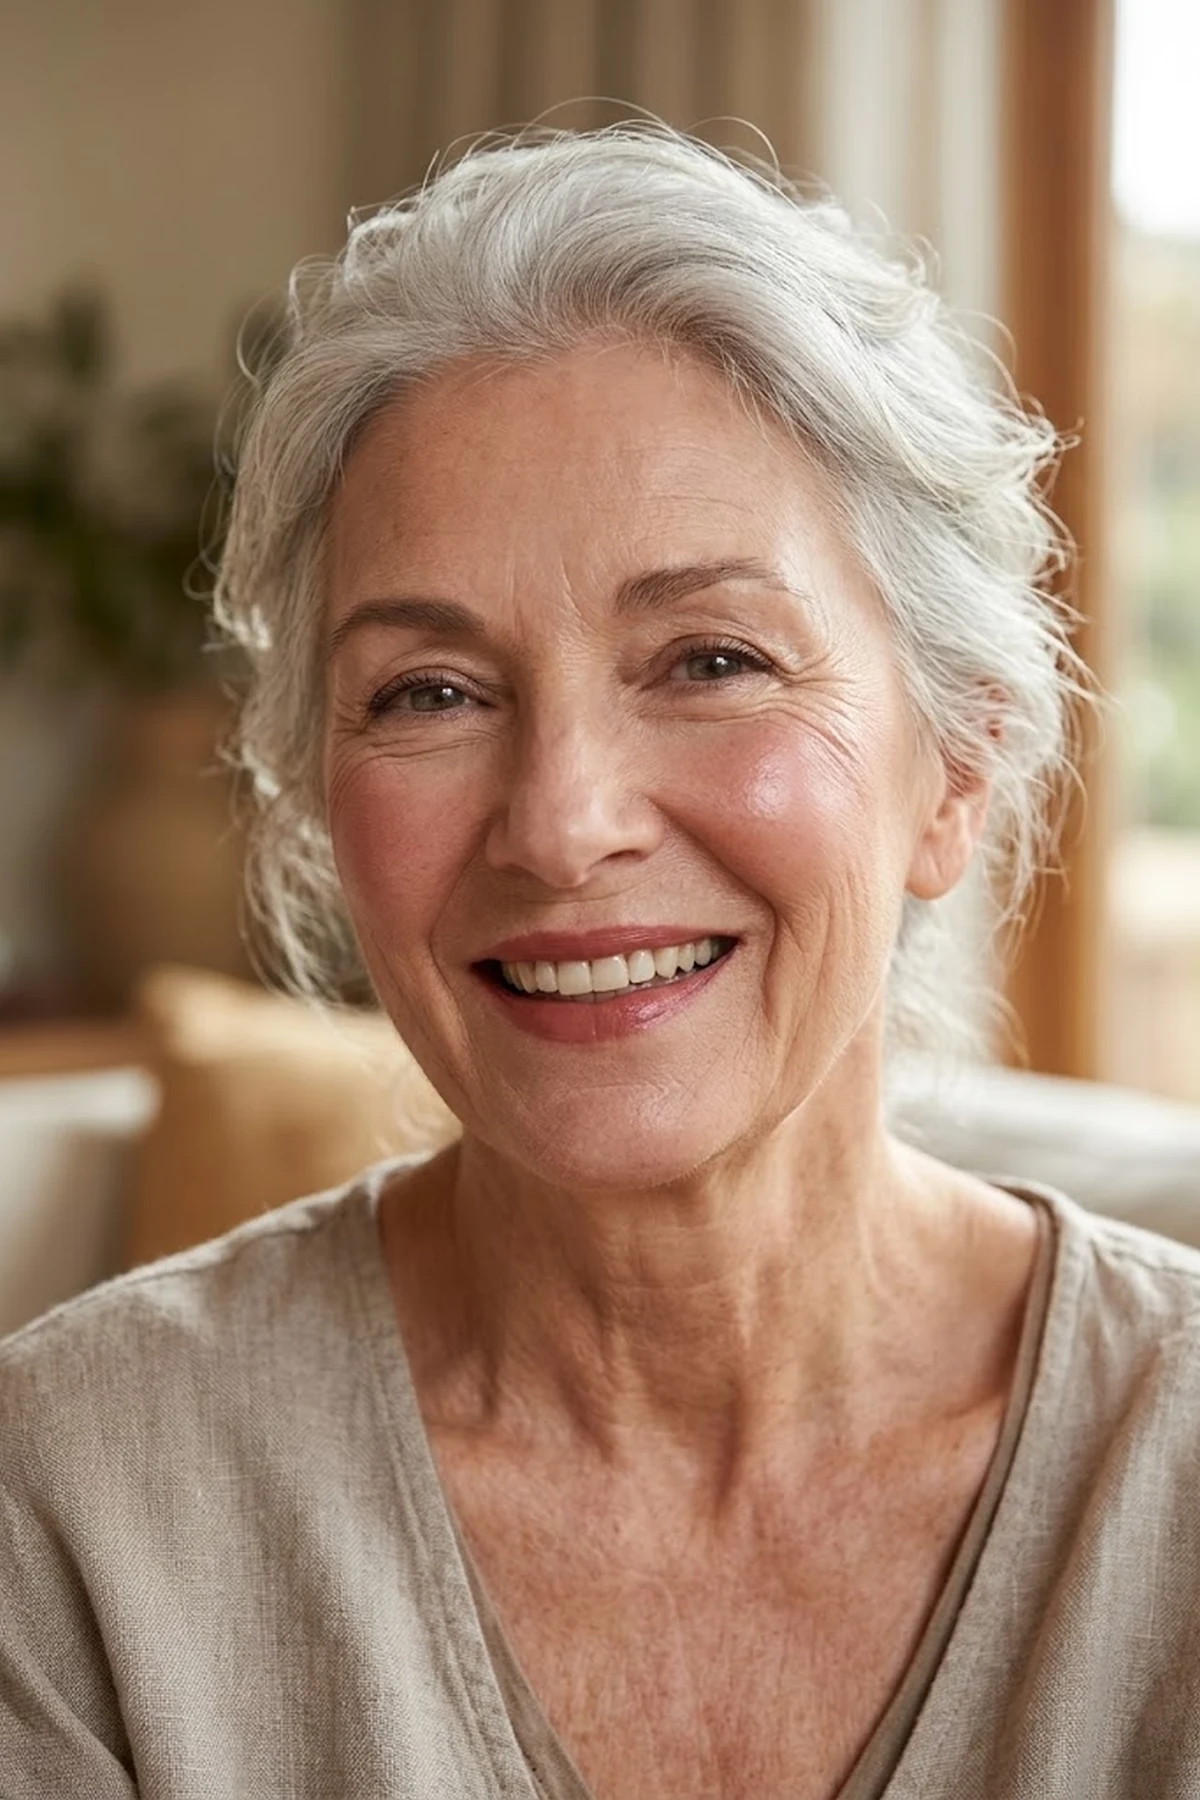
20. Jawline-to-Clavicle Warmth Blending with a Dense Brush to Erase Neck Contrast
🎯 Best For: Sun-lightened or paler neck vs. warmer facial tone
✨ Lifting & Finish Effect: Seamless Face-to-Neck Color Harmony
Our final beginner friendly finishing touch eliminates the telltale foundation mask line through jawline-to-clavicle warmth blending. After years of diligent daily sunscreen habits or uneven sun exposure between the face, neck, and décolletage, the underside of the jaw and throat is frequently a full shade paler than the cheeks and forehead. Stopping your foundation abruptly at the jawbone creates a harsh demarcation line that ages the lower face in profile.
After applying your peptides-infused serum foundation to the center of the face with dampened micro-sponge stippling, do not pump out fresh foundation for your neck—which can rub off onto coat collars and silk scarves. Instead, pick up the trace pigment remaining on the back of your hand using an angled dense synthetic buffing brush and sweep downward from beneath the earlobes down the sides of the neck. Blend a sheer whisper of cream bronzer or warm tint across the center of the throat and collarbones to tie the undertones together.
In professional daylight photography, harmonizing the color temperature between the cheekbones, jawline, and clavicle makes the entire complexion look naturally sun-kissed and unified. Check your reflection near a window with a hand mirror held at a forty-five-degree angle before stepping out the door. When the jaw transition is invisible, people notice your radiant skin rather than your makeup.
Frequently Asked Questions
How do you apply eye makeup on hooded mature eyes without dragging the skin?
Always map your transition shade with your eyes completely open and relaxed while looking straight ahead into the mirror. Use a small, tapered synthetic crease brush to press and lightly windshield-wiper a matte neutral taupe shadow three millimeters above your natural fold, angling the outer corner toward the tail of your eyebrow so the hood recedes optically.
Why does my concealer crease under my eyes after 50 and how do I stop it?
Under-eye creasing happens when thick concealer is painted across the mobile smiling zone directly beneath the pupil. Switch to a thin veil of peach-toned color corrector in the deepest inner tear trough, followed by two pinpoint dots of serum concealer tapped only at the inner corner and angled upward at the outer corner.
Should older women use silicone primers or water-based gripping primers under cream makeup?
Water-based illuminating grip primers formulated with glycerin or hyaluronic acid perform far better on mature skin than heavy dimethicone pore-fillers. Silicone-heavy primers often slip or pill underneath emollient serum foundations and liquid blush balms, whereas hydrating grip primers plump surface dehydration and hold cream layers smoothly in place.
How can I stop hydrating lipstick from bleeding into vertical lip lines over 60?
Trace one millimeter outside your natural vermilion lip border with a colorless silica-and-beeswax barrier pencil before applying any colored lip product. This invisible wax dam fills the microscopic vertical channels around the mouth so creamy satin rosewood lipsticks cannot migrate outward during the day.
How should I adjust my eye makeup when wearing reading glasses or progressive lenses?
Focus on neutralizing frame-cast shadows by tapping a peach bisque corrector and light-reflecting concealer along the tear trough where the lower rim sits. Always curl your upper lashes at the root before applying tubing mascara so your lashes sweep vertically toward the brow bone instead of brushing against your lenses.
Why is tubing mascara better than waterproof mascara for mature eyelashes?
Rich eye creams and hydrating concealers contain emollient oils that dissolve traditional and waterproof wax mascaras, causing dark smudges under the eyes by afternoon. Tubing polymer mascaras resist skin oils completely yet slide off in seconds using only a warm, wet washcloth, preventing lash breakage during removal.
Get our latest guides, news, and insights highlighted in your Google Search & AI Overviews.