✨ This article was AI edited. Editorial responsibility: Britany Marshall Beauty.
How to Prep Natural Nails to Prevent Gel Polish Lifting: The 5-Step Manicurist Checklist
Tired of your gel polish peeling off in sheets after three days or catching on your hair at the cuticle line? In this master technician preparation manual, we expose the underlying physics of polymer adhesion, debunk the dangerous live-cuticle cutting myth, and give you the exact 5-step clinical checklist that keeps gel manicures rock-solid for 28+ days.
Contents of Article
- 30-Second Master Verdict: The Invisible Cuticle Culprit
- Forensic Gel Polish Lifting Diagnostics Matrix
- 1. Anatomy of Adhesion: The True Cuticle vs. Eponychium Myth
- 2. The 5-Step Manicurist Checklist: The Adhesion Protocol
- 3. LED Lamp Curing Chemistry: Preventing Silent Under-Curing
- 4. Frequently Asked Questions: Gel Polish Nail Preparation
30-Second Master Verdict: The Invisible Cuticle Culprit
The Core Reality: Over 90% of premature gel lifting is not caused by “cheap polish” or a “weak lamp”—it is caused by invisible non-living cuticle tissue (pterygium) adhered to the lower third of the nail plate, combined with residual surface sebum. Gel cannot chemically bond to skin cells or lipid oils; it only adheres to clean, dry, micro-etched keratin. Eliminating pterygium with a glass or diamond tool, thoroughly dehydrating with 99% isopropyl alcohol, applying an acid-free protein bonder, and preserving a 1mm margin from skin folds completely eliminates lifting.
Forensic Gel Polish Lifting Diagnostics Matrix
1. Anatomy of Adhesion: The True Cuticle vs. Eponychium Myth
The single most common mistake in at-home gel application is confusing living skin with dead tissue. In biological nail anatomy:
- The Eponychium (Living Tissue): The living fold of skin at the base of the nail. It functions as a waterproof gasket to seal the matrix against bacterial invasion. You must never cut, file, or aggressively manipulate the eponychium. Cutting living skin triggers inflammatory hyperkeratosis (causing the skin to grow back thicker and harder) and risks severe paronychia infections.
- The True Cuticle / Pterygium (Non-Living Cellular Debris): A transparent, microscopic layer of dead keratinocytes shed by the underside of the eponychium that rides forward on the growing nail plate like waxy plastic wrap. Because it is completely colorless, most people cannot see it.
When you apply gel polish over this invisible cuticle film, the gel bonds to the dead skin cells rather than the nail plate. As your hands produce natural sweat and sebum, the dead skin cells hydrate, swell, and release their grip, lifting your gel polish off the nail within 48 to 72 hours.
2. The 5-Step Manicurist Checklist: The Adhesion Protocol
Step 1: Exfoliate the Invisible True Cuticle (Pterygium)
Perform a dry manicure. Avoid soaking your fingers in water, because natural keratin plates absorb up to 30% of their weight in water, expanding laterally like a sponge. When the nail dehydrates hours after your manicure, it shrinks back down, causing the rigid cured gel overlay to pop off.
- Gently push back the proximal nail fold with an angled orangewood stick or precision glass cuticle pusher using featherlight circular motions.
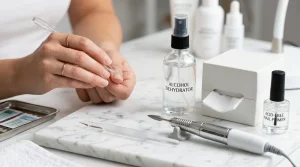
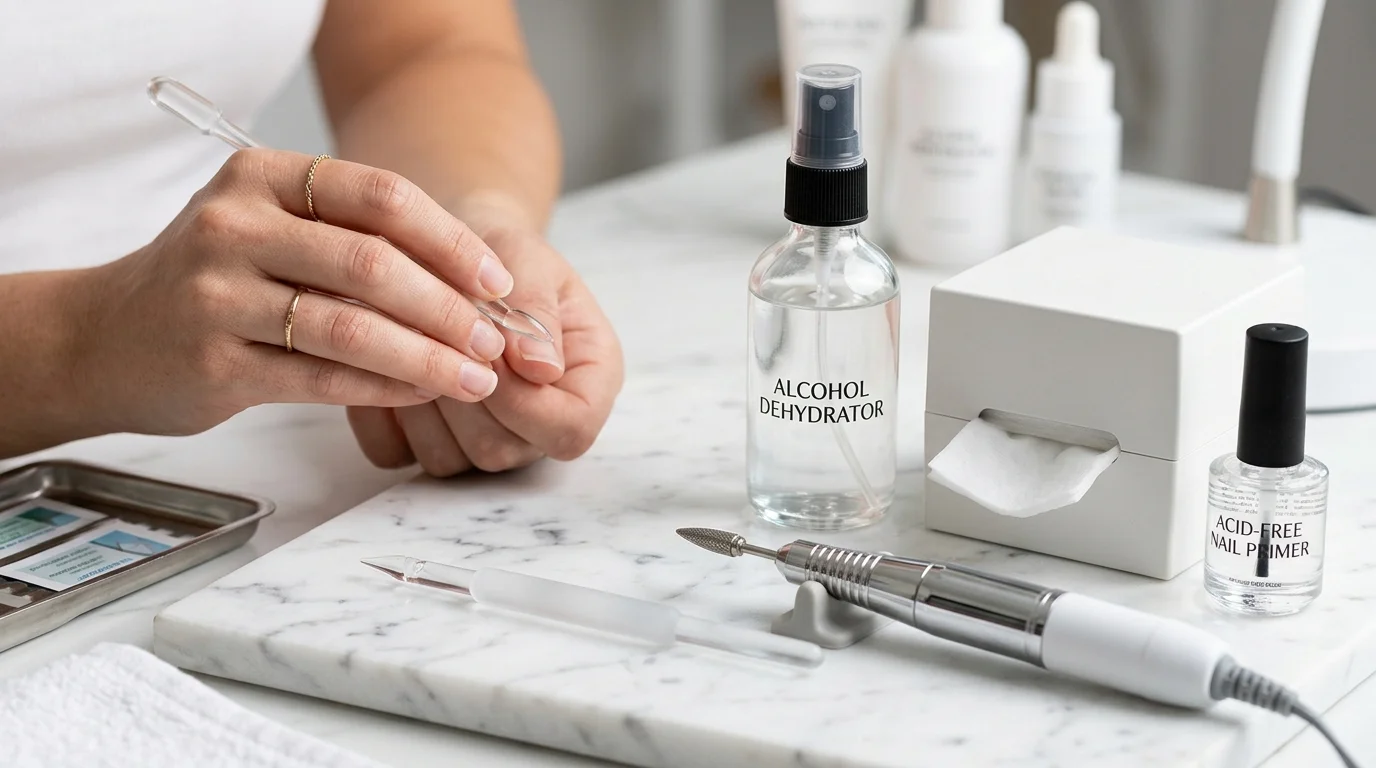
- Use the beveled edge of a glass tool or an ultra-fine diamond flame bit on an e-file (low speed: 3,000–5,000 RPM, parallel angle) to scrape away the powdery white film adhering to the nail plate surface.
- Dust off all dry debris with a sterile, stiff manicure brush.
Step 2: Micro-Etch the Dorsal Keratin Plate
Gel polish requires mechanical anchor points to interlock with the keratin matrix. A shiny, glass-smooth nail surface has zero surface energy for chemical adhesion.
- Use a fresh 180/240-grit buffer sponge. Never use coarse 80 or 100 grit files, which aggressively thin the dorsal plate and cause hyper-sensitivity.
- Buff lightly in one direction following the natural longitudinal growth of the nail. You are only removing the oily reflection, not shaving down the thickness of the nail.
- Pay special attention to the lateral sidewalls and the proximal zone near the cuticle, where natural sebum concentrations are highest.
Step 3: Deep Solvent Dehydration (The 99% Rule)
Standard 70% drugstore rubbing alcohol contains 30% purified water, which leaves an invisible moisture barrier on the nail plate.
- Use a professional dehydrator solution or 99% pure Isopropyl Alcohol (IPA) mixed with 10% pure acetone.
- Saturate a lint-free wipe (paper towels or cotton balls shed microscopic lint fibers that ruin the seal).
- Scrub each nail plate aggressively with firm pressure, paying meticulous attention to pushing the wipe deep into the lateral nail grooves.
- Wait 15 seconds: the nail plate should turn an immediate chalky, matte white. Do not touch your face, hair, or skin after this step, as even a brush against your hair re-deposits natural sebum.
Step 4: Apply Acid-Free Protein Bonder (Primer)
Acid-free primers act as microscopic double-sided tape: one end of the molecule binds to natural nail keratin, while the other end bonds with synthetic methacrylate gel oligomers.
- Wipe the primer brush thoroughly against the bottle rim until it is virtually dry.
- Apply a single featherlight stroke down the center and free edge. Never flood the nail with primer—over-saturating creates a slick barrier that paradoxically causes gel to slide right off.
- Allow the primer to air-dry for 30–60 seconds. It will leave a faintly tacky, shiny film.
Step 5: The 1mm Margin Rule & Distal Free-Edge Capping
Application technique determines whether your meticulous prep succeeds or fails.
- The 1mm Margin: Apply your base coat leaving a tiny, clean 1mm margin between the gel and your surrounding skin folds. If wet gel touches the eponychium or lateral sidewall even by a hair’s breadth, it creates a surface tension bridge. When the skin moves, the bridge breaks, allowing moisture and oils to tunnel beneath the enhancement.
- Distal Free-Edge Capping: Run the edge of the brush horizontally across the free tip of the nail on the base coat and top coat layers. This seals the sandwich against daily typing friction and water infiltration.
- Cure immediately in a calibrated 36-watt LED lamp for the full manufacturer time (usually 60 seconds). Cure thumbs separately to ensure the lamp’s light diodes hit the nail flat at 90 degrees.
3. LED Lamp Curing Chemistry: Preventing Silent Under-Curing
One of the most dangerous misconceptions in nail care is assuming that if a gel polish feels hard to the touch, it is completely cured. In reality, gel polish achieves surface hardness at only 50–55% polymer conversion. To achieve structural stability, chemical water-resistance, and prevent contact allergies (such as acrylate sensitization), gel must reach 85% to 92% complete polymerization.
Cheap mini-lamps, weak battery-powered flashlights, or lamps with reflective mirrors degraded by dust emit insufficient radiant flux. When nails are under-cured, the bottom layer resting against the natural plate remains semi-liquid. As you wash your hands, warm water leaches through the porous under-cured base, triggering rapid lifting and chronic nail plate damage.
4. Frequently Asked Questions: Gel Polish Nail Preparation
Can I use vinegar or regular acetone as a nail dehydrator?
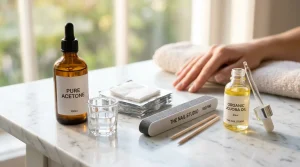
Pure 100% acetone works effectively as a temporary dehydrator, but vinegar should never be used. Vinegar contains 95% water and acetic acid, which re-hydrates the nail plate and causes keratin swelling. Stick to 99% pure Isopropyl Alcohol or commercial salon dehydrators formulated with ethyl acetate and isopropanol.
Why do my thumbs always lift before my other fingers?
When placing your entire hand into a nail lamp at once, your thumb naturally rolls to its side at a 45-degree angle. Because UV/LED light travels in straight lines, the lateral sidewall of the thumb receives less than 30% of the required light intensity, causing severe under-curing. Always cure both thumbs together lying completely flat facing upward.
What should I do if gel accidentally floods my cuticle before curing?
Never cure flooded gel! If uncured gel touches the skin and is cured under UV light, it locks in immediate lifting and dramatically increases your risk of developing permanent acrylate allergies. Dip a clean flat cleanup brush into 99% alcohol or acetone, wipe away the flood with precision until a clean 1mm skin gap is restored, and only then place your hand inside the lamp.
Do rubber base coats or builder gels require different prep?
The preparation checklist remains identical: complete cuticle clearance, light micro-etching, and deep dehydration. However, rubber bases and builder gels are more flexible and have superior self-leveling properties, making them ideal for naturally thin, bendy nails that normally cause rigid gel polish to snap and lift at the free edge.
Editorial & Trademark Transparency: All product names, logos, salon equipment specifications, and registered trademarks mentioned within this educational guide are property of their respective owners. Mention of tools, grits, and chemical prep formulations is conducted strictly under fair use for consumer education, safety hygiene, and comparative nail care analysis. Britany Marshall Beauty is an independent digital publication.
Get our latest guides, news, and insights highlighted in your Google Search & AI Overviews.