✨ This article was AI edited. Editorial responsibility: Britany Marshall Beauty.
Following the right makeup routine order is the secret to a smooth, second-skin complexion that never pills, cakes, or separates by midday. When you layer hydrating skincare prep, sheer base pigments, and cream cheek formulas before touching any setting powder, every product melts seamlessly together instead of fighting for grip. We tested studio-backed layering physics across dry, oily, and combination skin types to map out this foolproof seven-step sequence.
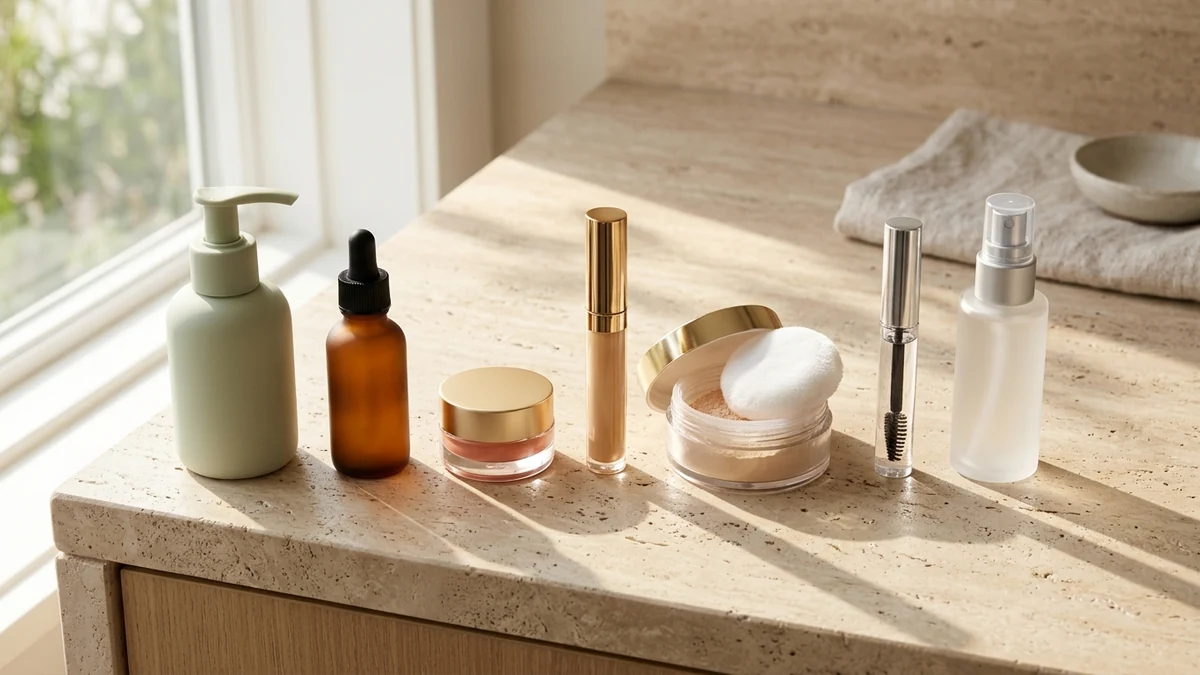
| # | Makeup Routine Step | ⏱️ Difficulty | 🎯 Best For |
|---|---|---|---|
| 1 | 1. Everyday Skin Prep, SPF & Gripping Primer Base (Step 1 in Order) | Beginner (90-Sec Wait) | Preventing foundation pilling & patchy T-zones |
| 2 | 2. Undertone Color Corrector & Natural Skin Tint or Foundation Layering | Beginner | Neutralizing redness & dark circles without heavy caking |
| 3 | 3. Glowy Cream Contour & Liquid Blush Placement (Wet-Before-Dry Rule) | Intermediate | Lifted cheekbones & seamless cream-to-liquid blending |
| 4 | 4. Simple Under-Eye Brightening & Blemish Spot Concealer Technique | Beginner | Crease-prone under-eyes & pinpoint blemish coverage |
| 5 | 5. Translucent Setting Powder Press & Blurred T-Zone Oil Lock | Beginner | Oily T-zones, nasolabial folds & under-eye crease locking |
| 6 | 6. Feathered Brow Architecture, Soft Eyeshadow & Lifted Lash Definition | Beginner | Framing facial proportions without powder fallout |
| 7 | 7. Sculpted Lip Liner, Tinted Gloss & Film-Forming Setting Spray Seal | Beginner | 12-hour transfer resistance & melting powder layers together |
Contents of Article
- 1. Everyday Skin Prep, SPF & Gripping Primer Base (Step 1 in Order)
- 2. Undertone Color Corrector & Natural Skin Tint or Foundation Layering
- 3. Glowy Cream Contour & Liquid Blush Placement (Wet-Before-Dry Rule)
- 4. Simple Under-Eye Brightening & Blemish Spot Concealer Technique
- 5. Translucent Setting Powder Press & Blurred T-Zone Oil Lock
- 6. Feathered Brow Architecture, Soft Eyeshadow & Lifted Lash Definition
- 7. Sculpted Lip Liner, Tinted Gloss & Film-Forming Setting Spray Seal
- Frequently Asked Questions
- Does concealer go before or after foundation and cream blush?
- How do I stop my foundation and primer from pilling over sunscreen?
- Why must liquid blush and cream bronzer be applied before setting powder?
- Should I do my eyeshadow before or after my face makeup base?
- What is the difference between setting powder and film-forming setting spray?
1. Everyday Skin Prep, SPF & Gripping Primer Base (Step 1 in Order)
🎯 Best For: Preventing foundation pilling & patchy T-zones
✨ Vibe: Plump, hydrated, grip-ready canvas
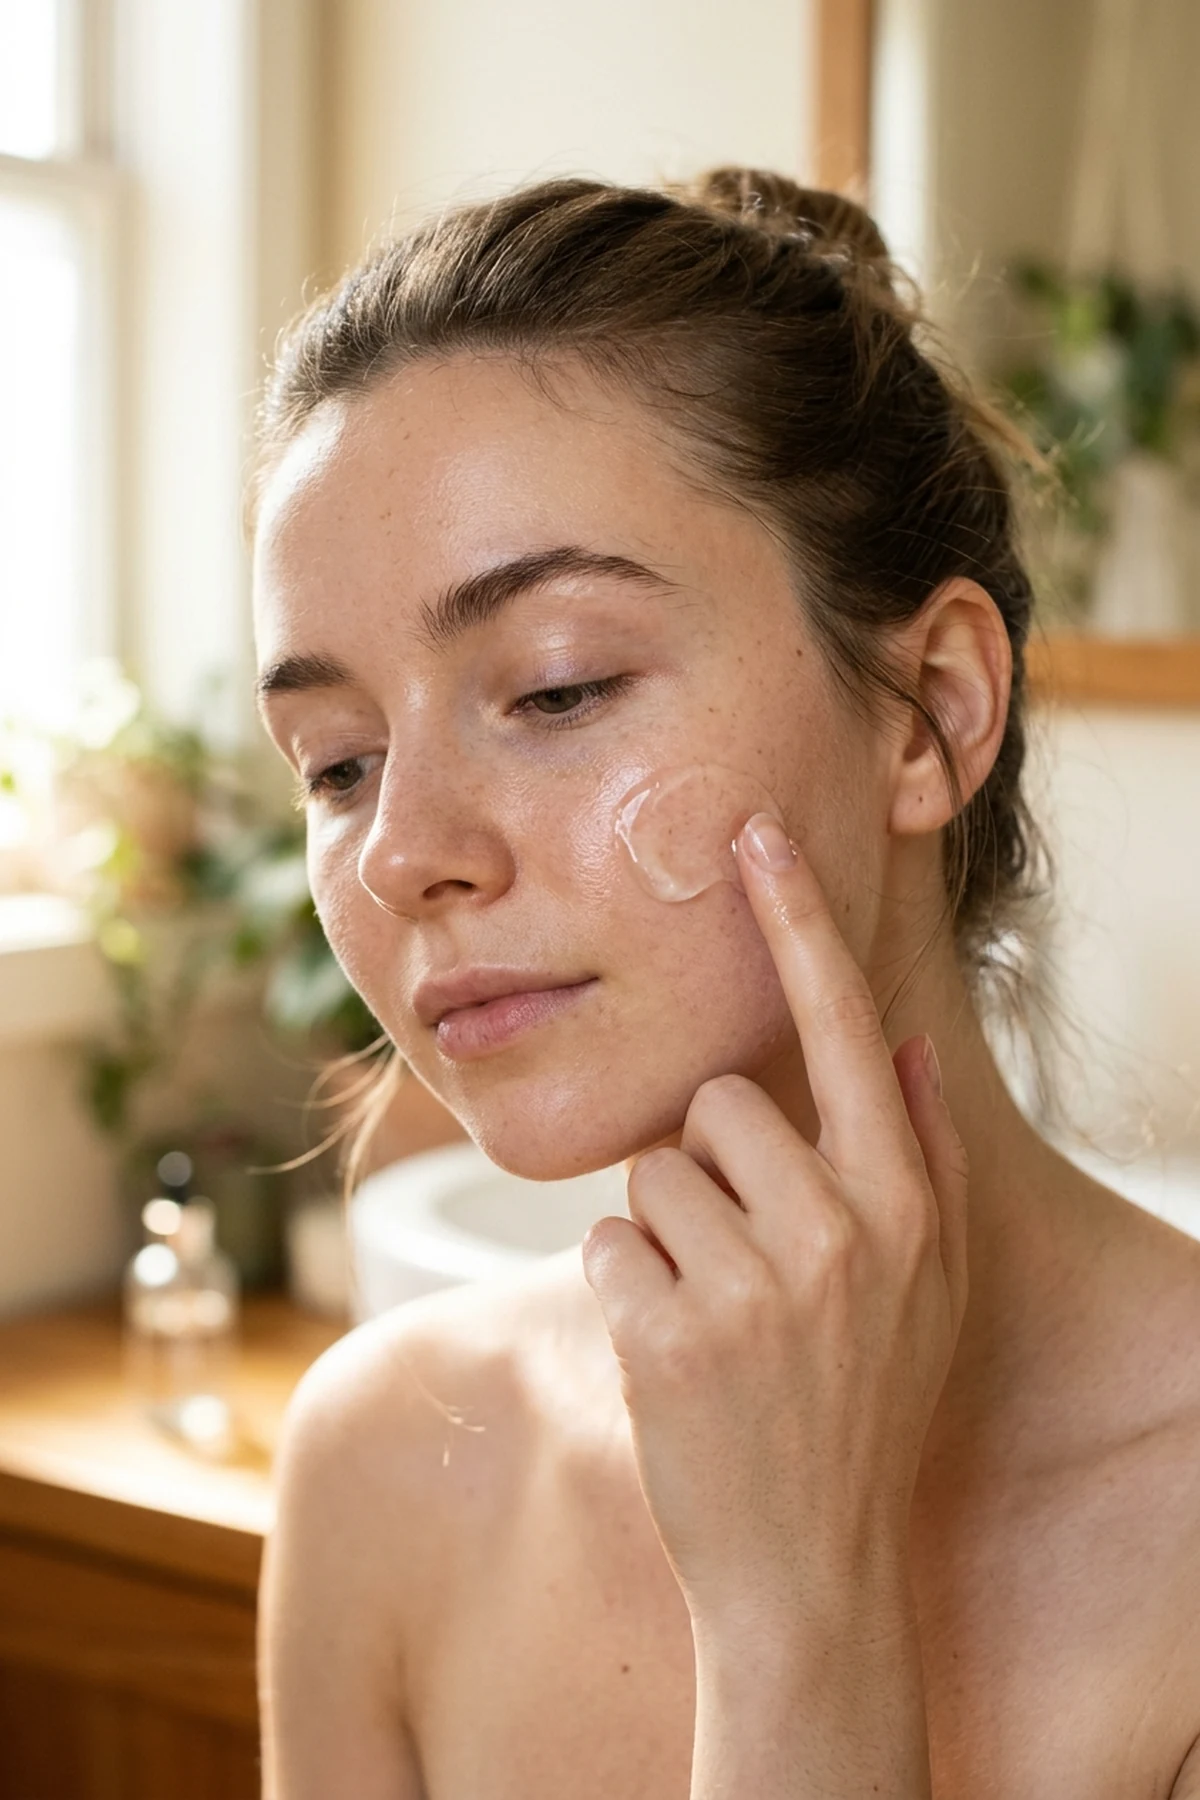
Every editorial artist’s expert pick for a smooth everyday skin prep, SPF and gripping primer base starts before a single drop of pigment touches your face. Respecting a strict 90-second skincare absorption window between your moisturizer, broad-spectrum sunscreen, and base makeup stops emollients from sliding around or balling up on your cheeks. When you rush straight from sunscreen into foundation, unset UV filters mix with liquid pigments and separate across the bridge of the nose.
Once your sunscreen sets to a satin touch, press a pea-sized amount of hydro-grip gel primer into your T-zone, chin, and apples of the cheeks using warm fingertips rather than rubbing outward. Matching water-based primers with water-based tints—or silicone blurring primers with dimethicone foundations—creates a tacky, unified Velcro-like grip that holds subsequent layers for twelve hours. Pay special attention to the sides of the nostrils and smile lines where natural facial movement breaks down unprimed makeup first.
For a streamlined minimalist routine, align your pre-makeup prep with a proper morning skincare routine order so lightweight hydrating serums never trap heavy oils under your SPF. Let the primer turn slightly tacky for thirty seconds before moving to your complexion base for a plump, glass-like finish.
2. Undertone Color Corrector & Natural Skin Tint or Foundation Layering
🎯 Best For: Neutralizing redness & dark circles without heavy caking
✨ Vibe: Second-skin sheer-to-medium radiance
This beginner-friendly approach to undertone color corrector and natural skin tint layering eliminates the need for thick, mask-like foundation coverage. Instead of piling on multiple coats of full-coverage liquid to hide shadows, tap a micro-dot of peach undertone color corrector directly over blue-purple under-eye hollows or post-blemish hyperpigmentation. Neutralizing discoloration first with opposite color-wheel pigments means your actual complexion product only needs to unify your skin tone rather than mask dark spots.
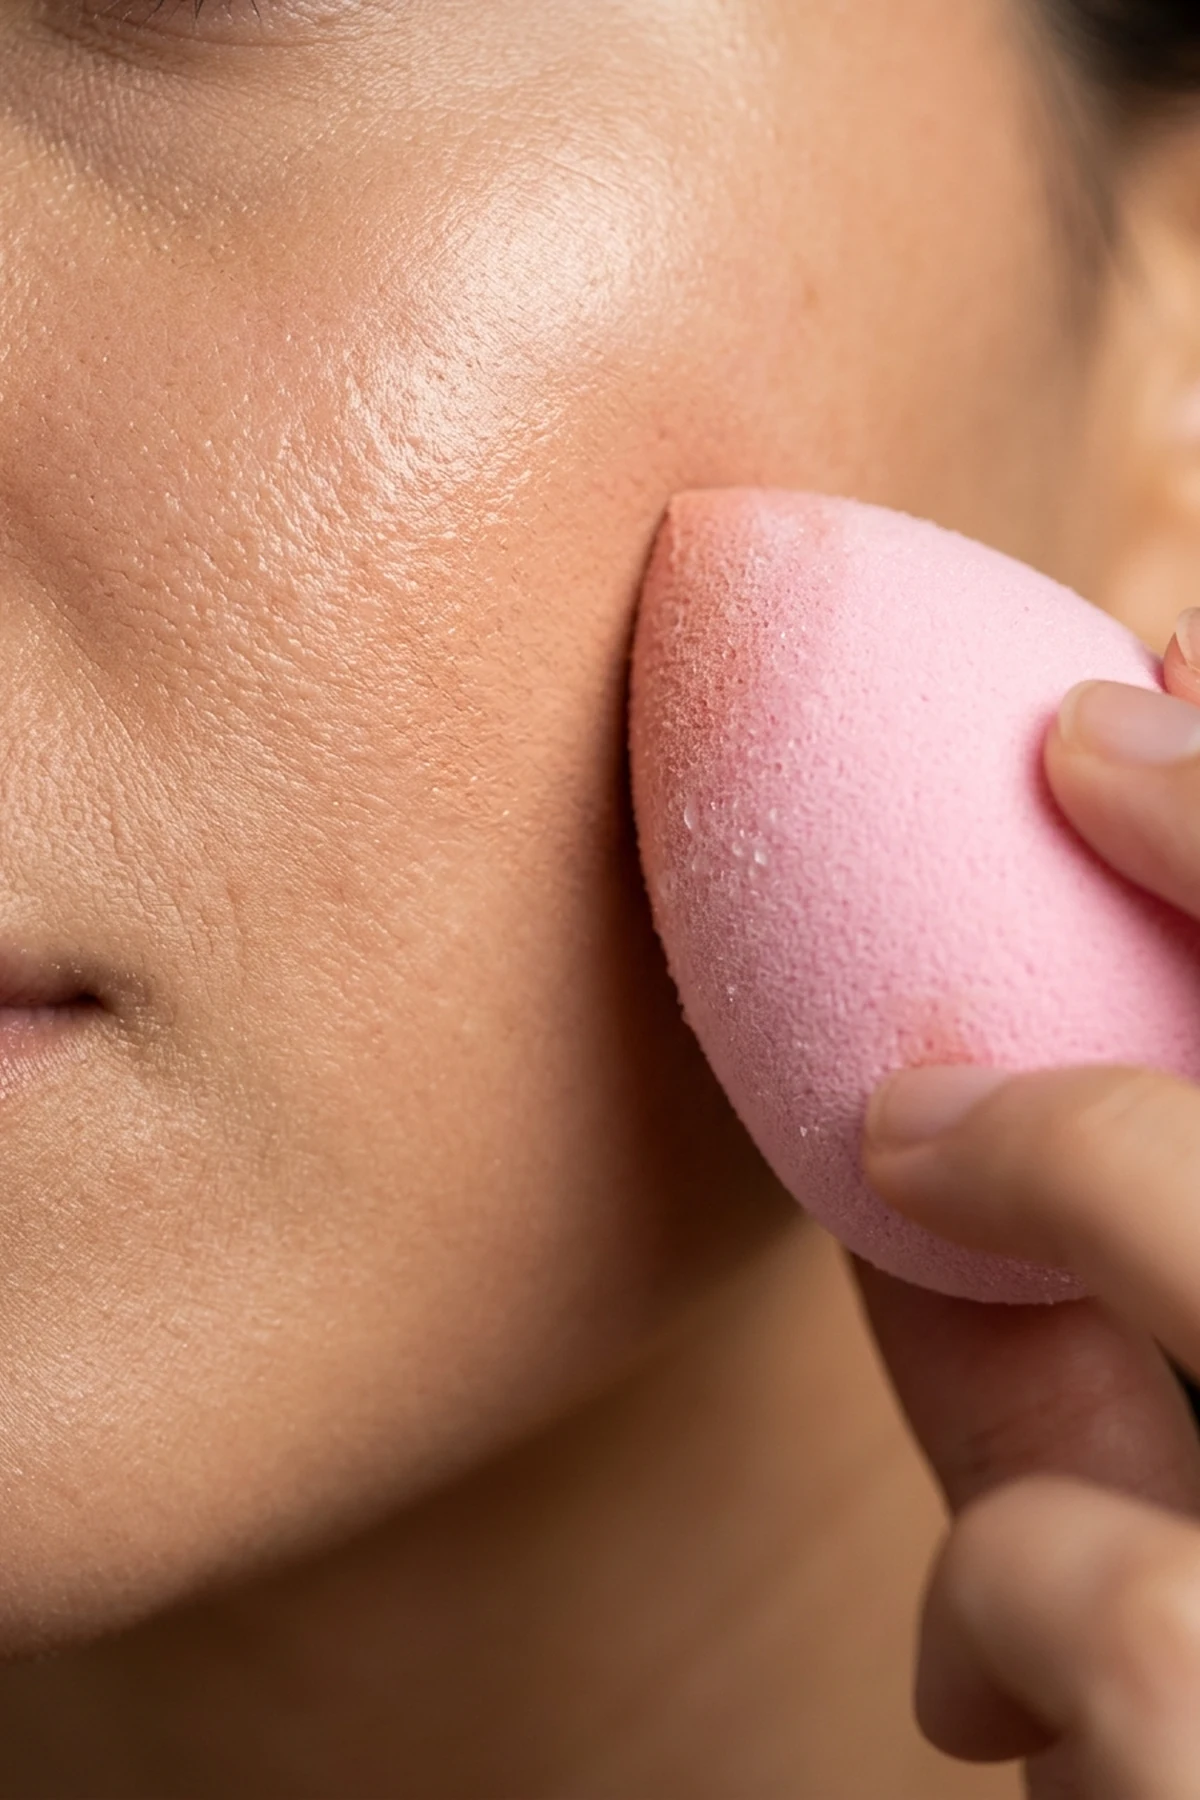
Dispense two drops of a lightweight serum-infused skin tint or buildable liquid foundation onto the back of your hand to warm the formula before touching your face. Use a damp teardrop makeup sponge squeezed thoroughly in a clean towel to bounce the pigment from the center of your cheeks outward toward the jawline and hairline. Pressing in a stippling motion rather than dragging across the skin keeps your underlying color corrector intact while shearing out the edges where coverage isn’t needed.
If you love a quick DIY everyday finish, skip applying foundation directly onto the bridge of the nose and forehead, using only the residual tint left on your sponge. This targeted placement keeps your skin looking breathable and naturally radiant in bright daylight.
3. Glowy Cream Contour & Liquid Blush Placement (Wet-Before-Dry Rule)
🎯 Best For: Lifted cheekbones & seamless cream-to-liquid blending
✨ Vibe: Sculpted sun-kissed clean girl flush
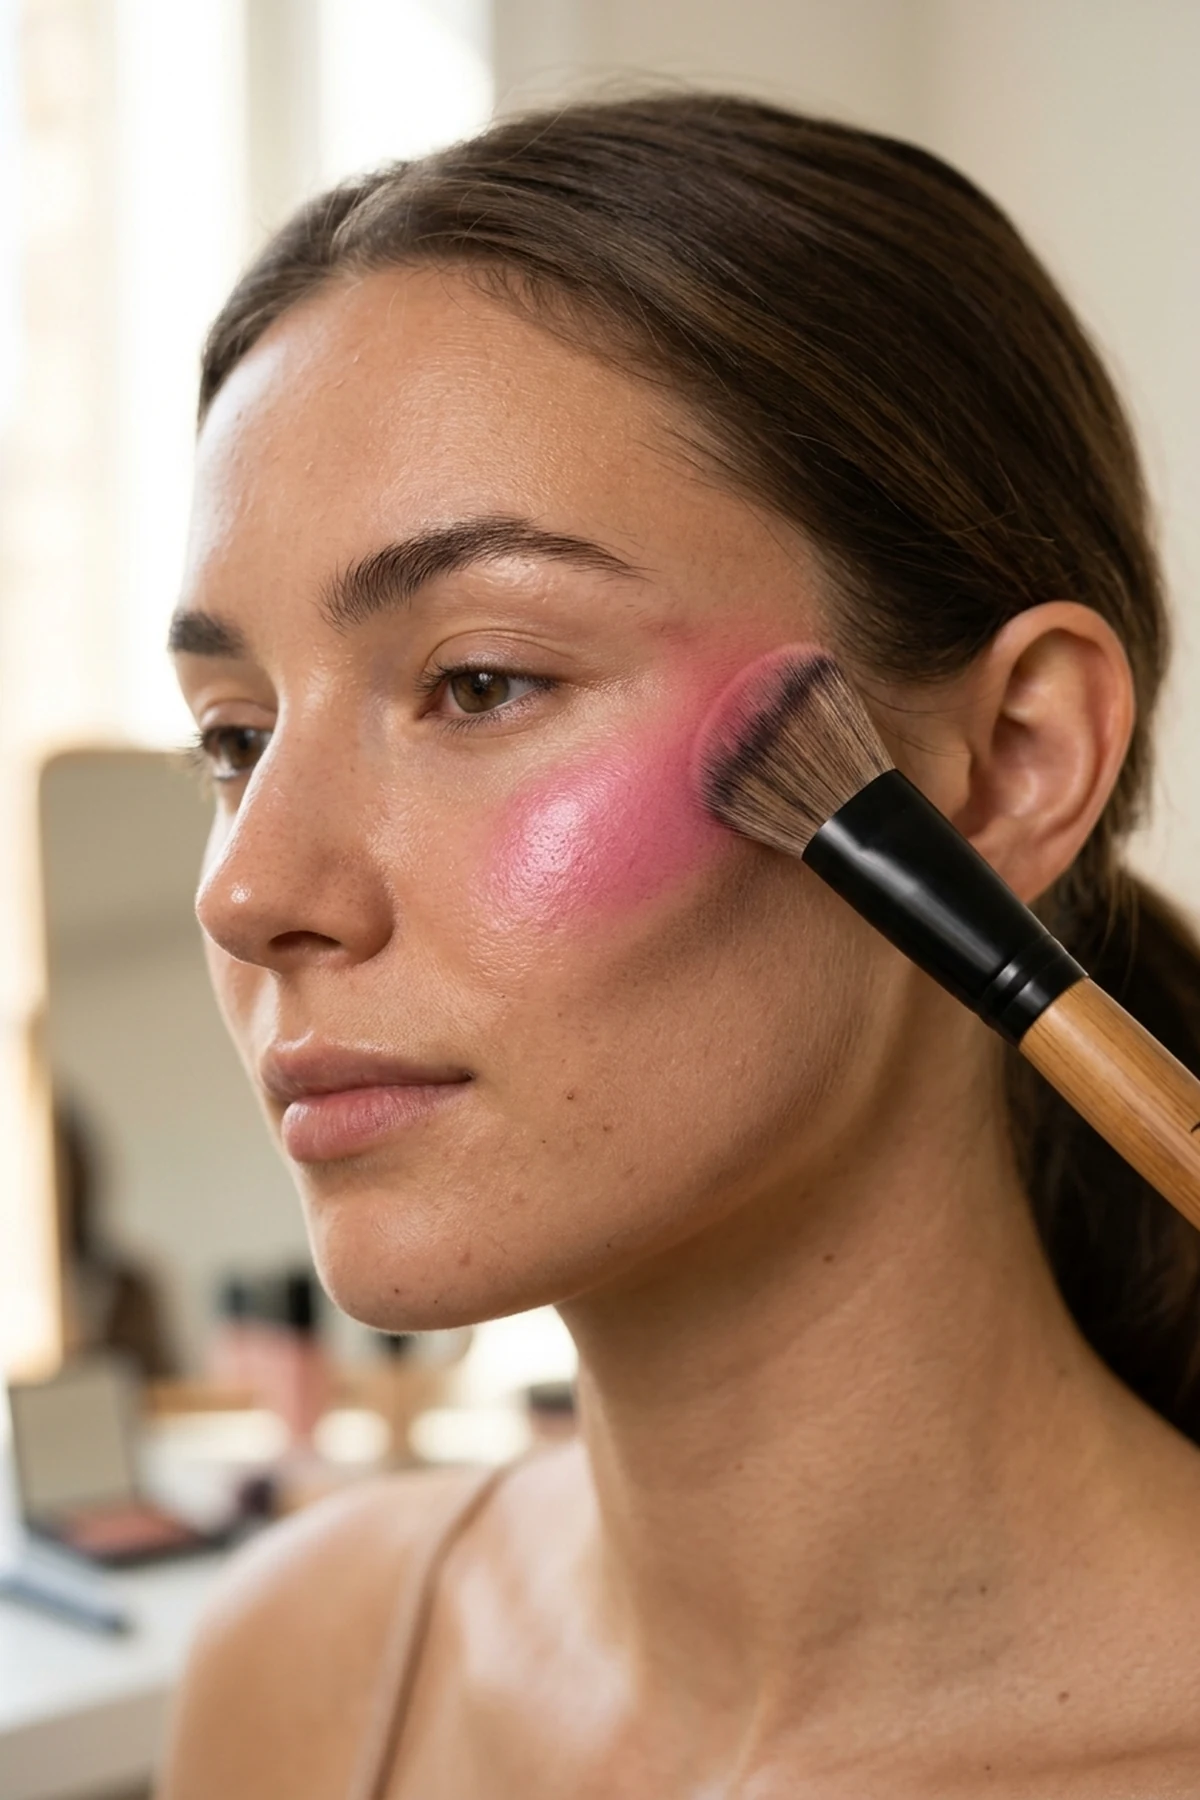
A major trend alert in modern editorial artistry is mastering glowy cream contour and liquid blush placement before any setting powder ever touches your skin. Adhering to strict wet-before-dry face makeup layering ensures emollient cream bronzers and dewy cheek tints melt directly into your fresh skin tint without lifting or creating muddy patches. When liquid blush is applied over dry setting powder, the moisture grabs onto powder particles and leaves a blotchy texture across the cheekbones.
Sweep a cool-neutral cream contour stick just beneath the highest point of your cheekbone, along the temples, and under the jawline, then tap two dots of liquid blush slightly higher toward the temples. Blend both formulas upward using a dense angled buffing brush with short, feathery tapping motions so the shadow and flush fuse into a seamless gradient. Always blend your cream contour first and your liquid blush second so the rosy warmth overlaps the top edge of your sculpt for a natural sun-kissed transition.
To maintain professional studio results without streaky pigment buildup, make a weekly habit of cleaning dense makeup brushes properly so dried oils never stiffen the synthetic bristles. Keeping your buffing tools pristine guarantees an effortless, lifted cheekbone diffuse every single morning.
4. Simple Under-Eye Brightening & Blemish Spot Concealer Technique
🎯 Best For: Crease-prone under-eyes & pinpoint blemish coverage
✨ Vibe: Lit-from-within satin complexion
Placing your under-eye brightening and blemish spot concealer at Step 4—after your foundation, cream contour, and liquid blush—is the ultimate time-saver for a crease-free base. Because your skin tint and cream cheek products have already evened out eighty percent of your redness, you only need a fraction of concealer to create a lit-from-within satin complexion. Applying heavy triangles of concealer first is the primary reason under-eyes look dry and settle into fine expression lines by midday.
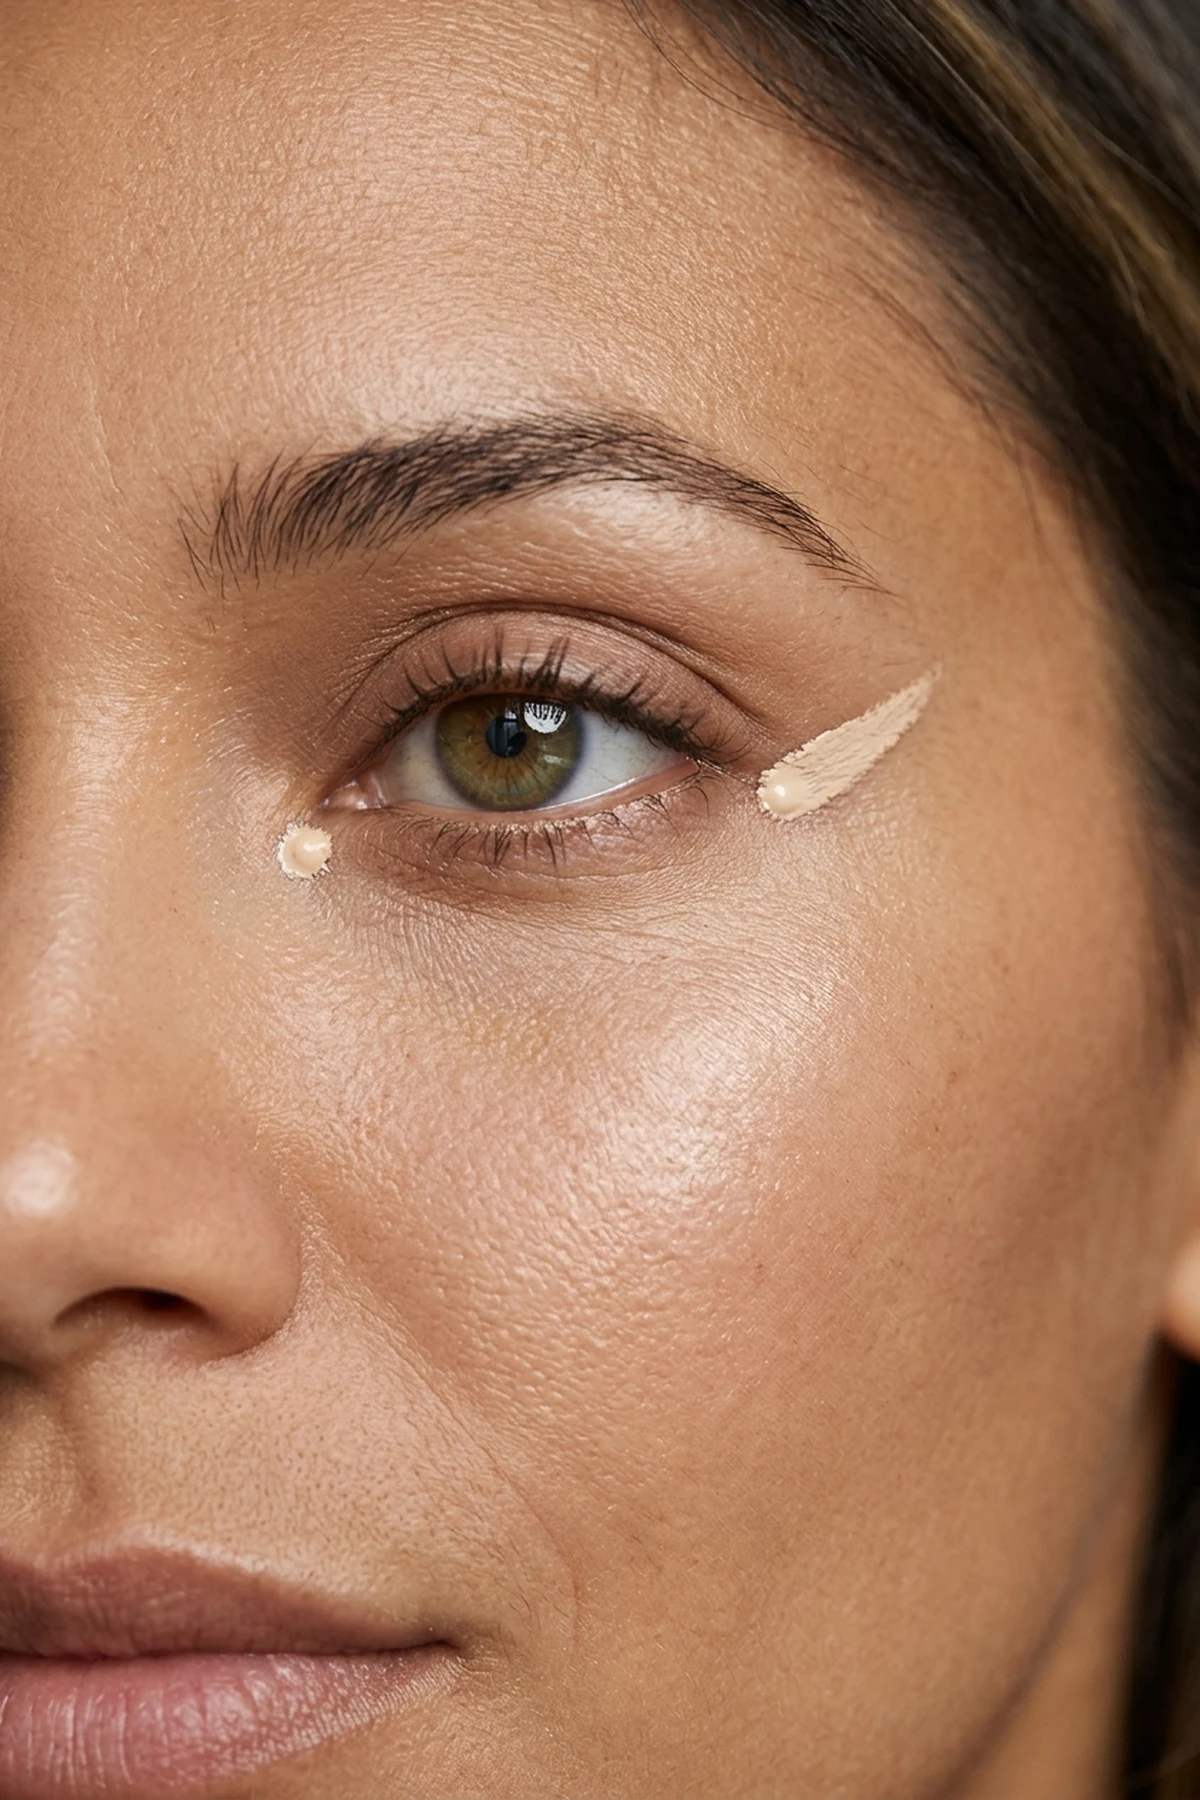
Dot a hydrating, crease-resistant liquid concealer one shade lighter than your base strictly at the inner tear trough and the outer corner of the eye, angled upward toward the temple. Let the formula sit untouched for forty-five seconds so the volatile solvents evaporate and the pigment thickens slightly for higher coverage. Gently press the edges into your surrounding blush using the pointed tip of a damp teardrop makeup sponge or your ring finger without swiping across the delicate lower lash line.
For minimalist pinpoint blemish concealing, use a shade that matches your exact neck undertone and tap only the perimeter of the spot so the center remains covered. This strategic placement delivers bright, lifted eyes and invisible spot coverage with zero heavy layering.
5. Translucent Setting Powder Press & Blurred T-Zone Oil Lock
🎯 Best For: Oily T-zones, nasolabial folds & under-eye crease locking
✨ Vibe: Soft-focus blurred T-zone finish
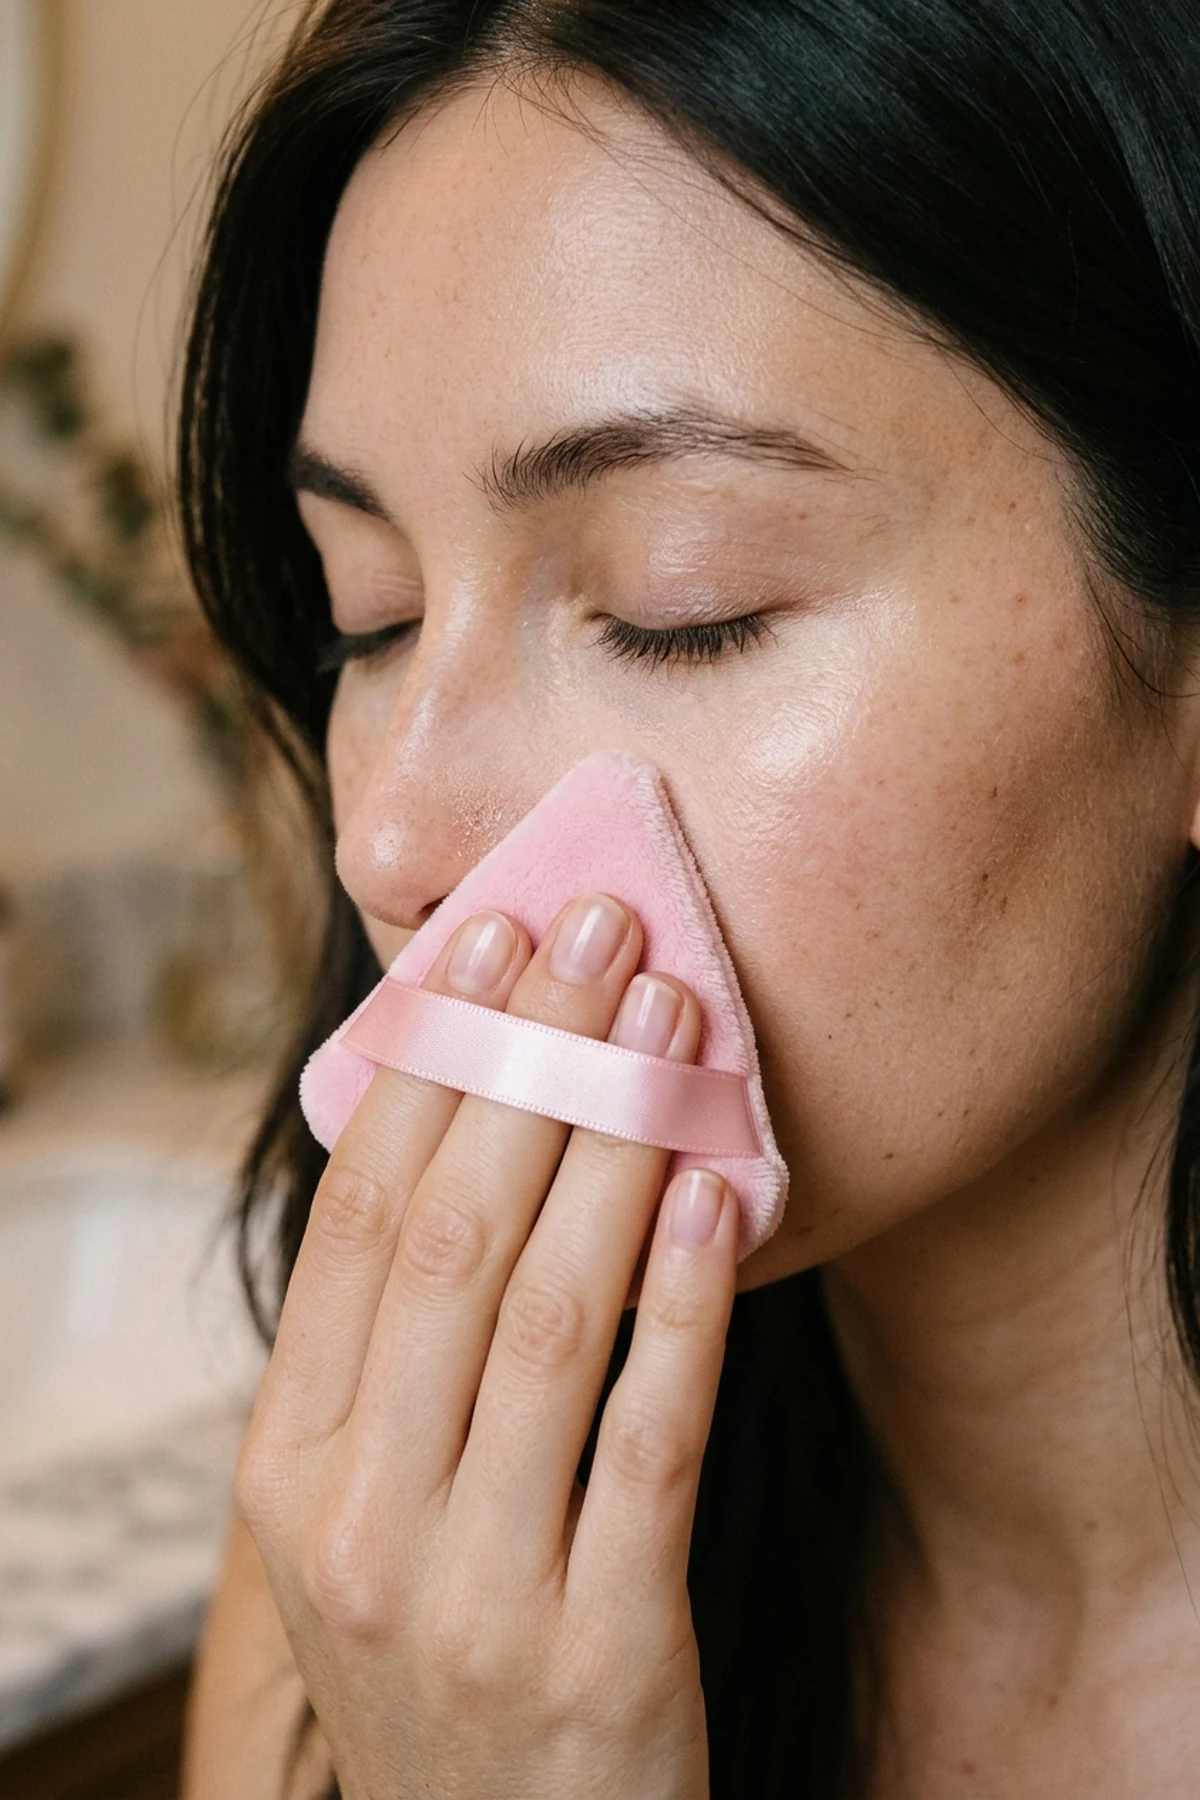
The hidden gem behind an all-day editorial makeup routine is a targeted translucent setting powder press and blurred T-zone oil lock at Step 5. Instead of dusting loose powder across your entire face with a large fluffy brush—which dulls your cream blush glow and disturbs underlying concealer—pick up finely milled powder with a velour triangle powder puff. Tap the puff firmly against the back of your clean hand first to work the silica or starch particles evenly into the plush fibers so no excess white cast hits your skin.
Look upward to stretch the under-eye skin taut, tap out any micro-creases with a clean fingertip, and immediately press and roll the pointed corner of the puff under the lower lashes. Repeat this controlled press-and-roll motion along the sides of the nostrils, between the brows, and over the chin to lock in a soft-focus blurred T-zone finish. Leaving the high points of your cheekbones completely unpowdered preserves dimensional radiance while eliminating shine exactly where pores appear largest.
If you want extra professional dimension for evening wear, lightly sweep a sheer powder bronzer or blush only over the areas you just set. This selective zoning keeps your complexion velvety through the center and luminous along the outer perimeter.
6. Feathered Brow Architecture, Soft Eyeshadow & Lifted Lash Definition
🎯 Best For: Framing facial proportions without powder fallout
✨ Vibe: Feathered editorial brow & wide-awake lashes
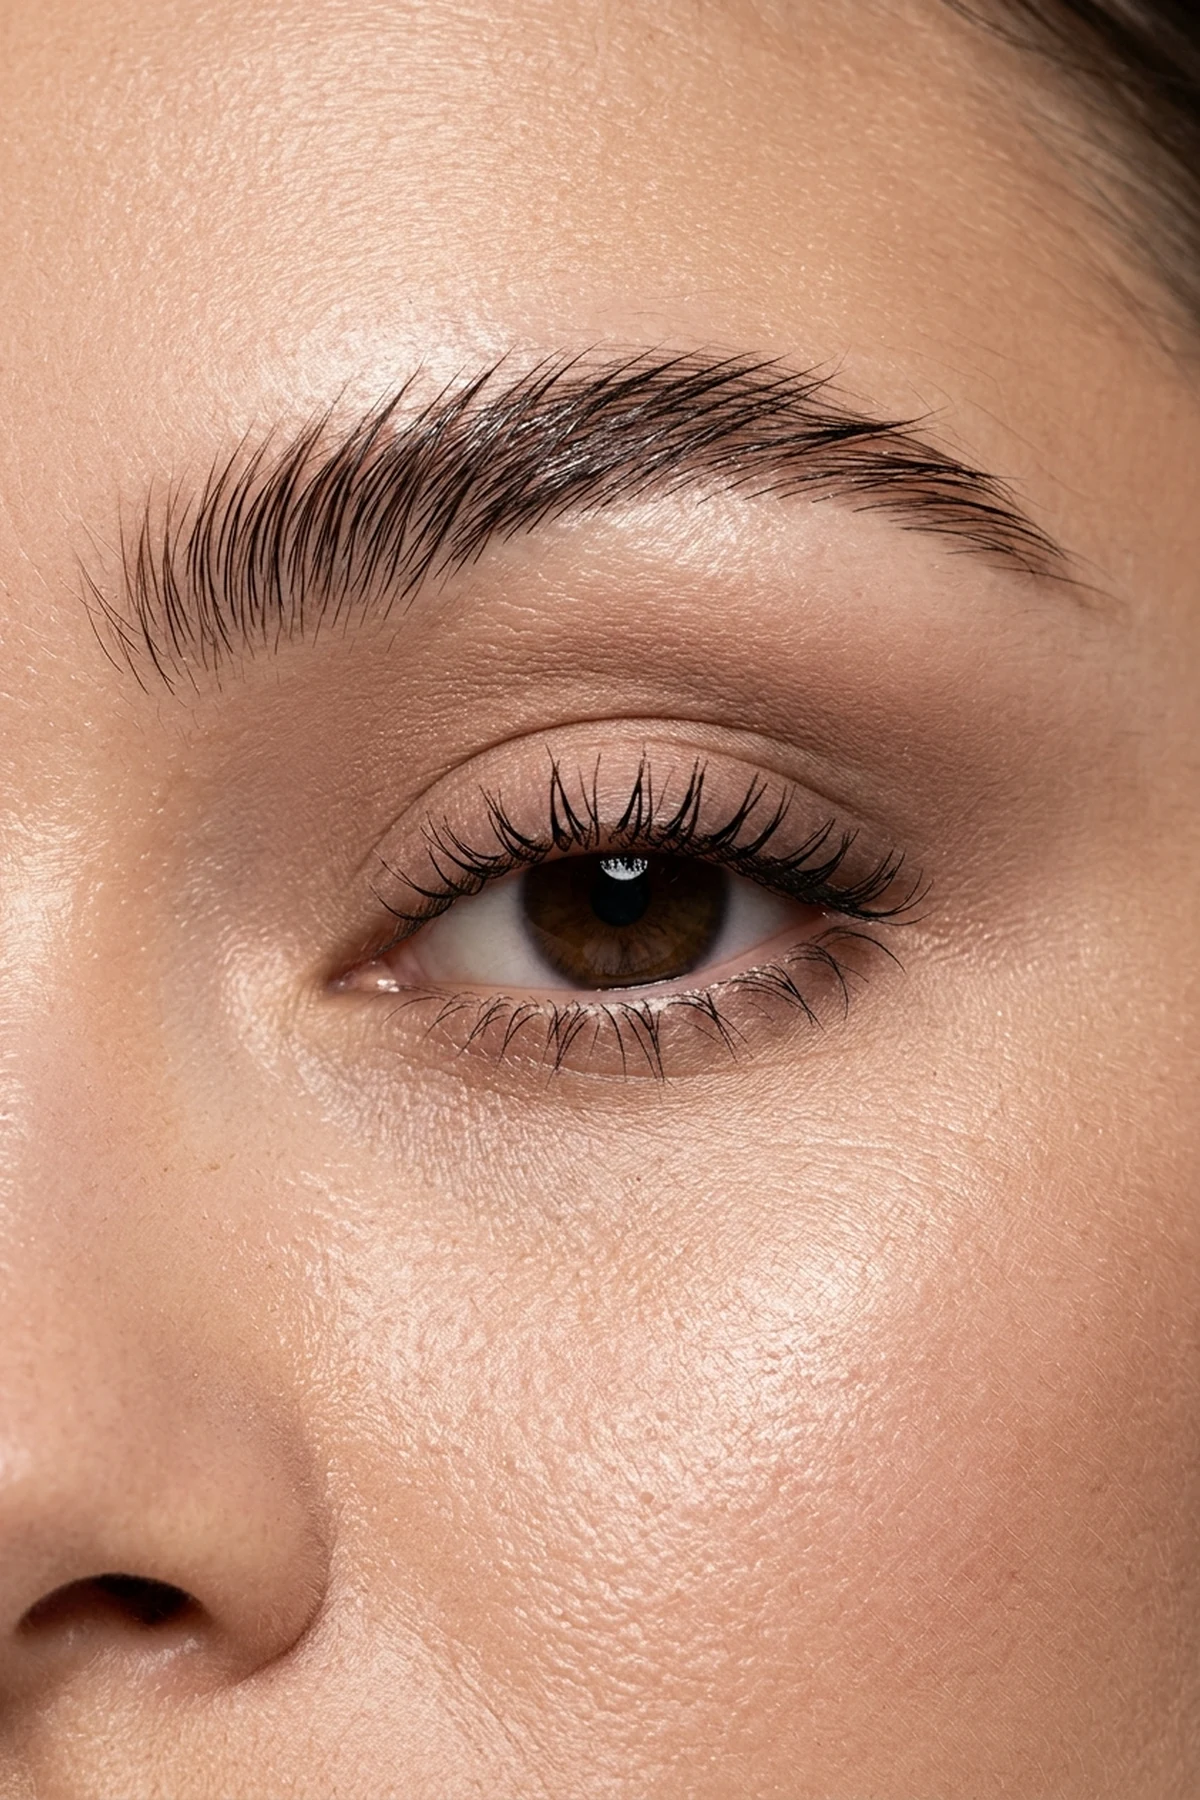
Placing feathered brow architecture, soft eyeshadow, and lifted lash definition at Step 6 keeps brow waxes and eye pigments from getting clouded by foundation or loose setting powder. As a smart budget swap, a clear laminating brow gel and a neutral matte bronzer swept through the crease define your eyes without requiring an expensive multi-pan palette. Brushing brow hairs upward at a forty-five-degree angle before filling sparse tails with hair-like micro-strokes frames your entire bone structure and prevents silicone-over-water emulsion pilling along the brow bone where heavy eye creams often migrate.
Wait until your base is set before applying everyday neutral shadow so your eyelid primer blends cleanly into your lit-from-within satin complexion without patchy edges. The only exception to this sequence is when you plan to wear dark smoky pigments or loose metallic glitter—in that case, complete your eyeshadow before Step 2 so you can wipe away fallout with micellar water. Finish your eye framing by crimping clean lashes at the root for five seconds and wiggling a lengthening tubing mascara from base to tip.
For minimalist daytime inspiration that pairs effortlessly with a glowing complexion, explore these pretty soft glam eyeshadow looks to elevate your crease work in under two minutes. Keeping the lower lash line clean and focusing volume on the outer corners creates an instant, wide-awake eye lift.
7. Sculpted Lip Liner, Tinted Gloss & Film-Forming Setting Spray Seal
🎯 Best For: 12-hour transfer resistance & melting powder layers together
✨ Vibe: Glazed peptide lip & locked glass-skin mist
Our final expert pick to complete your seven-step makeup routine order is pairing sculpted lip liner and tinted gloss with a film-forming setting spray seal. Before outlining your lips, wipe away any residual foundation or skin tint from your vermilion border with a damp cotton swab so your lip pencil glides onto clean, hydrated skin. Trace just along the natural shadow of your cupid’s bow and center lower lip with a rose-brown or neutral taupe liner, feathering the pigment inward with your fingertip before pressing on a nourishing peptide lip gloss.
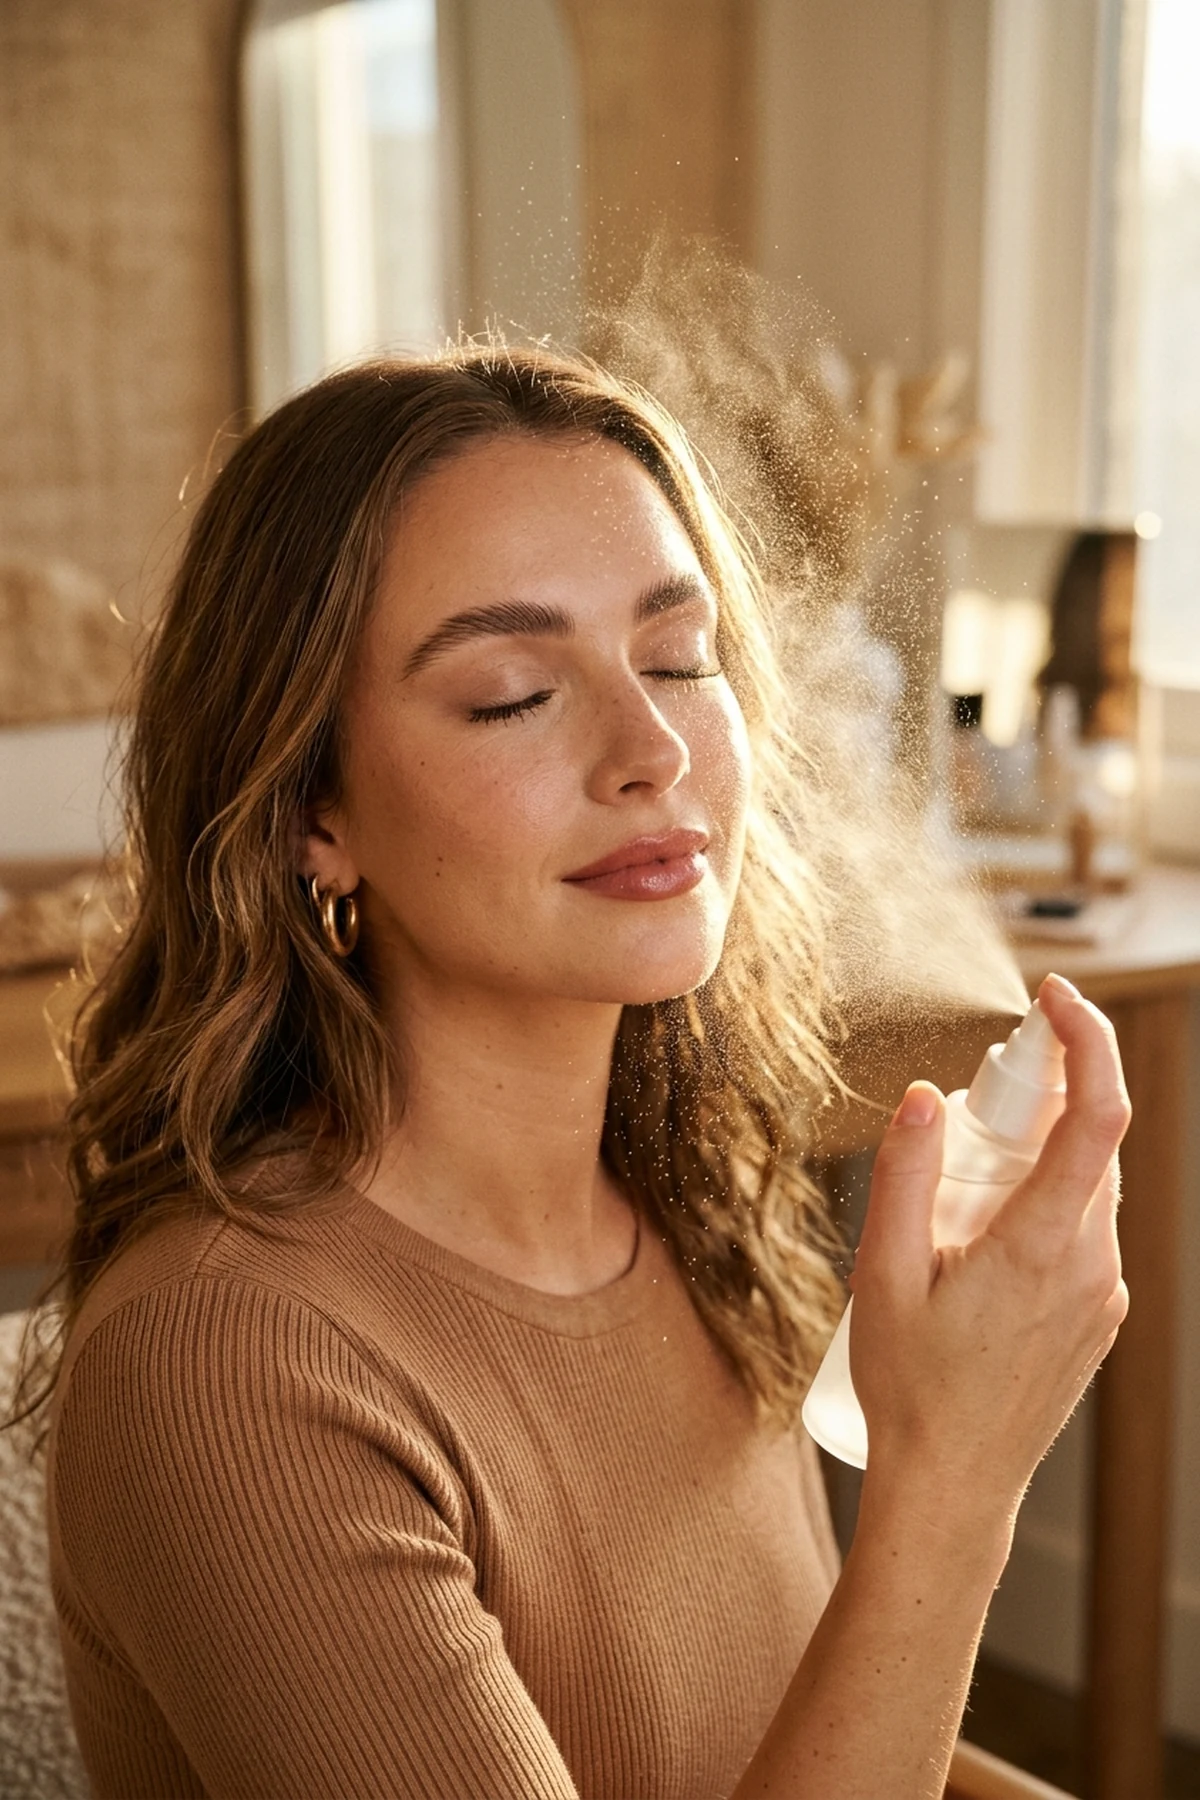
Once your lip and eye details are in place, hold your setting mist eight to ten inches away from your face and spray in a continuous X-and-T motion. Unlike basic rosewater mists that only wet the surface, a polymer-rich setting formula completes your wet-before-dry face makeup layering by melting your translucent T-zone powder and cream cheek layers into a single flexible mesh. Let the micro-fine droplets dry naturally for sixty seconds without fanning or touching your face so the invisible polymer film cures evenly.
Adjusting your final mist for seasonal weather—choosing a mattifying oil-control spray in humid summers or a glycerin-enriched dewy mist in dry winters—guarantees twelve-hour transfer resistance. Your complexion immediately loses any powdery look and settles into a seamless, skin-like finish that lasts from morning coffee to late dinner.
Frequently Asked Questions
Does concealer go before or after foundation and cream blush?
Concealer should always go after your foundation or skin tint and even after your cream contour and liquid blush. Applying your base tint and cheek color first naturally covers most facial redness and blends the under-eye transition, meaning you only need two tiny dots of concealer at the inner and outer corners rather than a thick, crease-prone layer.
How do I stop my foundation and primer from pilling over sunscreen?
Foundation pilling happens when you apply makeup before your SPF film has dried or when you layer heavy dimethicone silicones over a watery gel base. Give your sunscreen a full 90-second absorption window until it feels dry to the touch, press your primer in with fingertips instead of rubbing, and match water-based primers with water-based skin tints. If you are troubleshooting persistent congestion or flaky texture underneath your base, check out these clear skin routine recommendations to balance your morning barrier prep.
Why must liquid blush and cream bronzer be applied before setting powder?
Following the wet-before-dry rule keeps emollient cream and liquid pigments moving smoothly across your foundation without grabbing onto dry patches. Once translucent setting powder is pressed onto the skin, it absorbs surface oils and creates a matte barrier that causes any liquid applied on top to clump, lift, and look muddy.
Should I do my eyeshadow before or after my face makeup base?
For everyday neutral eyeshadow, feathered brows, and mascara, completing your eyes at Step 6 after setting your base ensures seamless blending along the temples and brow bone. However, if you are creating a dark smoky eye, using loose glitter, or working with heavily pigmented shadows that drop fallout onto the cheeks, apply your eye makeup first so you can wipe the under-eye clean before Step 2.
What is the difference between setting powder and film-forming setting spray?
Translucent setting powder uses finely milled silica or starch particles to absorb excess oil and physically lock liquid concealer in place so it cannot crease into fine lines. A film-forming setting spray uses flexible cosmetic polymers in an aqueous mist to fuse all powder and cream layers together into a transfer-resistant, skin-like veil that lasts up to twelve hours.
Get our latest guides, news, and insights highlighted in your Google Search & AI Overviews.