✨ This article was AI edited. Editorial responsibility: Britany Marshall Beauty.
The At-Home Gel Nail Masterclass: Key Curing & Application Frameworks (YouTube Breakdown & TL;DW)
Save 15+ hours of watching video tutorials. We transcribed, indexed, and synthesized the most authoritative YouTube masterclasses on at-home builder gel (BIAB), dry manicure prep, and UV/LED polymerization into this structured, clinical executive blueprint.
Contents of Article
30-Second Masterclass Verdict: The Secret to 4-Week Retention
The Instructor Consensus: At-home gel longevity is not determined by expensive brand names, but by disciplined physical chemistry: thorough mechanical cuticle removal, absolute plate dehydration with 99% isopropanol, structural apex placement over the natural stress zone, and full 365nm+405nm light polymerization to eliminate under-cured monomer contact allergies.
Executive Summary: The Core Principles of the At-Home Gel Masterclass
The explosion of at-home gel nail systems has democratized salon-quality manicures. However, YouTube is filled with 45-minute video tutorials cluttered with sponsored product placement, unedited hand filing, and rambling commentary. When you distill hundreds of hours of instruction from master educators (including Elizabeth Morris of The Nail Hub, Anastasia of Nailcou, and independent chemistry consultants), three universal scientific truths emerge:
The Three Pillars of Professional Gel Longevity:
- Pillar 1: Prep is 80% of the Manicure: Gel will never bond to organic keratin in the presence of surface oils or dead cellular debris. Eliminating the invisible cuticle (pterygium) using dry diamond e-file bits and dehydrating the plate with pure 99% isopropyl alcohol is non-negotiable.
- Pillar 2: Architecture Trumps Product Thickness: Slathering on thick layers of builder gel does not make a nail stronger—it creates extreme heat spikes, under-cured cores, and bulky silhouettes. Proper strength comes from engineering an architectural apex directly over the nail’s natural stress area.
- Pillar 3: The Danger of the 50% Under-Cure: A gel manicure can appear dry, shiny, and solid while having achieved only 50% monomer polymerization. Un-polymerized methacrylate monomers leach directly into living tissue, triggering permanent, lifelong allergic sensitization.

Figure 1: The Britany Marshall Beauty 4-Stage Builder Gel Masterclass Framework, detailing nail prep, apex architecture, dual-wavelength polymerization, and top coat sealing.
Phase-by-Phase Execution: The Clinical Protocol for Flawless Application
Step 1: The Dry Cuticle Removal & Plate Etching Protocol
Traditional manicures instruct soaking fingers in soapy water. In modern gel technology, this is catastrophic: the nail plate expands like a sponge when saturated with water, and as it slowly contracts over the next 24 hours under cured gel, adhesive bonds shear, causing immediate pocket lifting. Master educators prescribe a strict dry manicure protocol:
- Gently push back the eponychium using a sterile stainless steel pusher at a 45-degree angle.
- Use a fine-grit red-band diamond flame bit on an e-file at 5,000–7,000 RPM to cleanly remove non-living pterygium from the nail plate.
- Lightly remove surface shine using a high-grade 180/240-grit sponge buffer in the direction of natural nail growth.
- Scrub the nail plate thoroughly with a lint-free wipe saturated with 99% Isopropyl Alcohol. Avoid 70% rubbing alcohol, which contains 30% water and residual oils.
Step 2: Slip Layer Construction & Gravity-Assisted Apex Placement
Applying builder gel in a bottle (BIAB) requires understanding rheology and surface tension. Never attempt to paint builder gel like traditional nail lacquer:
- The Slip Coat: Apply an ultra-thin layer of builder gel over the entire nail plate, ensuring you leave a 1mm margin around cuticle and sidewalls. Do not cure this layer.
- The Structural Bead: Pick up a medium bead of gel on your brush and place it at the upper-middle third of the nail plate.
- Guiding the Gel: Using a thin 9mm or 11mm liner brush, guide the gel toward the free edge and lateral walls without touching skin.
- Invert the Hand: Flip the hand upside down for 5 to 10 seconds. Gravity pulls the self-leveling gel into a flawless convex apex over the stress area. Flip back, check the light reflection line for a smooth unbroken curve, and cure immediately.
Step 3: The Photochemistry of LED Polymerization & Allergy Prevention
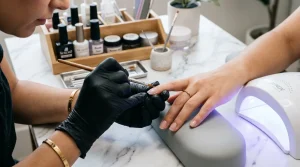
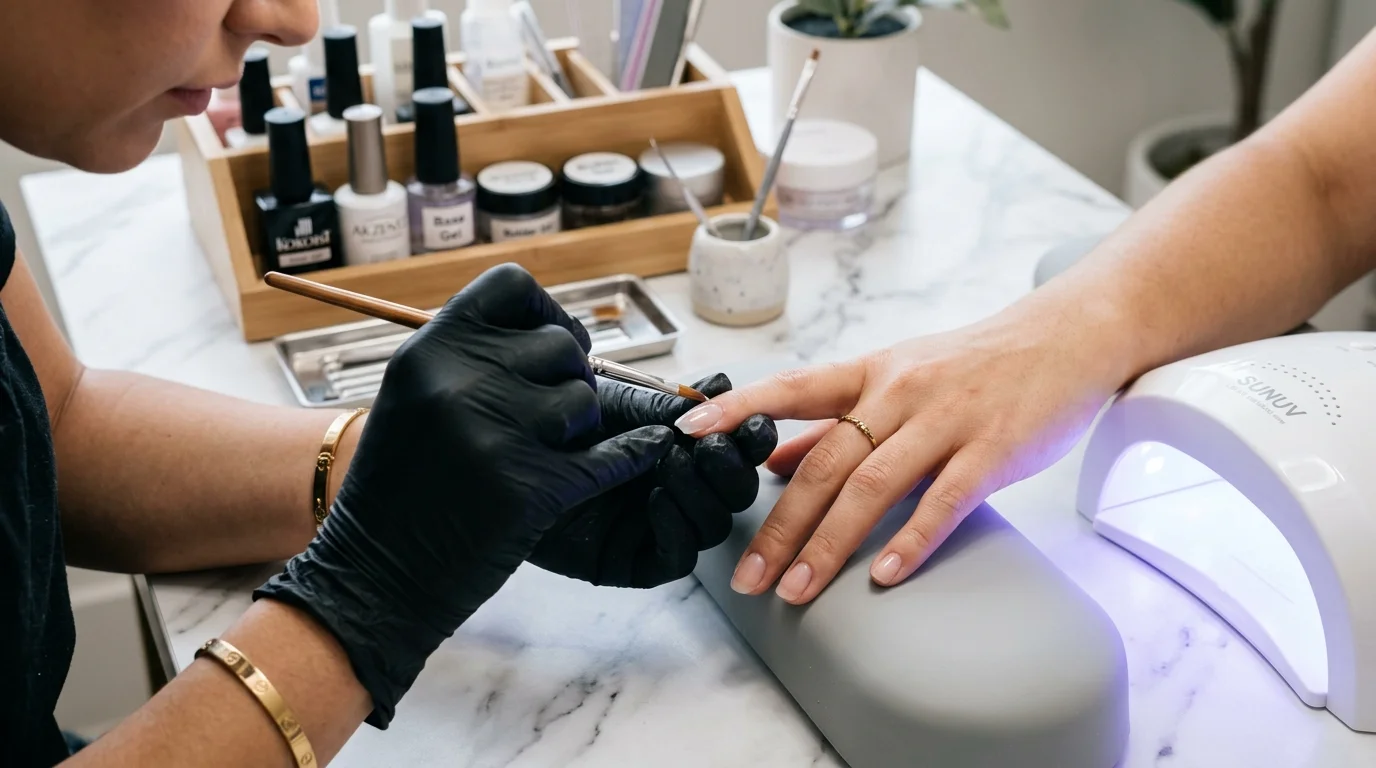
The most alarming trend on social media is the proliferation of underpowered $10 USB mini lamps. Gel nail formulas contain photoinitiators (such as TPO or BAPO) that require specific wavelengths of light—typically 365nm (UV) and 405nm (LED)—at sufficient irradiance (mW/cm²) to trigger free radical polymerization.
When gel is cured under an incompatible or underpowered lamp, the top 0.2mm cures hard due to oxygen inhibition breakdown, but the bottom layers remain a soft, unpolymerized monomer sludge against your nail bed. Over months, free methacrylate molecules migrate into living tissue, triggering permanent allergic contact dermatitis. Always use a professional 36W–48W dual-cure lamp with reflective bottom plates and cure for a full 60 seconds per layer.
Turn Masterclass Theory into Flawless Execution with Britany Marshall Beauty
Mastering builder gel and clinical skin care should not require wasting hundreds of dollars on trial-and-error products. Britany Marshall Beauty provides the exact technical blueprints and hardware recommendations tested across hundreds of salon clients:
1. Tested Hardware Recommendations
We independently test LED lamp irradiance and curing depths with spectrophotometers to recommend hardware that guarantees 90%+ cure completion.
2. HEMA-Free Formulation Audits
We screen commercial gel formulas for monomer concentrations, prioritizing low-irritation oligomers for sensitive skin profiles.
3. Step-by-Step E-File Tutorials
Our illustrated manuals break down diamond grit selection, RPM speeds, and safety angles to eliminate natural nail bed rings of fire.
Frequently Asked Questions: At-Home Gel Nail Application
Why does my builder gel lift at the cuticle within a week?
Cuticle lifting almost always stems from two prep mistakes: failing to remove invisible dead pterygium tissue adhered to the nail plate, or flooding the cuticle line with product. Gel that touches living skin creates a ledge that catches hair and moisture, causing rapid adhesive failure.
What causes intense heat spikes when curing builder gel?
Polymerization is an exothermic chemical reaction that naturally releases heat as oligomer double bonds break and cross-link. Thick layers, high-powered lamps, or over-filed thin nail beds amplify this heat sensation. Use your lamp’s “low heat mode” or flash the hand at the lamp entrance for 5 seconds before full entry.
Can I use 70% rubbing alcohol to dehydrate my nails?
No. Standard 70% drugstore rubbing alcohol contains 30% water and residual emollients that rehydrate and contaminate the nail plate immediately before application. Only use 99% pure Isopropyl Alcohol or acetone-IPA blends for true nail plate dehydration.
How do I know if my LED lamp is properly curing my gel?
Perform a cure test: place a medium bead of your gel on a piece of tin foil, cure it under your lamp for 60 seconds, and peel it off. Cut the bead open with nail clippers. If the interior is soft, sticky, or liquid, your lamp does not possess the correct wavelength or power output to cure that specific gel formula.
Explore Direct Comparative Testing & Protocols:
- Discover our clinical barrier protocol: Clinical Esthetician Skincare Protocols Guide.
- Review top medical YouTube authorities: The 10 Best Board-Certified Dermatologist YouTube Channels to Watch in 2026.
- Learn cosmetic chemistry principles: The Clean Beauty Formulation Playbook from LinkedIn.
Get our latest guides, news, and insights highlighted in your Google Search & AI Overviews.